Travel photos rarely look the way the moment felt. The light was perfect, the landscape was stunning, but the RAW file came back flat, slightly orange, or missing depth.
These travel presets were built to fix exactly that. Each one targets a specific travel scenario: outdoor adventures, beach shots, golden-hour landscapes, night scenes, cityscapes, and more. Every preset has been tested on real-world travel RAW files under various lighting conditions before being included here.

Pauline Jackson
My work focuses on real-world usability, creating presets that are easy to apply, flexible to customize, and reliable across different photography styles and lighting situations.
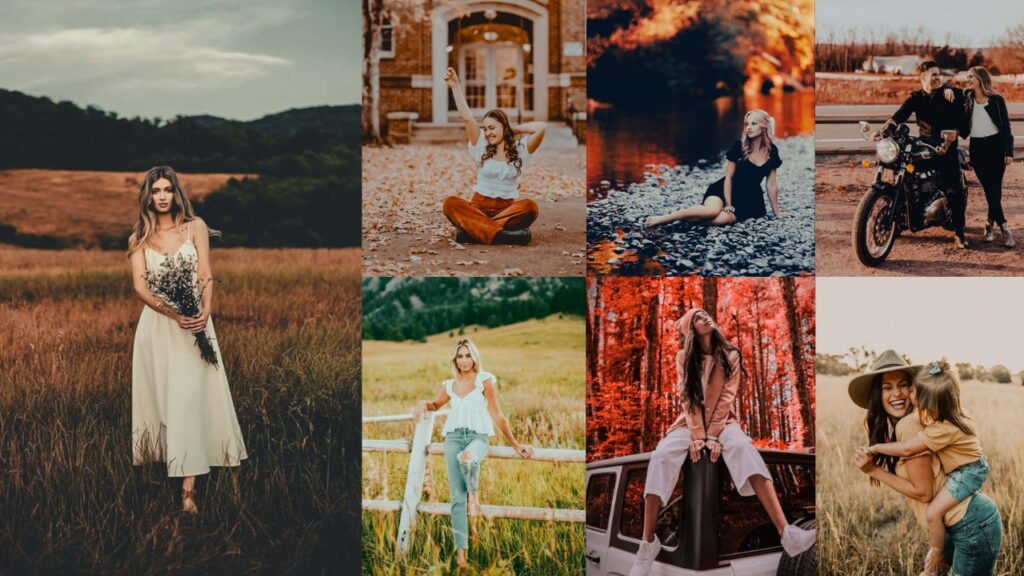
50 Travel Lightroom Presets Free Download
Not a Lightroom wizard? No worries! These Presets are Suitable for anyone who wants stunning results without having to master every tool. You don’t need to know what “clarity” does or how to tweak “vibrance”. Just tweak a slider or two if you’re feeling fancy, and you’re golden. It’s like having a pro editor in your pocket, cheering you on.
You’ll be amazed at what you can pull off. Each one’s got a purpose, like Beach presets making waves focus or Cityscape presets giving urban shots that gritty edge. They’re like a travel buddy who knows exactly how to make every destination shine. Why settle for generic edits when you can have something made for the journey? Let’s use them!
More Details: Lightroom Presets Installing Guide With Settings
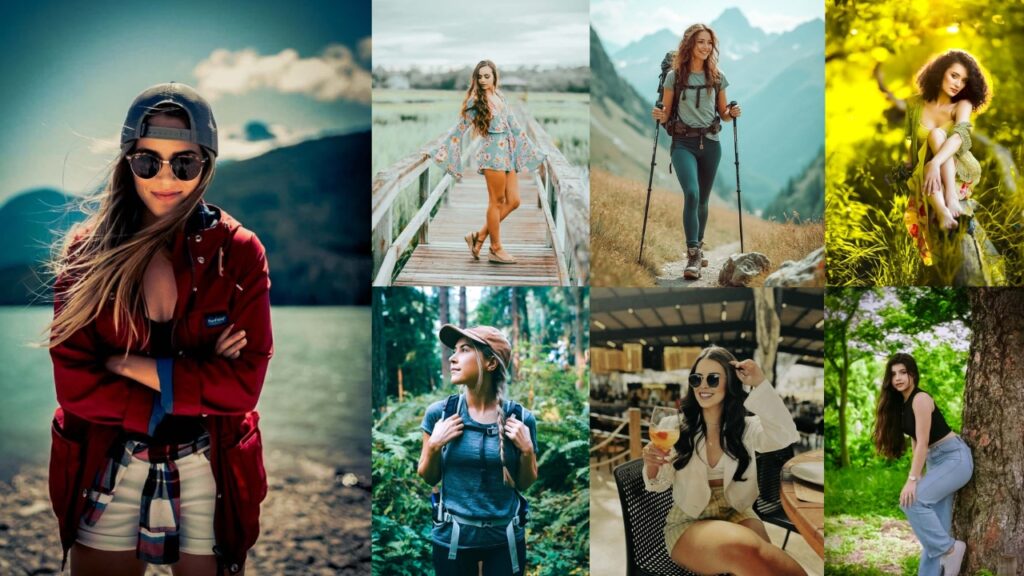
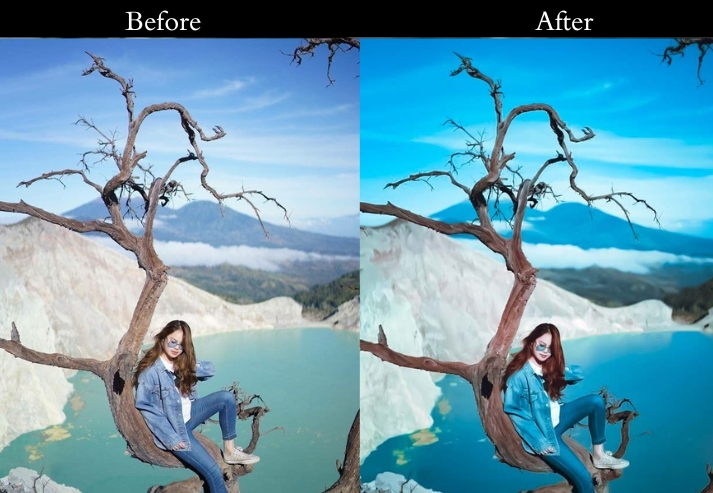
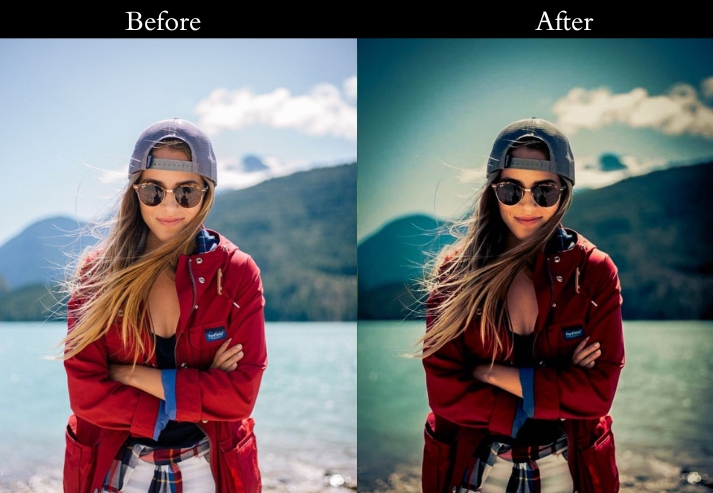
1. Adventure – Outdoor Presets
Outdoor adventure shots need an edit that makes a muddy trail or mist-covered summit feel as dramatic as it did in real life. These adventure presets boost contrast and texture to give landscape shots a bold, grounded look without oversaturating.
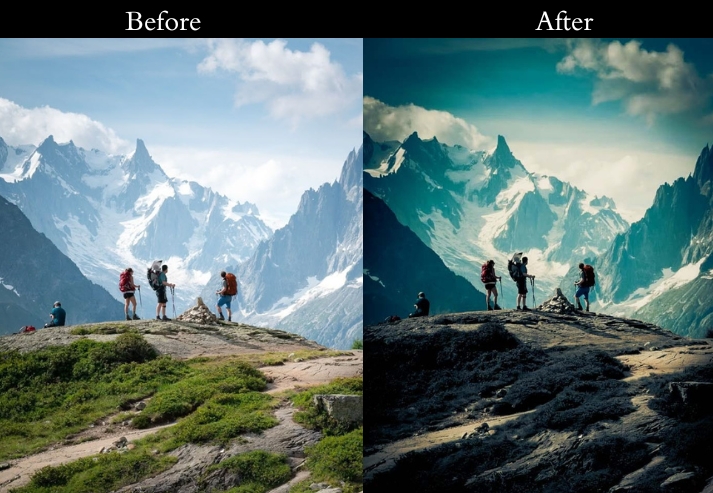
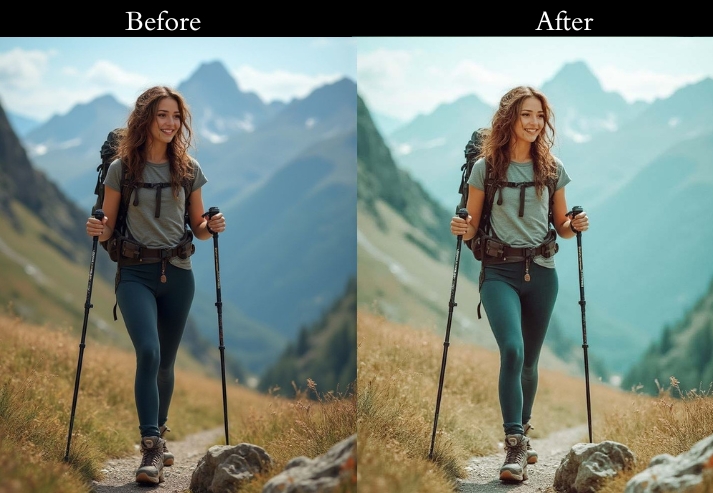
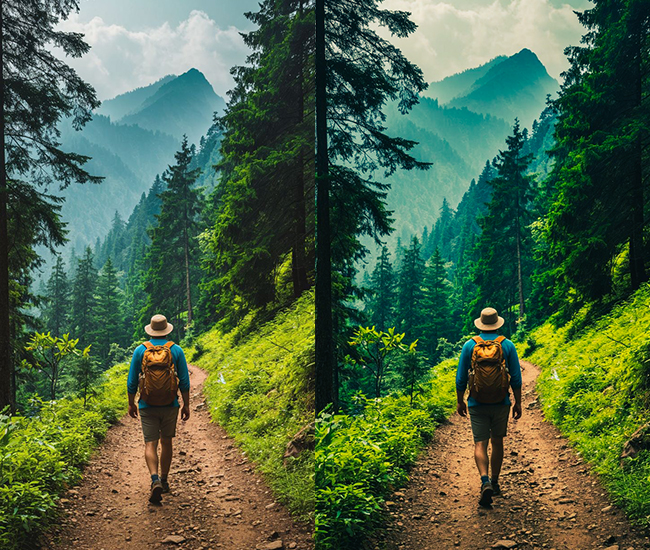
Recommended tweaks: Contrast +15, Texture +10, Vibrance +10. If the scene is overcast, nudge White Balance warmer by +200K for a campfire feel.
- Purpose: a bold, adventurous punch.
- Best For: Trail shots, lake, Mountain, forest camps, or epic cliff views.
- Usage: adjust contrast if your shot’s too flat. let the wild shine!
- Style: Rugged, warm, and ready for the trail.
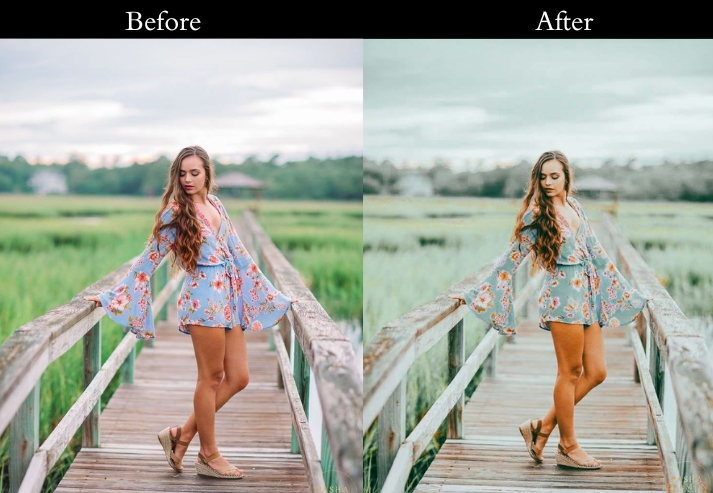
2. Beach – Tropical Presets
Beach photos live or die on color accuracy. Overly warm water looks muddy, overly cool sand looks grey. These tropical presets are calibrated to keep ocean blues vivid and sand golden without tipping into oversaturated postcard territory.
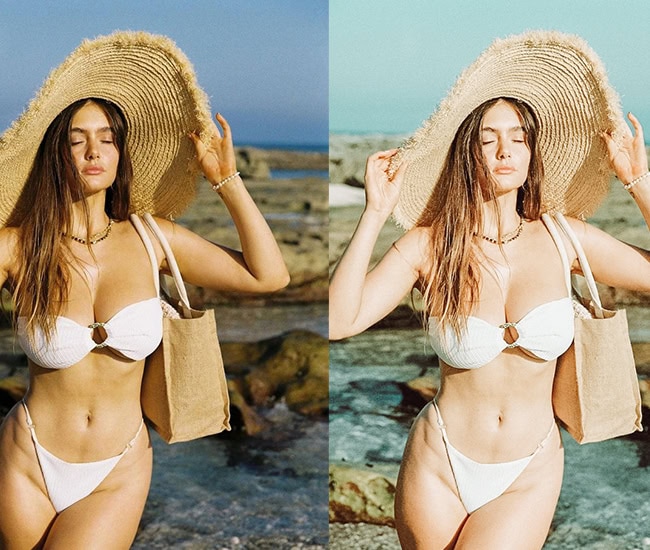

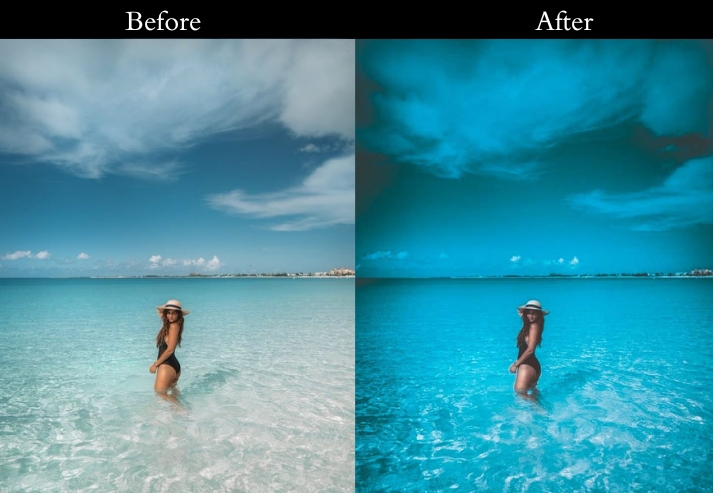
Recommended tweaks: Temperature +10, Tint +5 (green), Clarity +20, Saturation +10, Dehaze +5. If sand looks too orange, pull Hue/Orange left by 5–10.
- Purpose: To make your beach pics look like a postcard from paradise.
- Best For: Ocean shores, palm-lined paths, or anywhere with a piña colada vibe.
- Usage: Apply it, then tweak the warmth if your sand looks too orange. keep it natural!
- Style: Bright, warm, and totally tropical. Hello, Instagram likes!
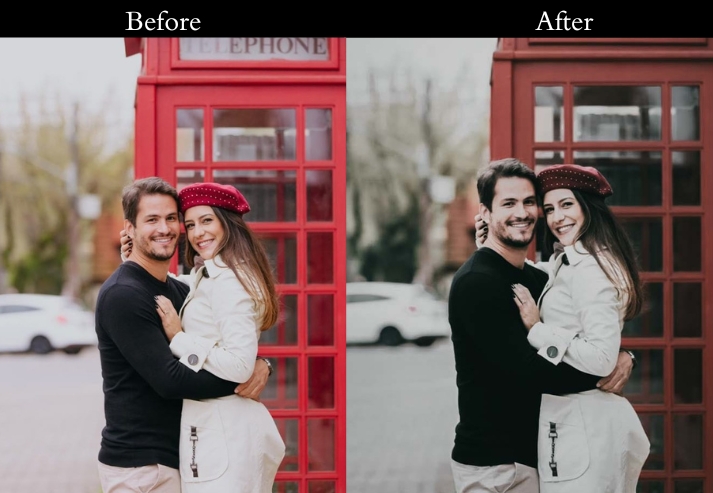
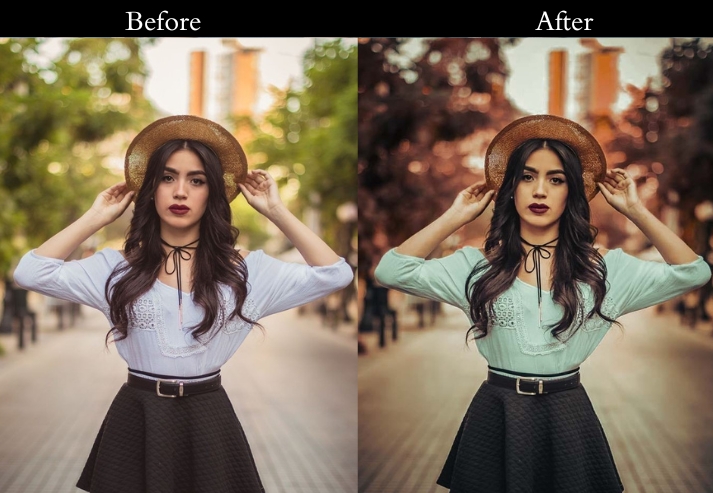
3. Urban – Cityscape Presets
City travel photography covers a huge range: bright afternoon markets, neon-lit alleys at night, and hazy skyline shots at dusk. These urban presets create a polished, lively look that works across all three while preserving the scene’s energy.
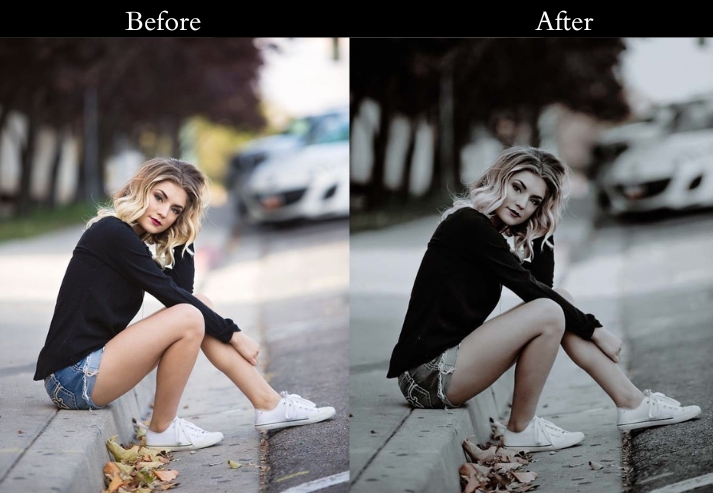
Recommended tweaks: Temperature +5, Tint +3 (magenta), Clarity +15, Shadows +10, Vibrance +10. For night shots, add Exposure +0.3 and reduce Noise Reduction if needed.
- Purpose: a polished, lively edge that screams “urban jungle.”
- Best For: Skylines, street photography, or that cool café you found in Paris.
- Usage: adjust the warmth, too yellow? Dial it back a smidge.
- Style: Warm, crisp, and full of city swagger.
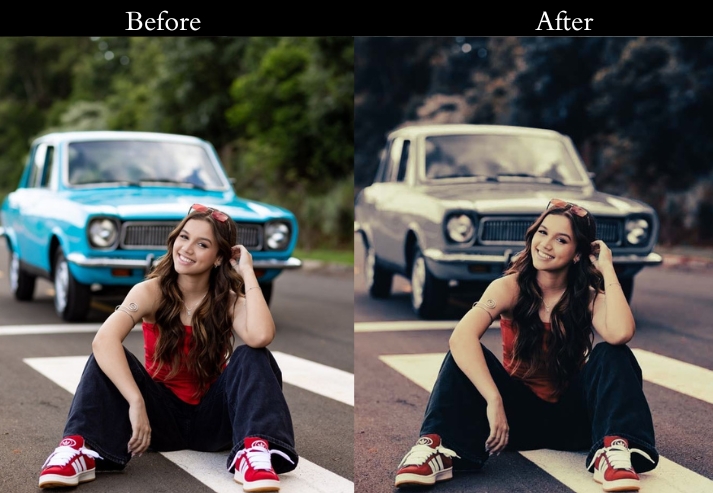
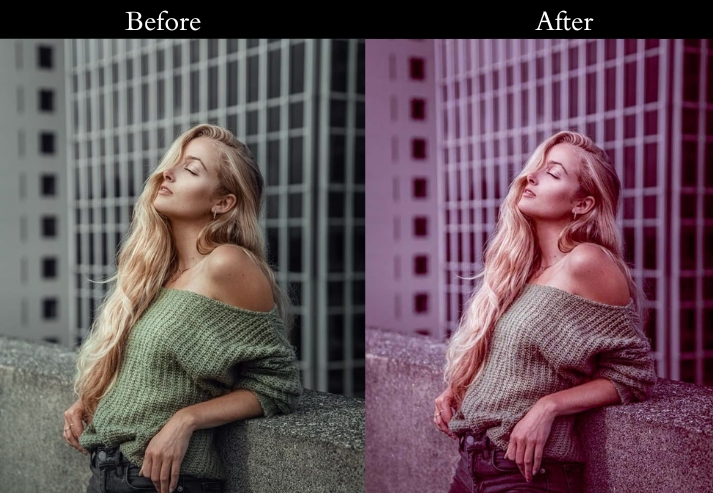
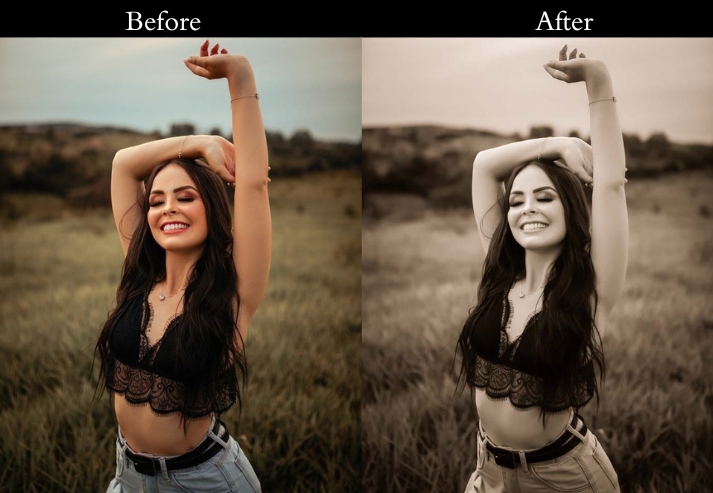
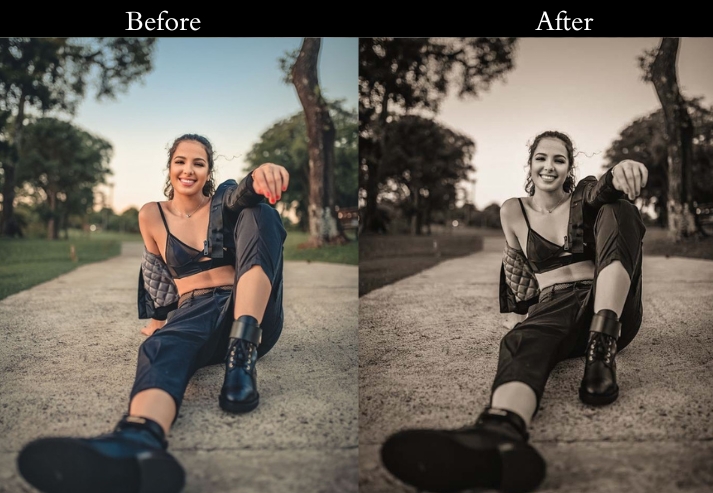
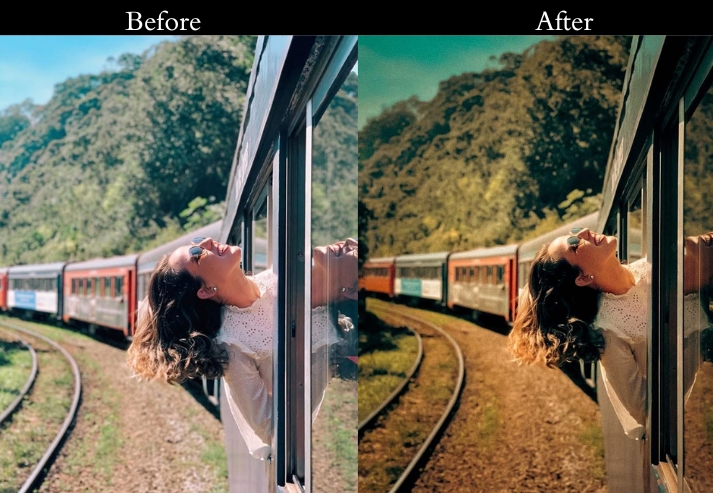
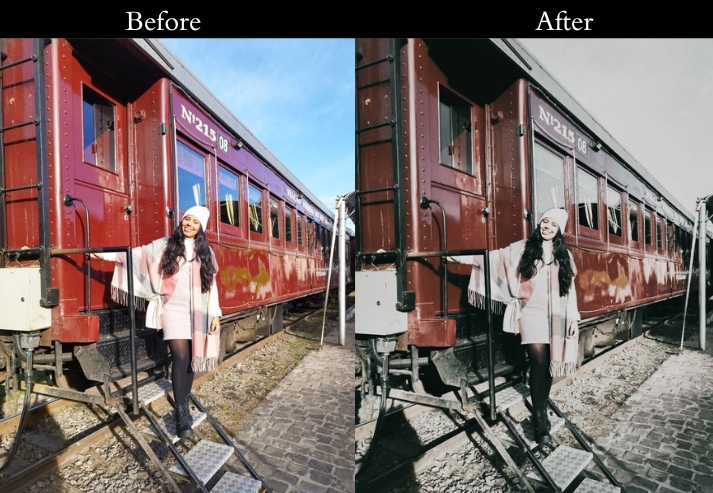
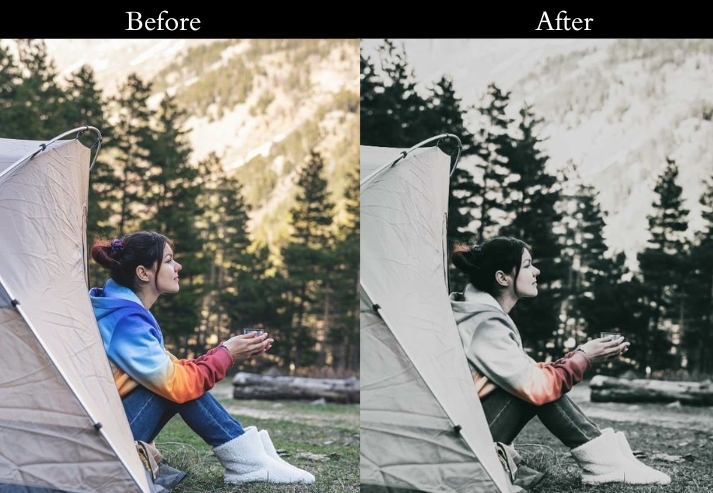
4. Vintage/Retro Travel Presets
Some travel memories deserve the feeling of an old film photograph: faded edges, muted hues, and the soft grain of 35mm. This one replicates that look precisely, without making your photos look like 2012 Instagram filters.
Recommended tweaks: Saturation -10, Grain +20, Tone Curve (lift blacks slightly for faded look), Vignette -10. Adjust the grain amount depending on your original photo's resolution.

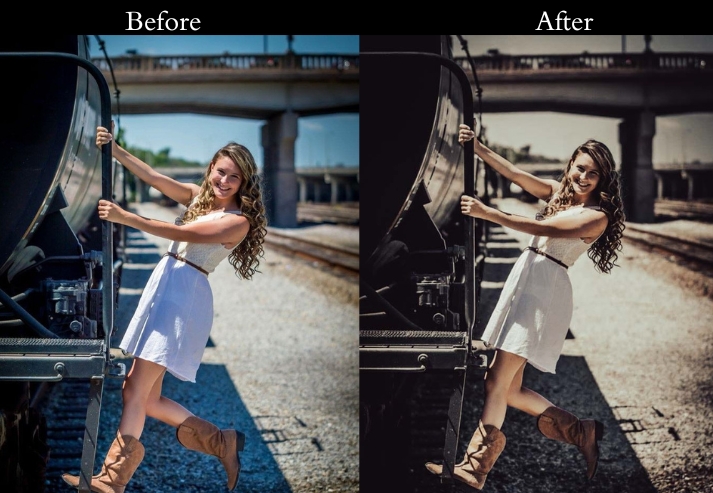

- Purpose: a timeless, memory-lane vibe.
- Best For: Any travel shot you want to feel like a throwback.
- Usage: the grain to get more or less “film” texture.
- Style: Soft, faded, and dripping with nostalgia.
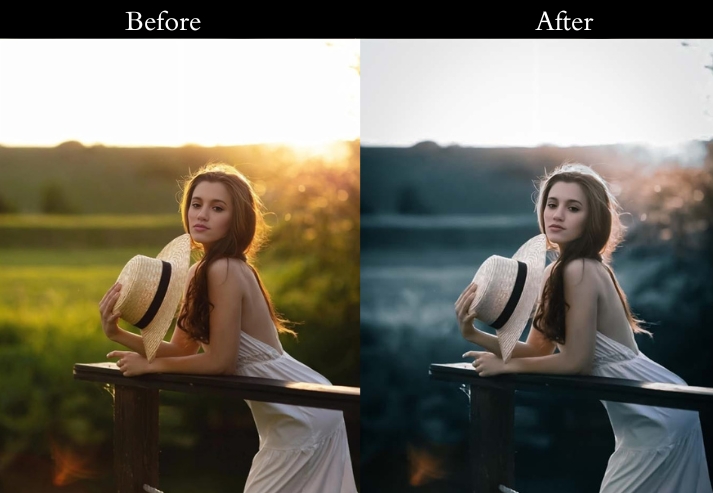
5. Sunset/Sunrise Presets
Golden hour is the most photogenic time of day, but it’s also the easiest to over-edit. These sunset and sunrise presets enhance the warm glow without blowing out highlights or turning skin tones pumpkin orange.
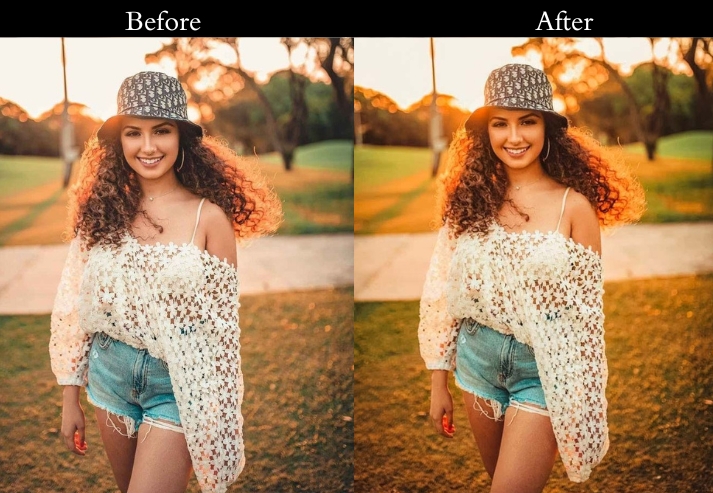
Temperature +15, Tint +5 (red), Clarity +10, Highlights -10, Shadows +10. If the sky looks too orange, pull the Hue/Orange slider left by 5–8.
- Purpose: sunrise and sunset shots glow like pure magic.
- Best For: Horizon shots at dawn or dusk, pure golden glory.
- Usage: dial back the warmth if it’s too fiery. keep it dreamy!
- Style: Warm, soft, and golden-hour gorgeous.
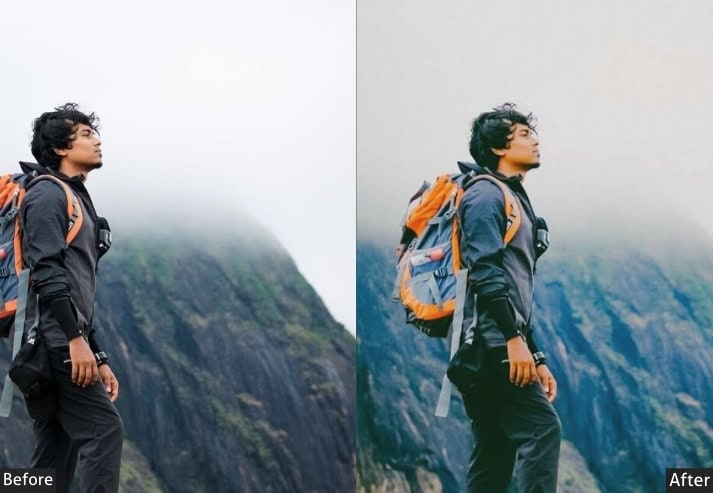
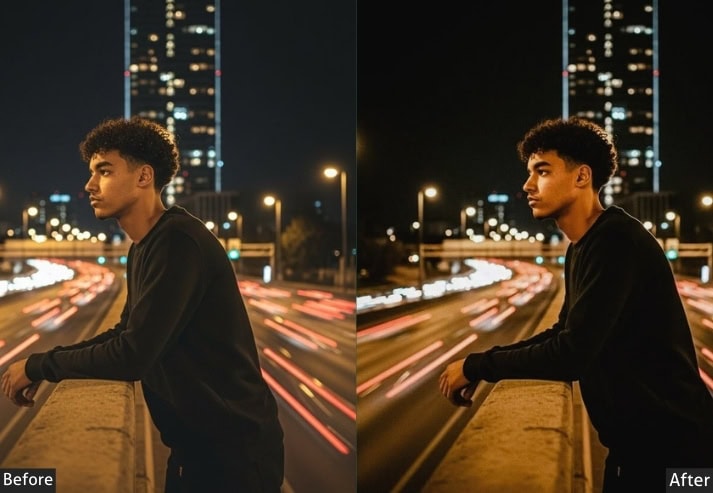
6. Dark/Night/Low-Light Travel Presets
Low-light travel photography is tricky. lift exposure too far, and you add noise; leave it dark, and you lose details in the shadows. These presets are balanced to brighten the scene naturally while keeping streetlights and neon signs from blowing out.
Exposure +0.5–0.8, Shadows +15, Clarity +10. If you have orange streetlight color cast, set White Balance to Tungsten or pull Temperature cooler by -500K.

- Purpose: enhance your night-time travel gems.
- Best For: City lights, starry skies, or cozy indoor shots.
- Usage: adjust exposure-don’t overdo it, or it’ll look fake!
- Style: Bright, bold, and nighttime-ready.
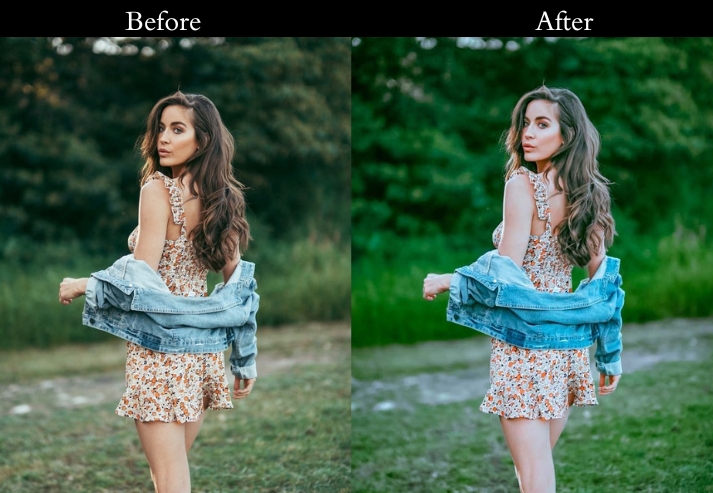
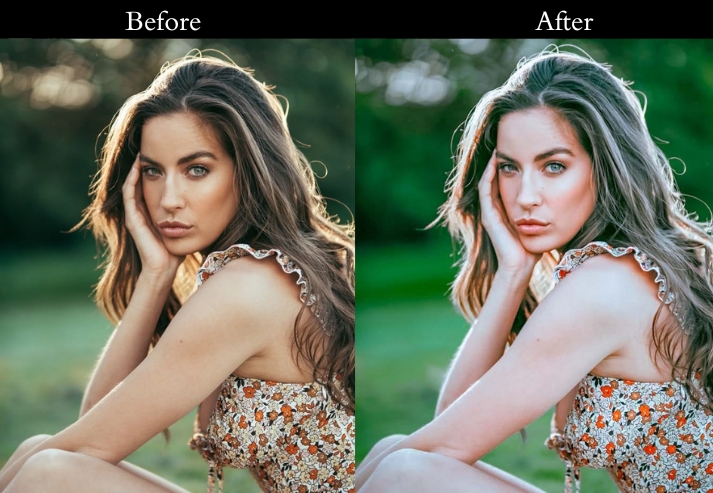
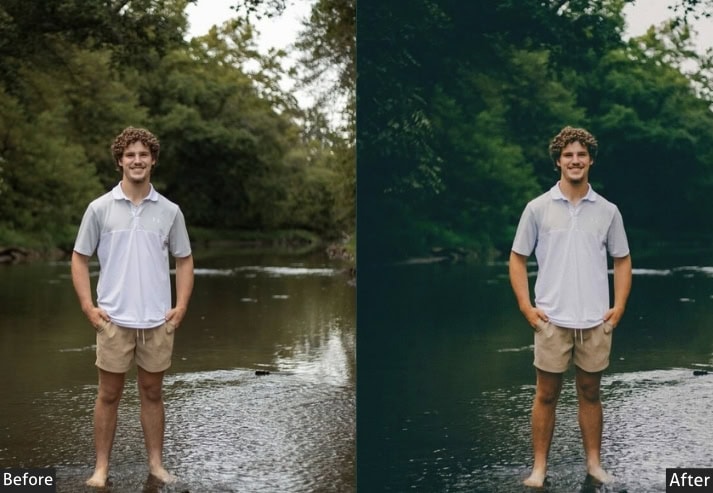
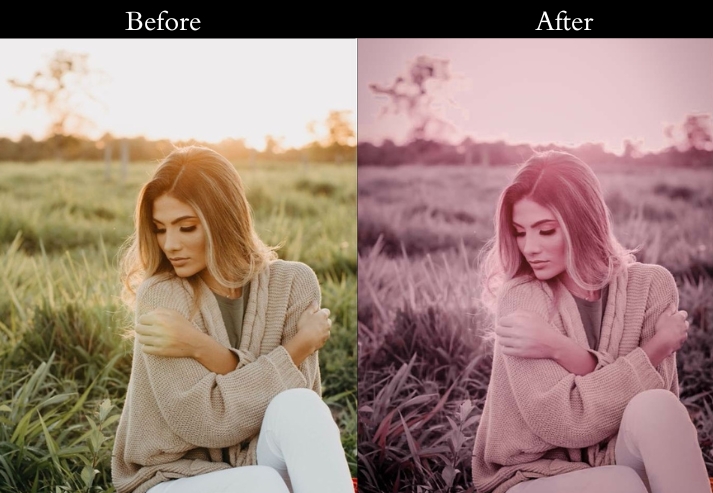
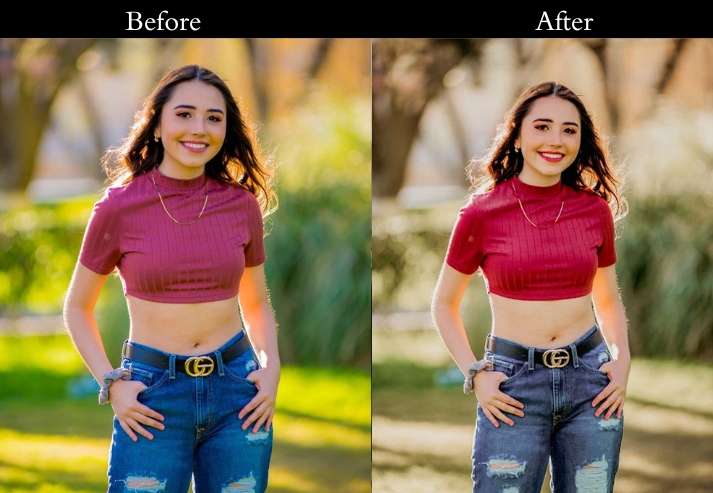
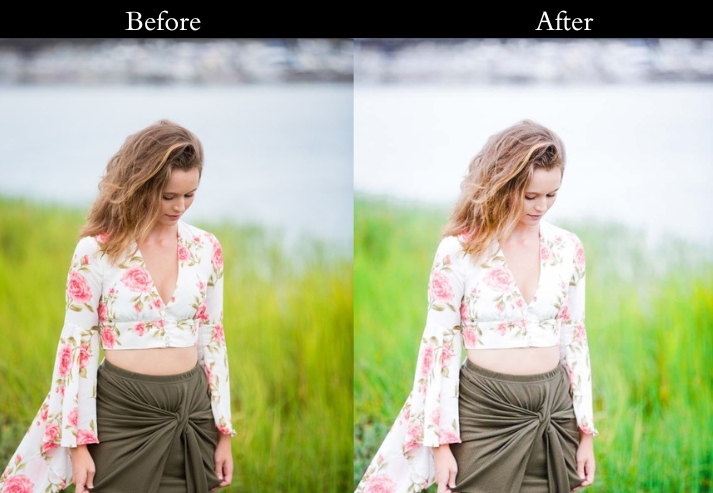
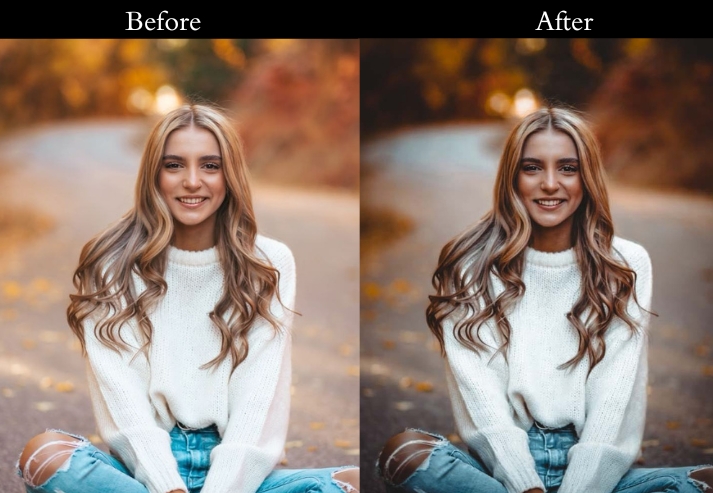
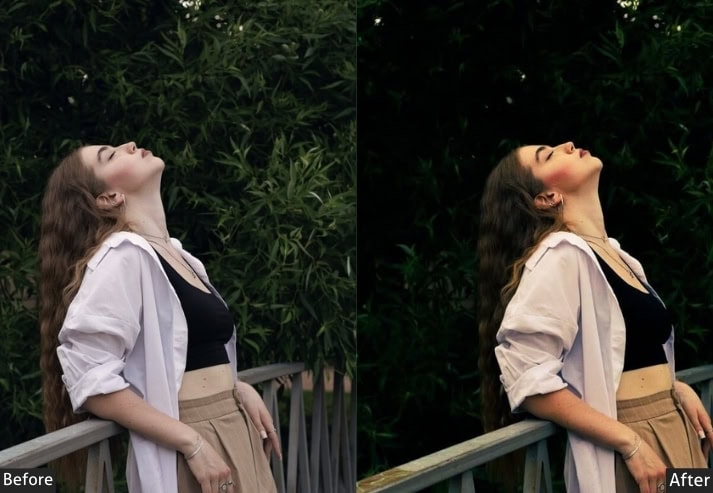
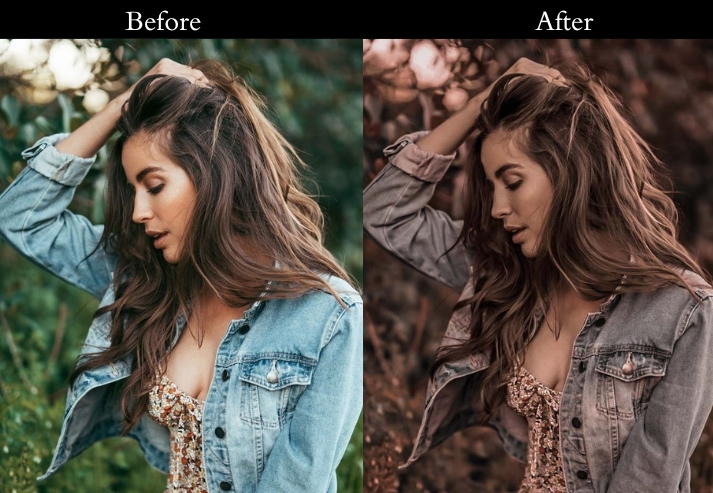
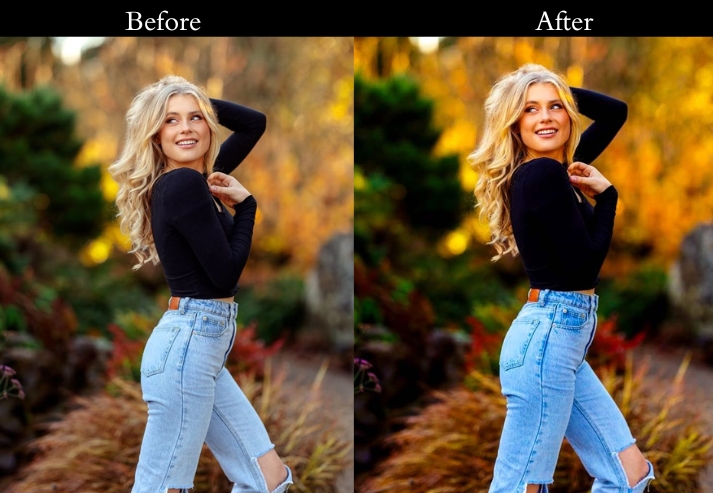
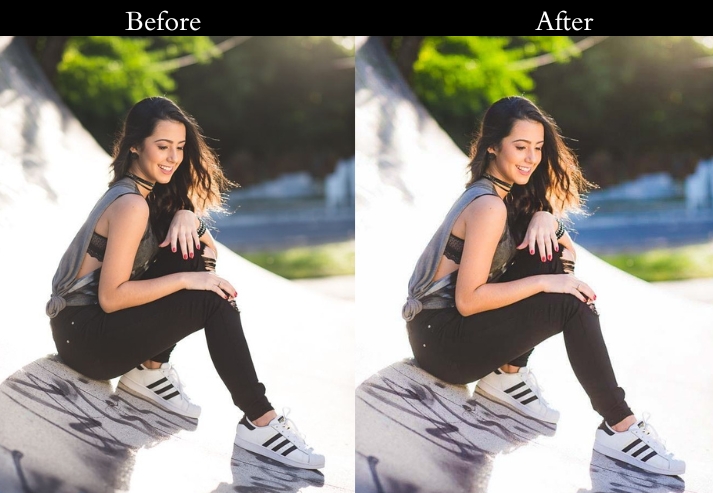
7. Portrait Travel Presets
Travel portraits are a different challenge from landscape shots. The edit needs to flatter the subject while keeping the destination visible in the background. This preset softens skin tones, opens up shadow detail in faces, and keeps backgrounds lively without competing with the subject.
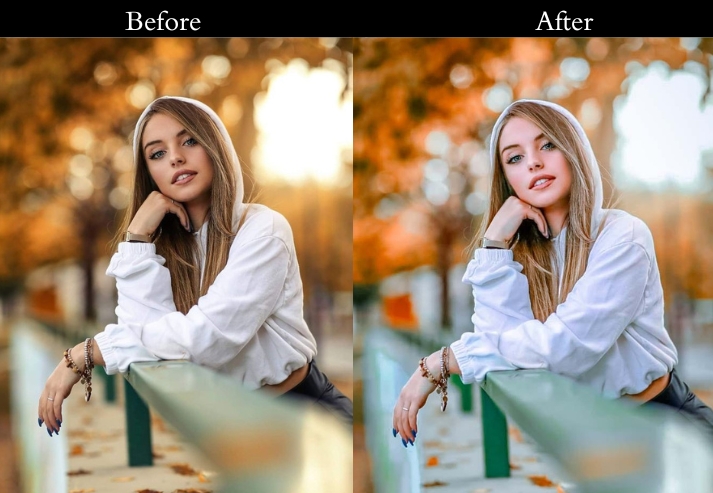

Temperature +5, Clarity +5, Vibrance +10. Use the Adjustment Brush to selectively brighten eyes (+Exposure, +Clarity) and smooth skin (-Texture, -Clarity) without affecting the whole image.
- Purpose: make portraits pop against travel scenes.
- Best For: Candid shots by landmarks or posed shots with epic views.
- Usage: brush up the face tweaks. Less is more!
- Style: Warm, flattering, and people-first.
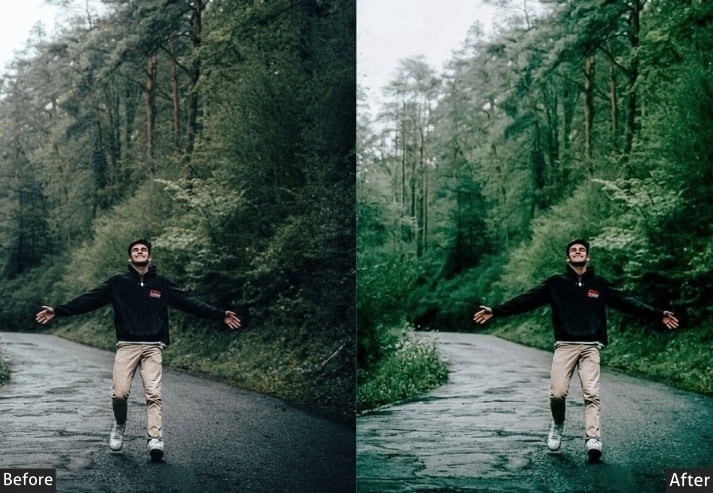
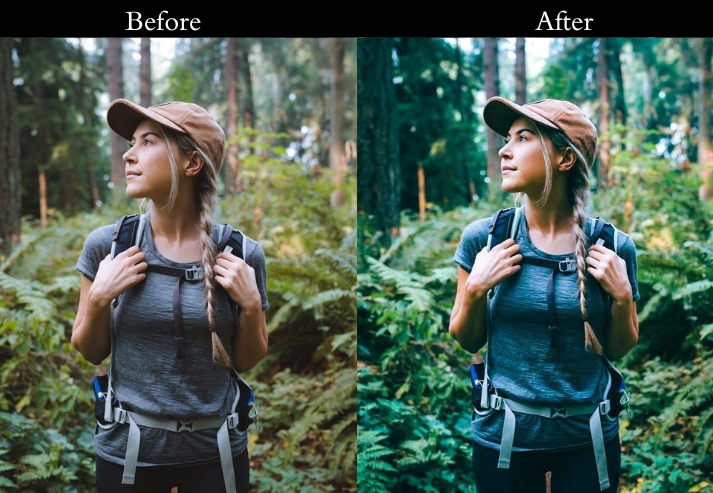
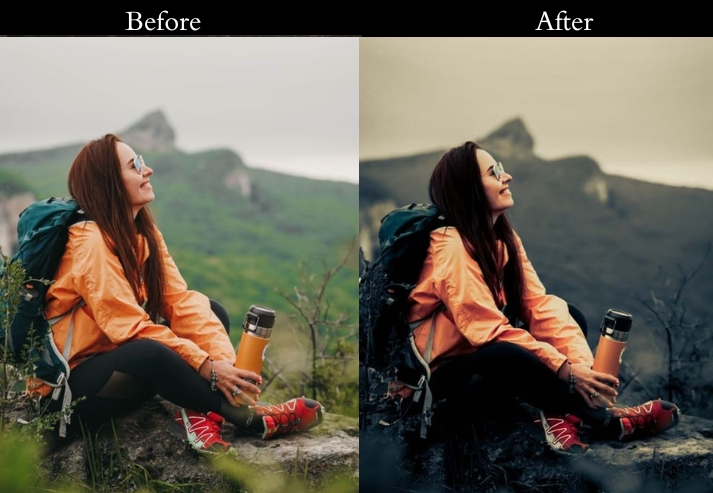
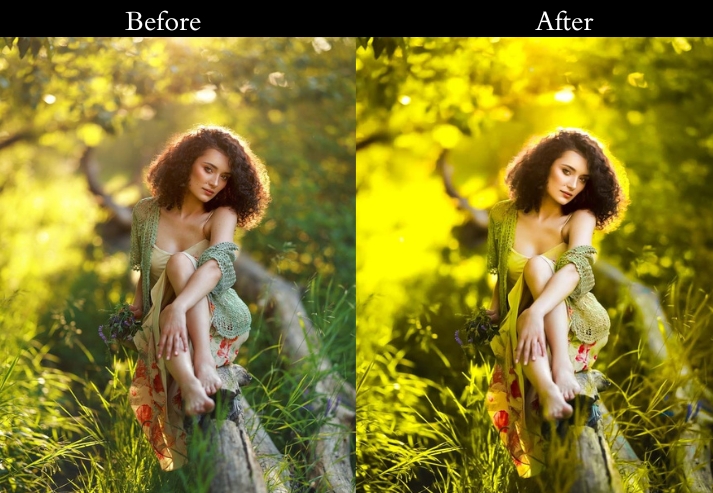
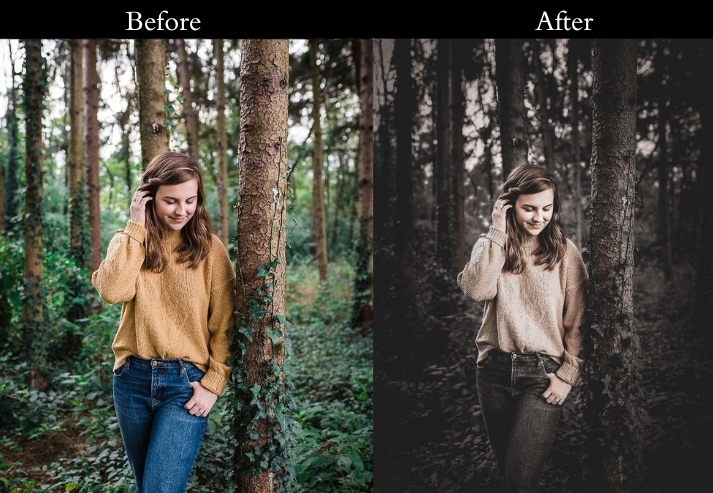
8. Forest Presets
Forest photography lives in contrast: shafts of light cutting through the canopy, the deep green of ferns against brown bark. This one deepens greens and browns while handling the tricky dappled-light exposure that trips up automatic editing.
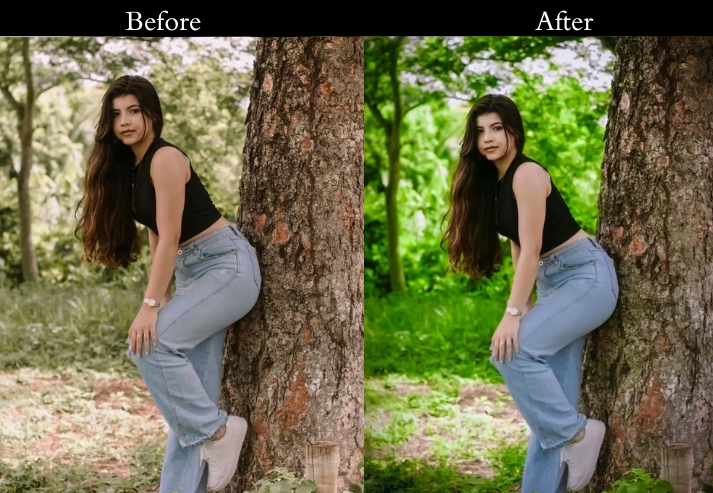
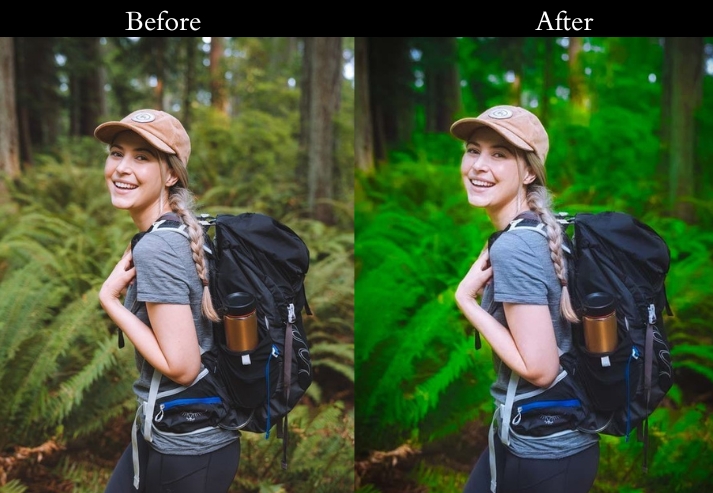

Light: Shadows +20, Highlights -20 to balance dappled light. Color: Increase Green saturation +25, Hue/Green shift slightly toward teal for a cooler forest feel. Effects: Clarity +20 for bark and leaf texture, Vignette -8 for depth. Detail: Sharpening +20, Noise Reduction +15 in darker scenes.
- Purpose: rich, immersive forest photos full of natural charm.
- Best For: Forests, woodlands, and nature trails.
- Usage: tweak exposure and temperature for the right mood.
- Style: Rich, moody, and detailed.
9. Desert Presets
Desert photography is about extremes: blinding white sand, deep shadow in the dunes, and skies that stretch forever. Desert presets handle the high dynamic range of desert light without blowing highlights or crushing shadows.
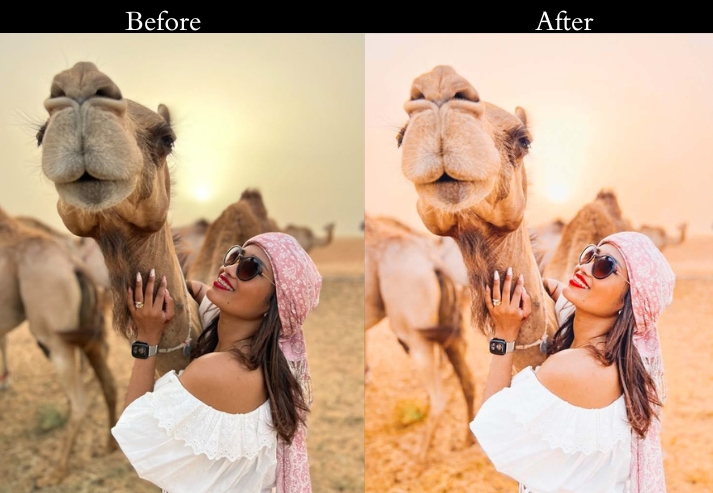
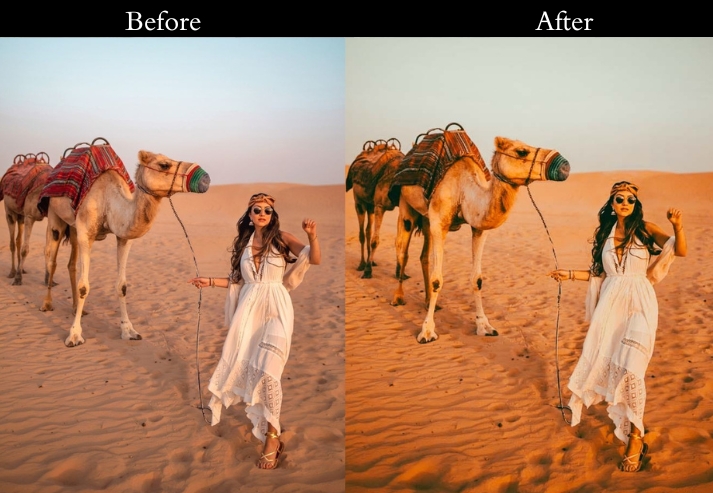
Exposure +0.3, Contrast +25, Temperature +12, Saturation +20, Clarity +20, Vignette -10. If the sky is blown out, pull Highlights down to -40.
- Purpose: highlight the warm, rugged charm of desert landscapes.
- Best For: Sand dunes, rocky deserts, or cactus-filled scenes.
- Usage: tweak contrast and temperature to suit the desert’s lighting.
- Style: Warm, bold, and expansive, like an epic desert adventure.
10. Tour Presets
Street markets are visually chaotic in the best possible way: spice stalls, fabric colors, and constant movement. This lifts vibrance and clarity so every color shines cleanly without the noise and flat look that automatic edits produce in busy environments.
Exposure +0.2, Contrast +20, Vibrance +25, Clarity +15, Vignette -8. Reduce Highlights if colorful awnings are blowing out.
- Purpose: the lively, colorful energy of people’s lives.
- Best For: Street, markets, food stalls, or artisan displays.
- Usage: adjust vibrance and exposure to match the Toruist vibe.
- Style: Bright, bustling, and vivid.
Last Words
Each preset is a starting point, not a final edit: apply it, then use the recommendations in each section above to fine-tune for your specific photo. The most effective way to use travel presets is to batch-edit similar shots (same lighting, same location) together. Apply the preset to one photo, dial in your adjustments, then sync those settings across the whole batch in one click.
Download the packs above, experiment freely, and leave a comment below with the preset and photo type that worked best for you.
More Presets:
Beach Lightroom Presets Free Download Instantly
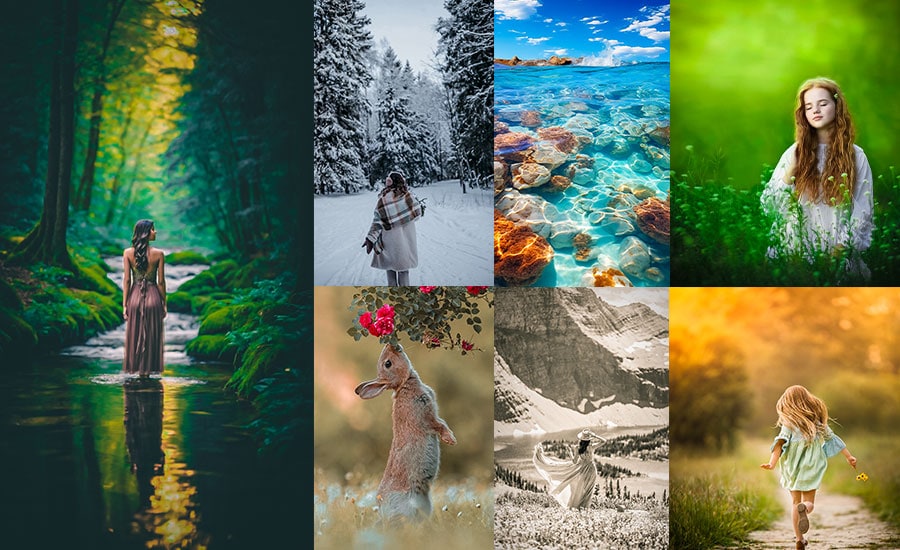
Nature Lightroom Presets Free Download Now
Lightroom Portrait Presets Free Download
Winter Lightroom Presets Free Download
Street Lightroom Presets Free Download