Hey Photography lover! Worry about your photo editing? Think of a preset like a saved recipe. Instead of manually adjusting exposure, contrast, highlights, shadows, HSL, tone curves, and grain every single time, a preset bakes all of those settings into one single click.
You load a photo. You click the preset. Boom… an editing direction appears, fully formed, like magic. You tweak from there. It’s not about being lazy; it’s about being efficient and consistent. The difference between free and paid presets isn’t really about the concept! It’s about the quality of the recipe inside.
💡 Quick tip: Presets don’t replace learning Lightroom; they accelerate it. You still need to understand when to tweak them. A great preset on a badly exposed photo is like putting racing tires on a car with no engine.
The 5-Second Answer (For the Impatient) – Are paid presets worth it?
✅ Yes – if you want consistency, skin-tone protection, and one-click professional results.
❌ No – if you’re just starting out, shooting in wildly different lighting every time, or on a tight budget.
But that’s too simple. Let me show you exactly what you’re getting (and losing) with each.
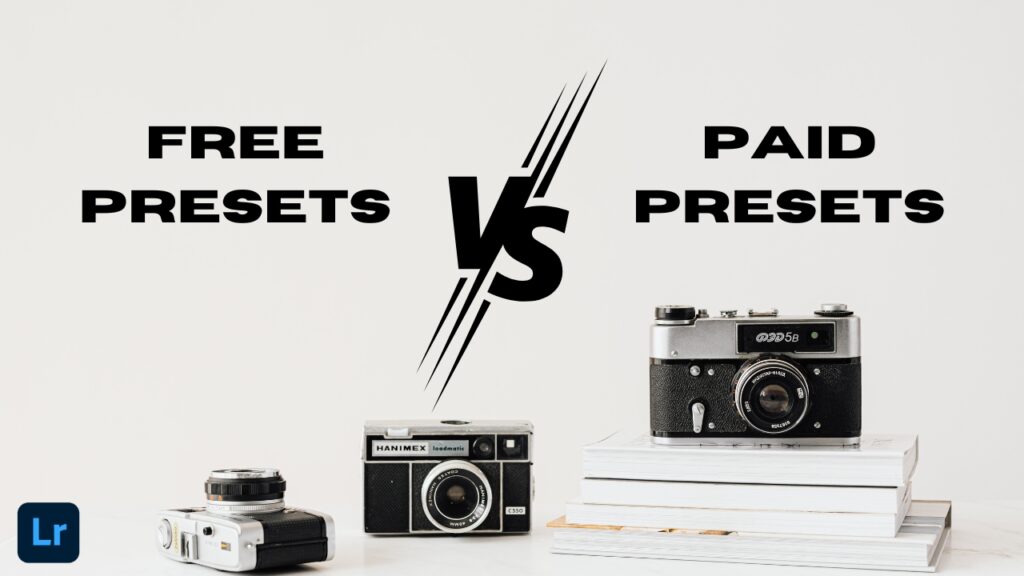
Free vs Paid Lightroom Presets: The Real Difference
Free presets aren’t evil. Some of them are genuinely great. Here’s what you’re actually dealing with:
✅ What free presets do well
Free presets are perfect for exploration. You’re brand new to Lightroom, and you want to understand what “warm and airy” looks like versus “dark and moody”. Free packs are great for building that visual vocabulary. Adobe itself offers free preset packs inside Lightroom’s Discover tab, and many professional photographers release free samples as marketing (which means they’re genuinely polished). They’re also basically free education. When you apply a free preset and then look at what sliders moved, you’re literally watching someone’s editing philosophy in action. That’s worth something. 🎓
⚠️ The problems you’ll run into
Here’s where I’m going to be honest with you. Most random free presets downloaded from Pinterest boards, Google Drive links, or sketchy websites were made in about 15 minutes by someone who had discovered Lightroom themselves. The color science is often all over the place. They blow out highlights, destroy skin tones, or create a look that only works under one specific lighting condition. The other issue? They eat your time. You download a pack of 50 presets, spend 40 minutes testing them all, find two that are “okay-ish,” and spend the next hour adjusting because nothing is quite right. That’s not saving time, that’s losing it. ⏳
⚠️ Red flag alert: Any free preset that comes as a .lrtemplate file (the old format) and claims to be “2026 trending” is lying to you. Always check that presets are .xmp files for modern Lightroom compatibility.
💰 Paid Presets: What You’re Actually Paying For
Here’s what’s interesting: when you buy presets from a reputable creator, you’re not only buying a slider configuration. You’re buying:
- Years of someone’s editing taste and professional experience.
- Testing across thousands of different lighting scenarios.
- Compatibility across different camera sensors.
- Ongoing support and updates.
- Often, a full modular system rather than a single one-trick look.
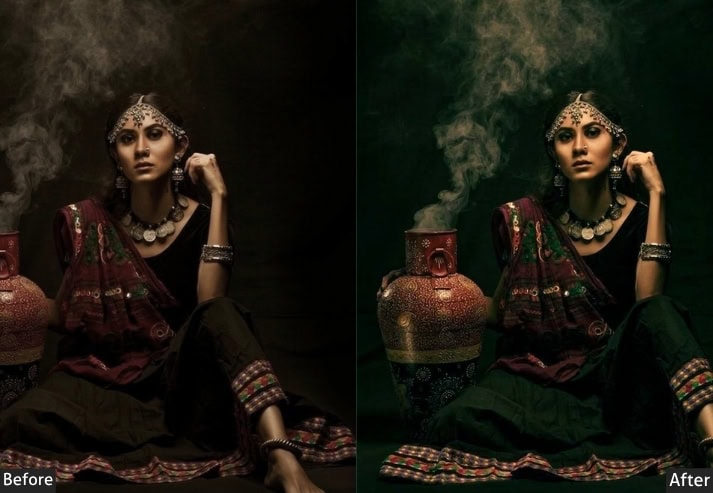
I bought my first proper preset pack, and the difference was immediately noticeable. Consistent color rendering. Intelligent highlight rolloff. Skin tones that actually looked human. It was craft.
What separates quality paid presets:
- They’re tested across multiple camera sensors (Sony, Canon, Nikon, Fuji all of which render color differently.
- Skin-tone protection: quality presets don’t turn your subject into a Simpsons character. 💛
- Modular design – base presets + adjustment presets you can layer (add grain, boost shadows, etc.).
- Regular updates when Lightroom changes its rendering engine.
- Documentation and tutorials that show you how to use them properly.
🌿 Pro insight: The best-paid preset creators are usually working photographers who built these presets for their own workflow first. You’re essentially licensing their editing system.
| Feature | Free Presets | paid Presets |
|---|---|---|
| Cost | $0 | $2–$200+ |
| Quality consistency | Hit or miss | Usually high, if from reputable creators |
| Skin tone handling | Often poor | Usually well-considered |
| Camera compatibility | Rarely tested | Usually multi-camera tested |
| Updates & support | None | Typically included |
| Time investment | High (sorting through junk) | Low (apply, tweak, done) |
| Best for | Beginners exploring styles | Professionals needing consistency |
| Risk level | Low (free = no loss) | Medium (research before buying) |
| Style | Generic | Unique |
| Over-editing risk | High (blown highlights, crushed blacks) | Low (restrained curves) |
| Where to find | Pinterest, Facebook groups, freebie blogs | Gumroad, Etsy, Creator sites |
| Creator Expertise | Unknown (could be a 14-year-old on TikTok) | Known (pro photographer with portfolio & reviews) |
When Should YOU Go Free vs. Paid?
This is not a one-size-fits-all answer. Here’s how to actually decide based on where you are right now:
✅ Go free if…
- You’re just starting out and still figuring out what “your style” even is.
- You shoot purely for fun, not clients.
- You want to use Adobe’s built-in presets, RNI Films (free tier), or VSCO mobile – these are genuinely excellent.
- You’re on a tight budget and need to build skills first.
💰 Go paid if…
- You’re shooting for paying clients (consistency is your brand).
- You’re spending 45+ minutes adjusting every preset – the foundation isn’t solid enough.
- Your time is genuinely billable, and sorting free packs costs you real money.
- You’ve tried free presets and still can’t find a look that feels like yours.
- You’re shooting weddings, portraits, or commercial work where delivery speed matters.
Either works if…
You’re building a personal portfolio and have time to experiment.
You’re a semi-serious hobbyist who shoots regularly but recreationally.
How to Use ANY Preset Like an Actual Pro?
Here’s the thing most people miss: even the best preset in the world is just a starting point. Nobody – not even the person who made it – applies it and ships it unchanged 100% of the time. Here’s my actual workflow:
Step 1: Fix your exposure FIRST
Apply the preset to a correctly exposed image. A preset cannot rescue a photo that’s 2 stops underexposed – it makes the muddy darkness more stylistically muddy. Nail your basics before clicking anything.
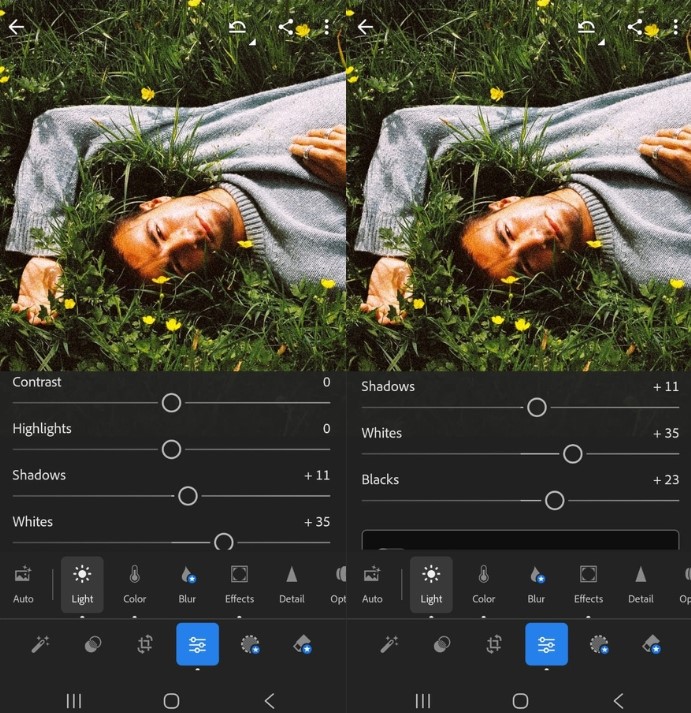
Step 2: Check the whites and blacks
Hold Alt/Option while dragging the Whites slider until you start seeing clipping. Same for Blacks in the opposite direction. This gives every preset a proper tonal foundation to sit on.
Step 3: Rescue the skin tones
Head to the HSL panel. Pull Orange Hue and Saturation if skin looks radioactive or plasticky. This is where 90% of free presets fail – a quick nudge here saves the shot every time.
Step 4: Adjust for YOUR specific light
The preset was built in specific lighting conditions. Yours probably aren’t the same. Temp and Tint sliders are your best friends here – don’t be scared to shift them 200–400K from the preset’s default.
Step 5: Save your adjusted version as a NEW preset
Once you’ve dialed something in for your specific camera and shooting style, save it. Now it’s your preset. This is exactly how professional photographers build their own signature look over time.
🎯 The hidden technique: In Lightroom Classic, select all images from a shoot → Sync Settings → check only the settings you want applied. Batch editing with a customized preset is a complete game-changer for wedding and event photographers.
🔍 How to spot a quality paid preset before buying
Before spending money, run through this quick checklist:
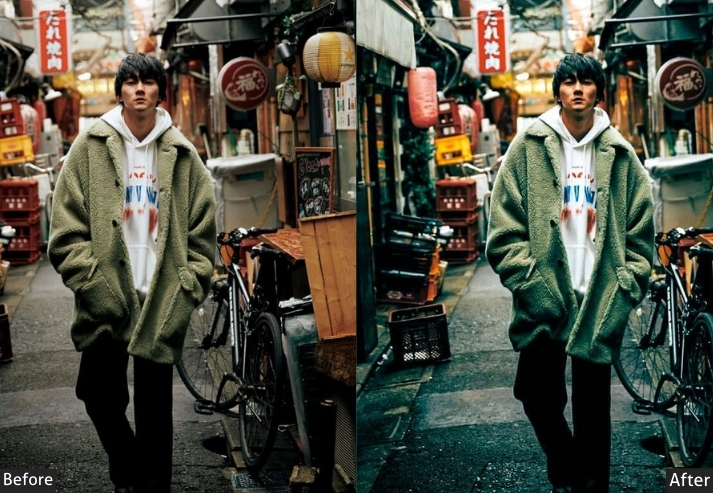
- Look for before/afters in multiple lighting conditions – indoor, outdoor, golden hour, harsh midday. If they only show one situation, be suspicious.
- Check that the creator is an actual photographer with a real portfolio. Their own published work should use these presets consistently.
- Read reviews that mention camera brands – “I shoot Sony A7IV and the colors were perfect” is more useful than “amazing wow 5 stars”.
- Try a free sample first – many quality creators offer one preset from their collection. Always test it on your own RAW files before buying the full pack.
Frequently Asked Questions
Final Words
If you’re asking, “Are paid presets worth it?” you already care about your photos. That’s a good thing.
Start free. Learn what you hate (too much contrast? fake grain? orange skin?). Then buy one paid preset that solves that exact problem.
And never, ever feel bad for using free presets on your personal photos. Some of my favorite edits are “broken” free presets I tweaked for an hour. Now go make something beautiful. And if you see an Oompa Loompa skin tone out there… send them my way. 😉
Your turn: What’s the worst preset fail you’ve ever had? Drop it in the comments. I’ll reply with a fix.
Learn More:
What Are Lightroom Presets? – Full Guideline
Lightroom Presets Not Showing? Easy Fixes That Actually Work