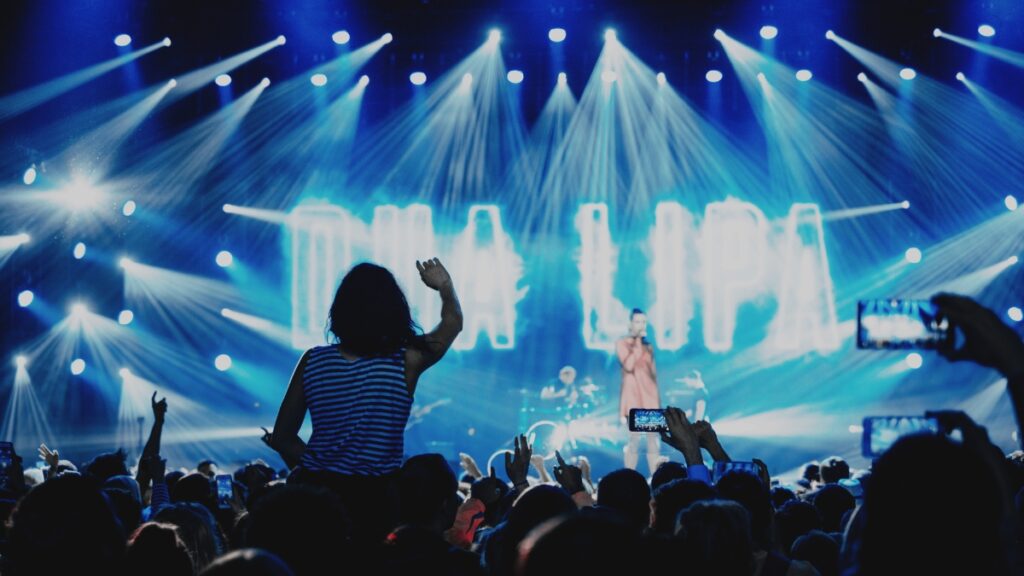
You’re in a dark venue, the stage lights are strobing, the artist is moving fast, and you’ve got three songs to get the shot. Concert photography is one of the most technically demanding and most rewarding forms of photography. This guide covers everything: how to get a photo pit pass, which camera settings actually work in low light, how to compose compelling shots in chaotic conditions, and a full Lightroom editing workflow to turn raw files into publication-ready images.
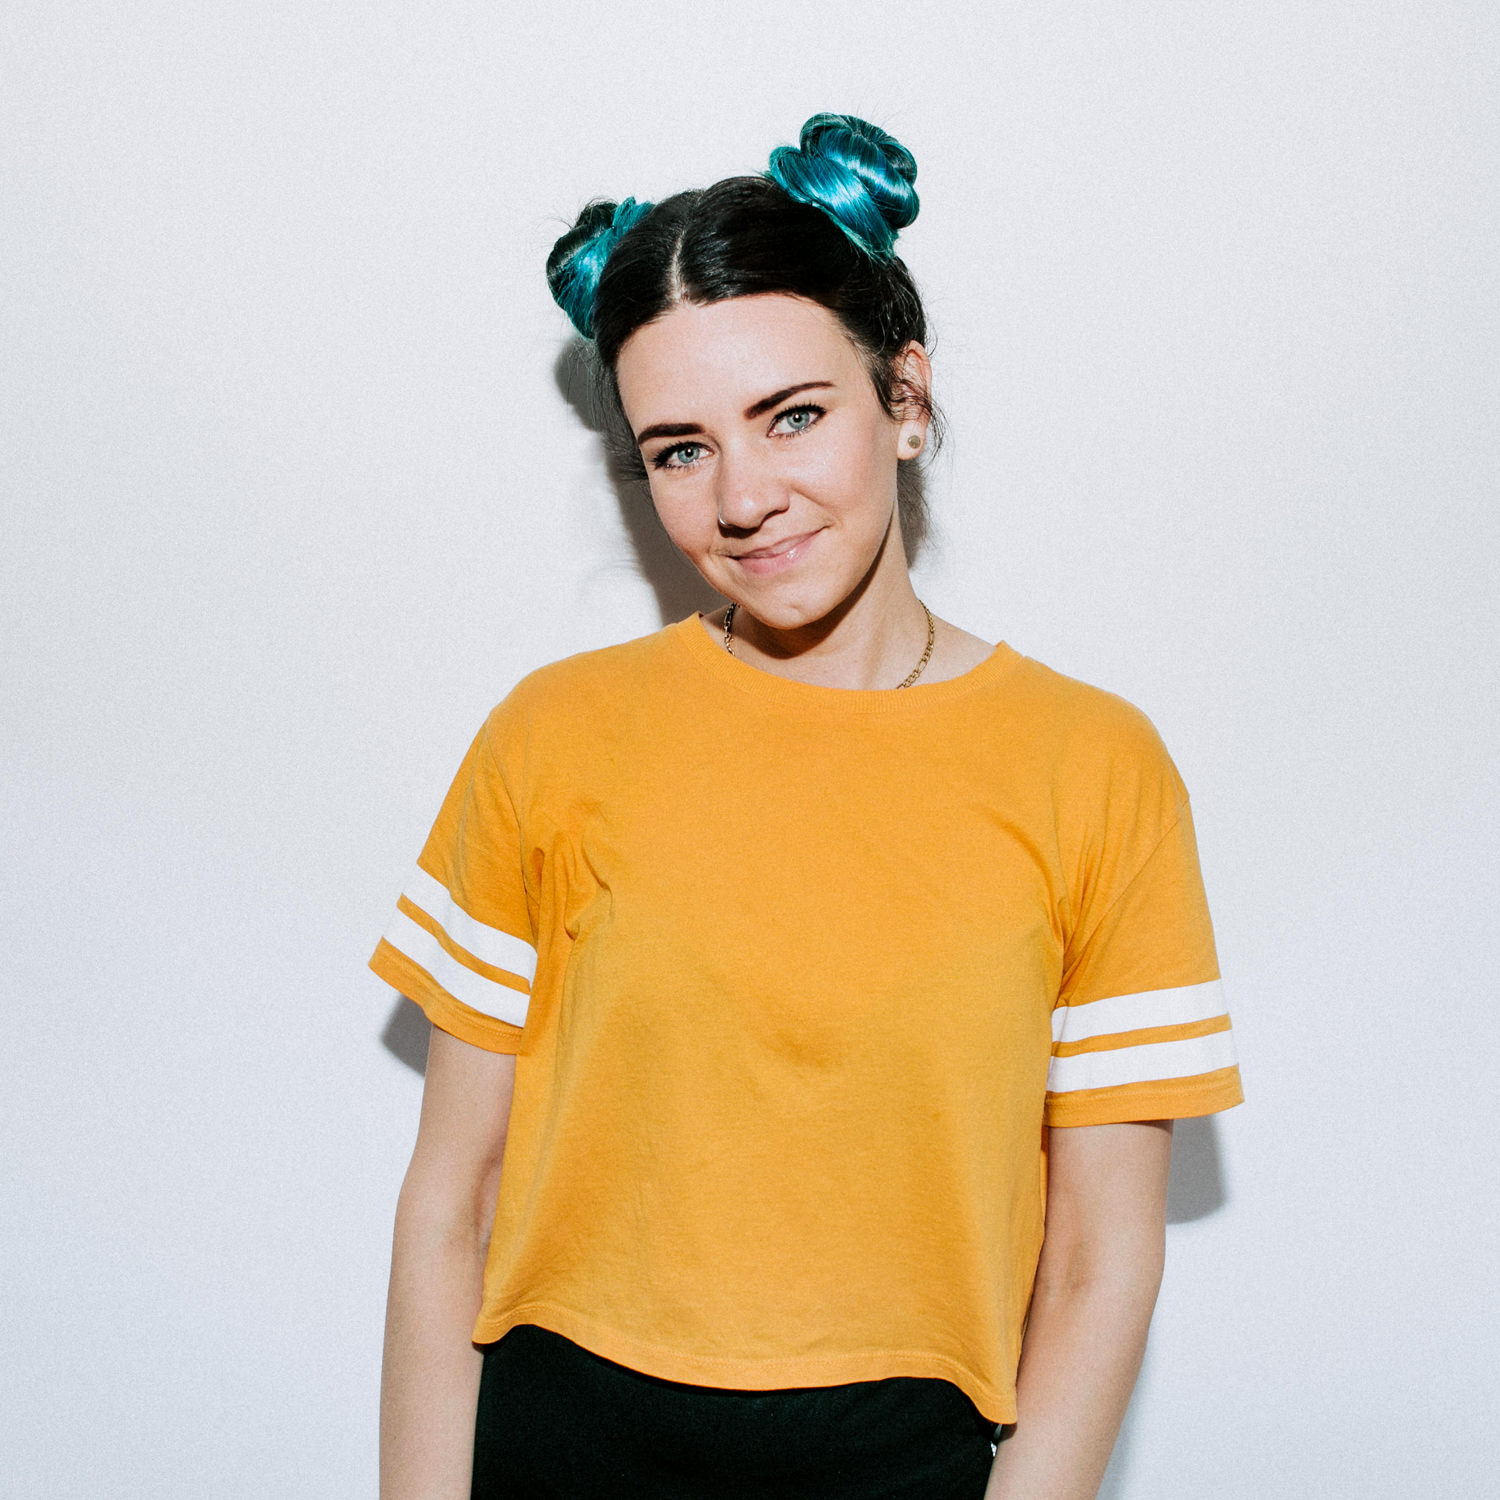
I’m a music fan first, so I’m blessed to have spent the last 10 years touring around the world with artists I love. I am passionate about empowering young photographers to create their ideal future.
- Anna Lee
- Best cameras for concert photography
- Best lenses for concert photography
- Essential accessories
- Who to contact?
- What to include in your press request email
- Getting started without a press pass
- Shutter speed
- Aperture
- ISO
- File format: always shoot RAW
- Work the pit professionally
- Composition tips for concert photography
- No-flash photography
- Step 1: Cull ruthlessly before editing anything
- Step 2: Fix lens correction and crop
- Step 3: Set white balance
- Step 4: Adjust exposure and tone
- Step 5: Fix skin tones with HSL
- Step 6: Noise reduction
- Step 7: Local adjustments
- Using Concert Photography Presets to Speed Up Your Workflow
Gear: Cameras, Lenses & Accessories for Concert Photography
You don’t need the most expensive kit to shoot great concert photos, but you do need the right kit. Concert venues are dark, fast, and unpredictable. Your gear needs to handle high ISO without falling apart, autofocus quickly in dim light, and give you a lens fast enough to shoot wide open.
Best cameras for concert photography
Sony A7 IV (Best overall): Full-frame sensor, excellent high-ISO performance up to ISO 12800, fast Eye-AF locks onto moving performers instantly.
Canon EOS R6 Mark II (Canon mirrorless): 40 fps burst, subject-tracking AF, and superb low-light capability make this a concert photographer’s dream.
Fujifilm X-T5 (Budget pick): APS-C sensor, excellent at high ISO, compact for crowded pits, and beautiful film simulation modes that speed up editing.
Nikon Z6 III 9(Nikon option): Partially stacked sensor with 20fps, outstanding autofocus, and great dynamic range for recovering shadow detail in dark venues.
Best lenses for concert photography
50mm f/1.8 prime (Photo pit (close range)): Affordable, razor-sharp wide open, and gives natural-looking portraits of performers. The best bang-for-buck concert lens.
24-70mm f/2.8 zoom (Photo pit (versatile)): Covers wide environmental shots through to close headshots. Heavier and pricier, but it gives you flexibility when you can’t move.
70-200mm f/2.8 zoom (Shooting from the crowd): Essential if you’re shooting from the back. The f/2.8 aperture keeps ISO manageable. Image stabilization helps, too.
85mm f/1.8 prime (Budget option): Flattering focal length for artist portraits, excellent bokeh, and much cheaper than an f/1.4 version. Great for close-range pit shooting.
Pro tip: In a photo pit, you generally can’t go past the first few meters. A 24-70mm or a 35mm prime is often more useful than a telephoto. You’ll be closer than you think.
Essential accessories
Extra batteries (2 minimum): Cold venues and heavy burst shooting drain batteries fast. You cannot charge in the pit.
Multiple memory cards: A card failure mid-show is a disaster. Use two cards per camera if your body supports it.
New A Black Rapid or Peak Design strap: A wrist strap is a liability in a crowded pit. A cross-body strap keeps your camera secure and your hands free.
New Earplugs: Protecting your hearing lets you shoot more shows over the course of your career. Always keep a pair in your camera bag.
How to Get a Concert Photo Pass?
Getting access to the photo pit is about more than just asking. Venues and artist management receive dozens of requests per show. You need to stand out as a professional, even if you’re just starting out. Here’s the exact process that works.
Who to contact?
Small/local shows: Email the venue’s PR or marketing contact directly. Check the venue’s website for a press inquiries email.
Mid-size touring artists: Contact the band’s booking agent (listed on their website or Pollstar) or management company.
Major label artists: Go through the label’s press office. Find the relevant publicist on their website.
Festivals: Apply through the festival’s media accreditation form, which usually opens 4–8 weeks before the event.
What to include in your press request email
Subject: Media/Photo Pass Request — [Artist Name] at [Venue], [Date]

Hi [Name],

I'm [Your Name], a photographer covering [your publication/blog name]. I'd love to request a photo pass for [Artist]'s show at [Venue] on [Date].

I'll be shooting for [publication/personal portfolio], covering [genre] music. You can view my previous concert photography work here: [portfolio link].

I understand and will comply with all standard photo pit rules (first three songs, no flash, no video unless permitted).

Please let me know if you need any additional information. Thank you for your time.

[Your Name]
[Website] | [Instagram/Portfolio]
Timing: Send your request at least 2–4 weeks before the show. For major tours, 4–6 weeks. Last-minute requests are almost always declined.
⚠️ Important: Most photo passes come with usage restrictions. You may only be permitted to use images for editorial (not commercial) purposes. Always read the photo release terms before shooting.
Getting started without a press pass
You don’t need a press pass to start. Shoot smaller local shows where access is open: open mic nights, unsigned bands at small venues, support acts. These shows let you build your portfolio in real conditions. Once you have 10–15 strong shots, you have something to attach to a press request. Every professional concert photographer started without access.
Camera Settings for Concert Photography
The biggest challenge in concert photography is the light, or lack of it. You’re fighting low ambient light, fast-moving subjects, and constantly changing coloured stage lighting. The settings below aren’t rules. They’re starting points you’ll adjust song by song.
| Scenario | Shutter Speed | Aperture | ISO | AF Mode |
|---|---|---|---|---|
| Small dark club | 1/160s–1/250s | f/1.8–f/2.0 | 3200–6400 | Continuous / Eye-AF |
| Mid-size venue (lit stage) | 1/250s–1/500s | f/2.0–f/2.8 | 1600–3200 | Continuous / Eye-AF |
| Large arena (bright show) | 1/500s–1/1000s | f/2.8–f/4.0 | 800–1600 | Continuous / Subject tracking |
| Outdoor festival (daytime) | 1/1000s+ | f/5.6–f/8.0 | 100–400 | Any AF mode |
| Outdoor festival (night) | 1/250s–1/500s | f/2.0–f/2.8 | 1600–3200 | Continuous / Eye-AF |
Shutter speed
A minimum of 1/200s is your floor to avoid motion blur when shooting a moving performer. Faster is better. 1/500s freezes a guitarist mid-jump without any blur. The trade-off is that a faster shutter requires higher ISO or a wider aperture. Start at 1/250s and adjust based on how much the performer is moving.
Aperture
Shoot as wide as your lens allows: f/1.8 or f/2.8. This lets in maximum light and produces the shallow depth of field that separates your subject from a cluttered background. The only time to stop down is in bright outdoor festivals where you have light to spare.
ISO
Don’t be afraid of high ISO. A sharp image at ISO 6400 is far better than a blurry image at ISO 800. Modern cameras handle noise well, and Lightroom’s AI Denoise tool can clean up even very noisy files in one click. Set your ISO to Auto with a maximum of ISO 12800 on a full-frame body, or ISO 6400 on an APS-C.
Use Auto ISO with a minimum shutter speed: Set your camera to Aperture Priority (A/Av mode), choose f/1.8 or f/2.8, then configure Auto ISO with a minimum shutter speed of 1/250s. The camera maintains your chosen aperture and never drops below your shutter minimum. It only raises ISO as needed. This is the most efficient shooting mode for unpredictable concert lighting.
File format: always shoot RAW
Shoot RAW, not JPEG. Concert lighting, especially coloured LED rigs, produces extreme color casts that are nearly impossible to correct in a JPEG. In a RAW file, white balance is non-destructive, so an orange skin tone under sodium lights can be corrected in seconds. The file sizes are larger, but you’re not shooting hundreds of static landscape shots. You’re shooting moments. Use the biggest cards you have.
Shooting Techniques in the Photo Pit
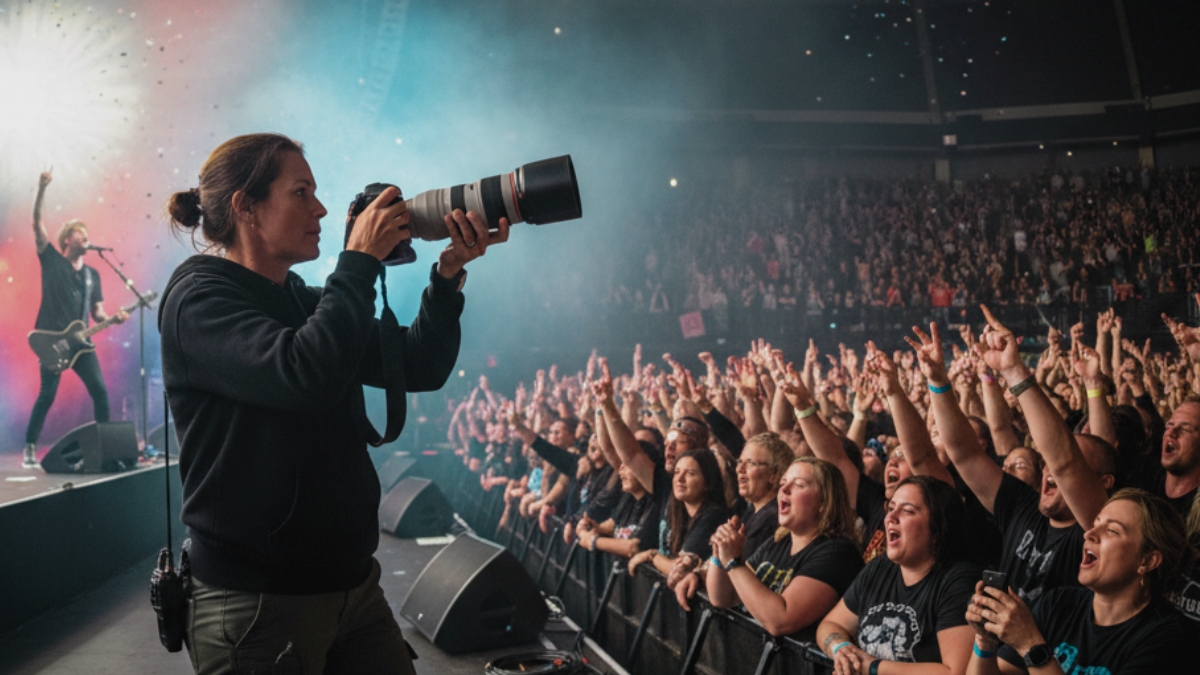
Most photo pits give you access for only the first three songs. That’s roughly 10–15 minutes. There’s no second chance, no reshooting, and no asking the performer to do that jump again. Preparation and awareness are everything.
Work the pit professionally
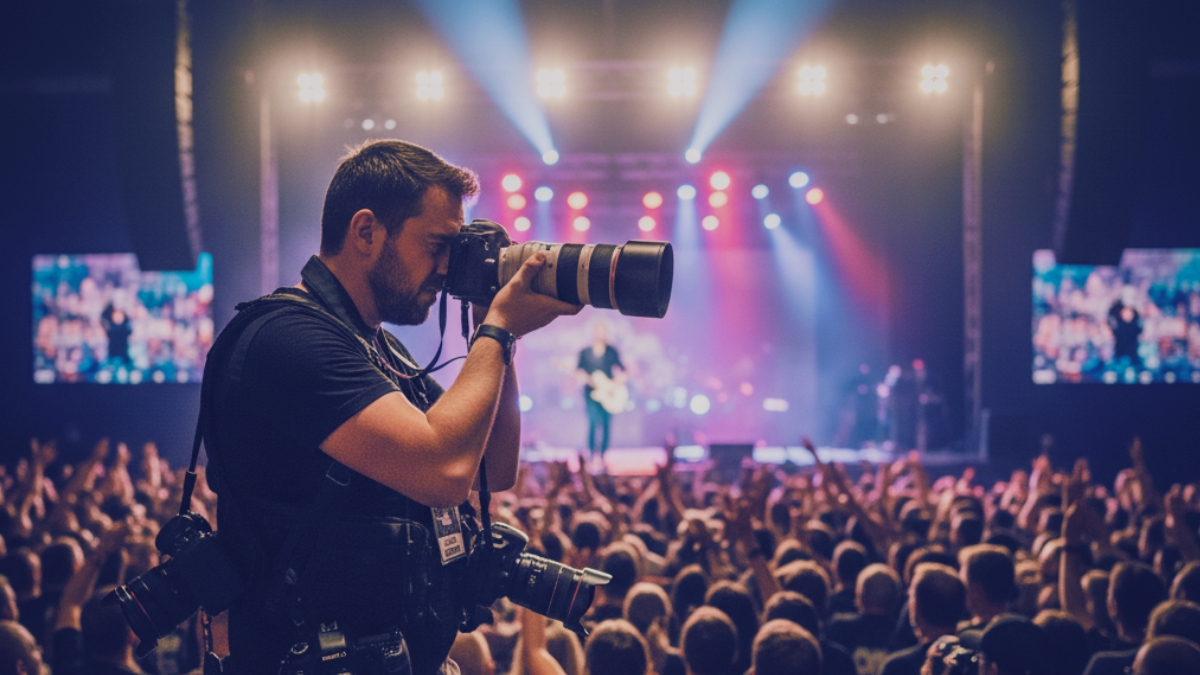
- Arrive early and scout. Walk the pit before the show. Note where the stage monitors are (they block low angles), where the lighting rigs are positioned, and which side of the stage the performer typically favors.
- Watch the lighting cycle. Stage lights often repeat in a pattern. Watch the first 30 seconds of a song before shooting heavily. You’ll learn when the best light hits and be ready for it.
- Move between positions. Don’t plant yourself in one spot. Shoot from the left, center, and right to get variety. Three angles from the same spot give you three similar shots. Three angles from three positions give you a story.
- Be invisible and respectful. Don’t block other photographers, don’t lean over the barrier, and don’t wave at the artist. You are there to document, not participate.
- Shoot verticals. Most photographers shoot horizontally. Vertical frames are what magazine covers and Instagram stories need. Force yourself to shoot at least 30% of your frames in portrait orientation.
Composition tips for concert photography
- Include the crowd. A wide shot with the performer small in frame and thousands of fans below them tells a bigger story than a tight face crop.
- Use the lights as design elements. Stage spotlights, laser beams, and smoke effects are your backdrop. Position yourself so light streaks frame the performer rather than blow out behind them.
- Catch peak moments. A guitarist mid-solo, a singer with eyes closed and hands raised, a drummer at the moment of impact. Pre-focus on the subject and shoot bursts during moments of high energy.
- Don’t neglect the details. Hands on strings, a sweaty microphone, a set list taped to the stage, and close-up detail shots add depth to a full concert photo story.
- Watch for genuine emotion. Interaction between band members, a performer connecting with a fan, a moment of quiet. These are the shots editors choose over technically perfect but emotionally flat images.
No-flash photography
Almost every concert restricts flash photography, and even where it’s technically permitted, using flash is widely considered poor practice. It blinds performers mid-show, disrupts the audience experience, and produces flat, unnatural-looking images that bear no resemblance to how the show actually looked. Shoot with available light only. Learn to love what stage lighting gives you.
How to Shoot Concert Photos on a Phone?
Modern smartphones, especially the iPhone 15 Pro, Google Pixel 9 Pro, and Samsung Galaxy S25 Ultra, can produce surprisingly strong concert photos. The small sensors still struggle with fast motion in very dark venues, but for well-lit shows or outdoor festivals, phone photography is completely legitimate.
- Use Night Mode carefully. Night Mode uses multi-frame capture over 1–3 seconds, which can cause motion blur in moving subjects. Turn it off for concert photography. You want a single fast exposure, not a merged composite.
- Lock exposure and focus separately. On iPhone, tap to focus, then slide the sun icon down to slightly darken the exposure. This prevents the camera from blowing out stage lights.
- Shoot in ProRAW or RAW (iPhone Pro / Pixel) for maximum editing flexibility. Standard JPEG processing crushes shadows and blows highlights in high-contrast lighting.
- Use the main (1x) lens. The ultrawide lens on most phones has a smaller aperture and performs worse in low light. The telephoto zoom is even worse. Stick to the main lens unless you have plenty of light.
- Edit in Lightroom Mobile. Lightroom’s mobile app now has the same AI Denoise and masking tools as the desktop version. Apply a concert-specific preset as a starting point, then fine-tune.
How to Edit Concert Photos in Lightroom: Full Workflow
Editing is where a technically decent concert photo becomes a genuinely great one. The goal isn’t to “fix” the image, it’s to make the viewer feel what it was like to be in that room. Here’s the workflow I use on every single concert shoot.
Step 1: Cull ruthlessly before editing anything
Import into Lightroom and use the Survey view (shortcut: N) to compare similar shots. Flag your best 10–20% with a star or flag, and ignore the rest. Editing mediocre shots into good shots is a waste of time. Your strongest 15 images, edited beautifully, are worth far more than 80 images edited quickly.
Step 2: Fix lens correction and crop
Enable Auto Lens Correction (Lens Corrections panel → Enable Profile Corrections). This removes barrel distortion from wide lenses. Then, crop for composition to tighten the frame, straighten the horizon if needed, and consider cropping to a 4:5 ratio for Instagram or 2:3 for print.
Step 3: Set white balance
Concert lighting is notoriously difficult for auto white balance. Coloured LED rigs, sodium spotlights, and moving wash lights all have different color temperatures, often within the same frame. Don’t aim for “accurate,” aim for intentional. A warm orange feel evokes the energy of rock. A cool blue cast feels atmospheric for an indie or electronic show. Use the White Balance selector (W) to click on a neutral grey area of the image, then adjust to taste.
Step 4: Adjust exposure and tone
| Slider | Typical adjustment | Why |
|---|---|---|
| Exposure | +0.5 to +1.5 EV | Concert photos are almost always underexposed. Lift the midtones first. |
| Highlights | −50 to −100 | Recover blown-out spotlights on the artist’s face and shoulders. |
| Shadows | +30 to +70 | Lift dark clothing, and audience faces without washing out the blacks. |
| Whites | −20 to +20 | Hold back clipped whites from the stage lights. Adjust to taste. |
| Blacks | −10 to −40 | Crush the blacks slightly for contrast. Concert photos look better with deep blacks. |
| Clarity | +15 to +35 | Adds midtone contrast and “crunch” that suits the energy of live music. |
| Texture | +10 to +25 | Enhances fine detail: sweat, guitar strings, and facial expression without haloing. |
Step 5: Fix skin tones with HSL
Stage lighting often produces unnatural skin tones, magenta faces under pink wash lights, green skin under LED rigs, and deep orange from sodium spotlights. The HSL (Hue/Saturation/Luminance) panel is the fix.
- Orange too strong (sodium/warm stage light): HSL → Saturation → Orange: drag down to −20 to −40
- Magenta cast on skin: HSL → Hue → Red: shift towards orange (+10 to +20). HSL → Saturation → Red: −20
- Green cast: HSL → Saturation → Green: −30 to −60
- Use the Target Adjustment Tool (the circle icon in the HSL panel): click directly on the affected skin tone and drag down. Lightroom adjusts the right channels automatically.
Step 6: Noise reduction
For shots taken at ISO 3200 and above, apply noise reduction before other local adjustments. In Lightroom, go to Detail → Denoise → AI Denoise. Set the slider to 40–70, depending on the severity. This creates a new DNG file with AI-cleaned noise, preserving detail far better than the old Luminance slider. On very noisy files, this single step can make the difference between a publishable and unpublishable shot.
Step 7: Local adjustments
Use Masking → Subject to create a mask of the performer. Selectively boost Exposure and Clarity on the subject while holding back the background. This separates your subject from a cluttered or distracting stage backdrop and focuses the viewer’s eye exactly where you want it.
Using Concert Photography Presets to Speed Up Your Workflow
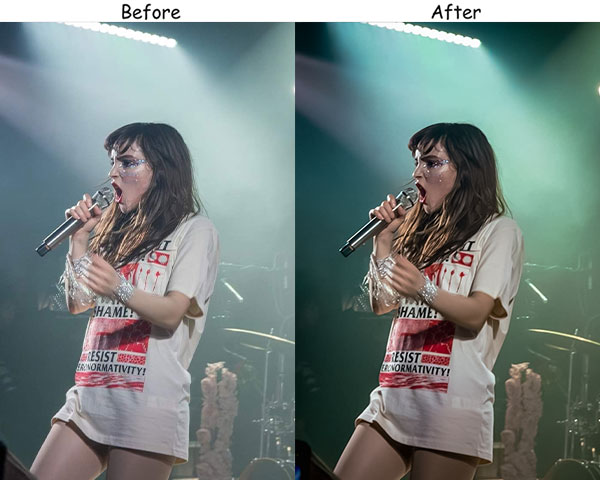
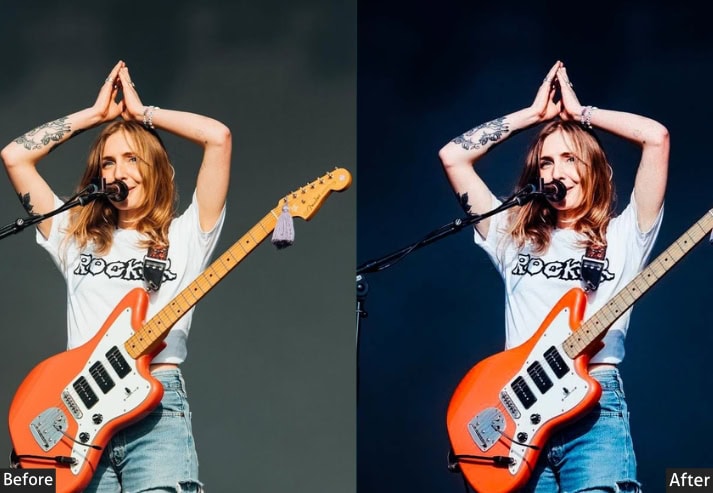
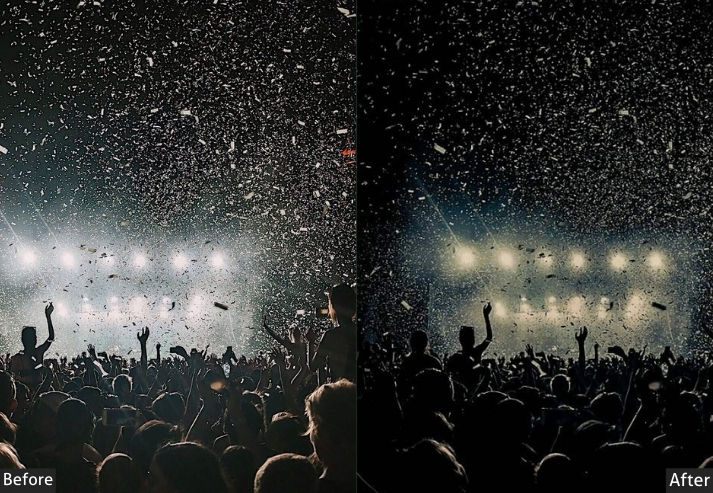
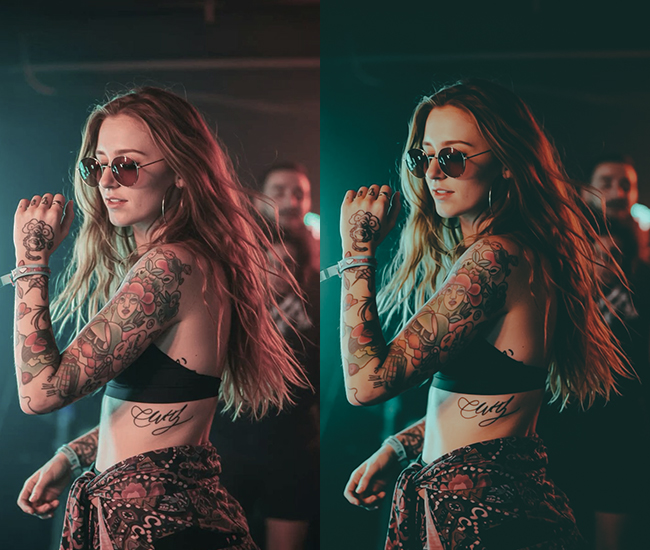
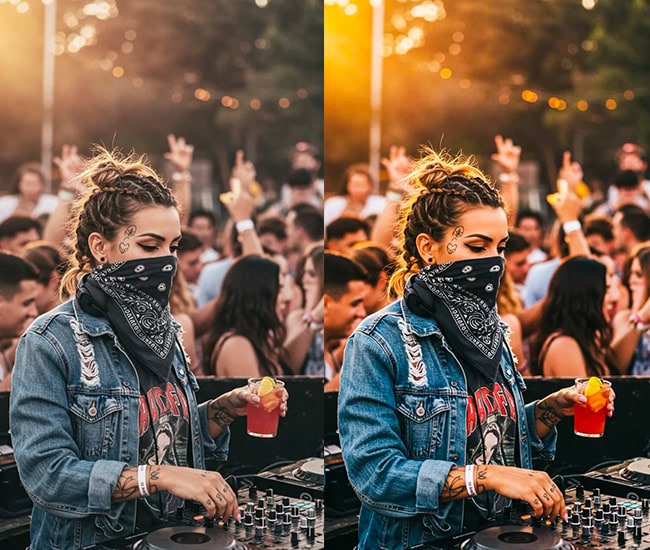
Editing 200 concert photos one by one is exhausting. A good preset gets you 80% of the way there in one click, then you fine-tune per image. Here’s what the difference looks like with the Presetpedia Concert RAW preset applied:
When applying presets, always check the white balance afterward. It’s the one thing a preset can’t reliably set for you because every venue’s lighting is different. Lock in your preset, then nudge white balance to match the mood of the show.
Get: 65+ Concert Photography Lightroom Presets Free Download
10 Common Concert Photography Mistakes (and How to Fix Them)
| Mistake | Why it happens | Fix |
|---|---|---|
| Blurry photos | Shutter speed too slow for the movement | Minimum 1/250s. Use burst mode to increase your keeper rate. |
| Blown-out stage lights | Camera metering off the dark background | Use spot metering on the performer’s face, or use exposure compensation (−1 to −1.5 EV). |
| Everything too dark | Shutter too fast, aperture too narrow, or ISO too low | Open aperture to widest setting first, then raise ISO. |
| Wrong autofocus mode | Using single-shot AF on moving subjects | Switch to Continuous AF (AI Servo on Canon, AF-C on Sony/Nikon/Fuji). |
| Unnatural green/magenta skin | Coloured stage lights affecting white balance | Correct in Lightroom HSL panel (see Step 5 above). |
| Missing the peak moment | Shooting singles instead of bursts | Hold down shutter during energy peaks. Cull later — storage is cheap, missed moments aren’t. |
| Grainy/noisy images | High ISO without noise reduction | Apply Lightroom AI Denoise at 50–70 on high-ISO files. |
| All photos look the same | Staying in one position, same focal length | Move around the pit, mix wide and tight shots, shoot both landscape and portrait. |
| Flat, lifeless edits | Over-correcting the dramatic concert lighting | Embrace the colour and contrast. Don’t make it look like a studio portrait. |
| Memory card runs out mid-show | Forgetting to format cards before events | Always carry a minimum of 3 formatted cards. Treat card management like a pilot’s checklist. |
Few Words
Concert photography rewards persistence. Your first few shows will be technically difficult, and your keeper rate will be low. That’s normal. Each show, you get a little faster with your settings, a little better at reading the light, and a little more instinctive about where to be and when to press the shutter. The photographers who get great concert shots aren’t necessarily the ones with the most expensive gear. They’re the ones who’ve shown up to enough shows to know what’s coming.
Bookmark this guide, bring it up before your next gig, and come back to the editing section when you’re at your desk. And if you want to cut your editing time in half, check out the Presetpedia concert preset collection built from the exact workflow described in this guide.
Author: Anna Lee