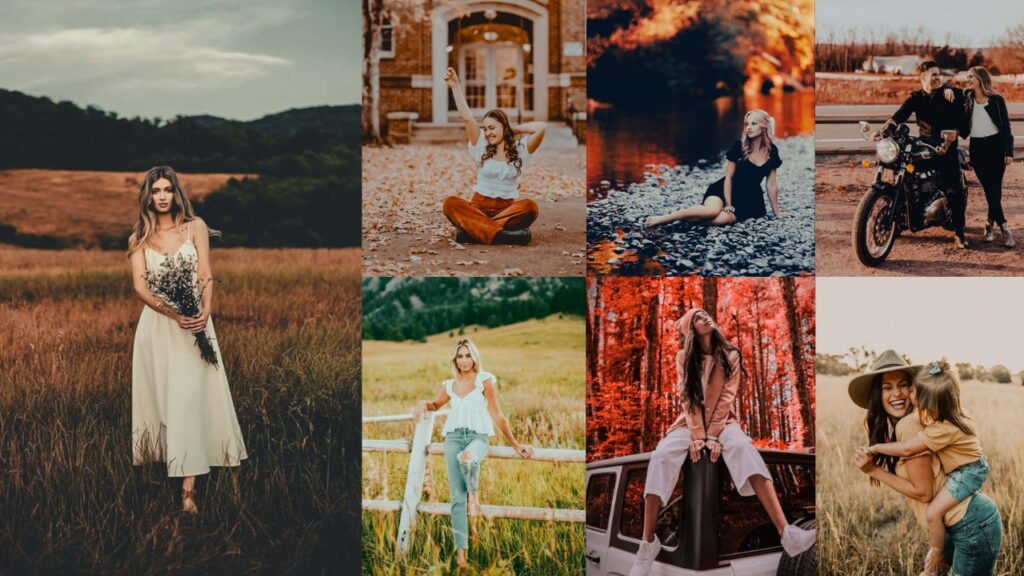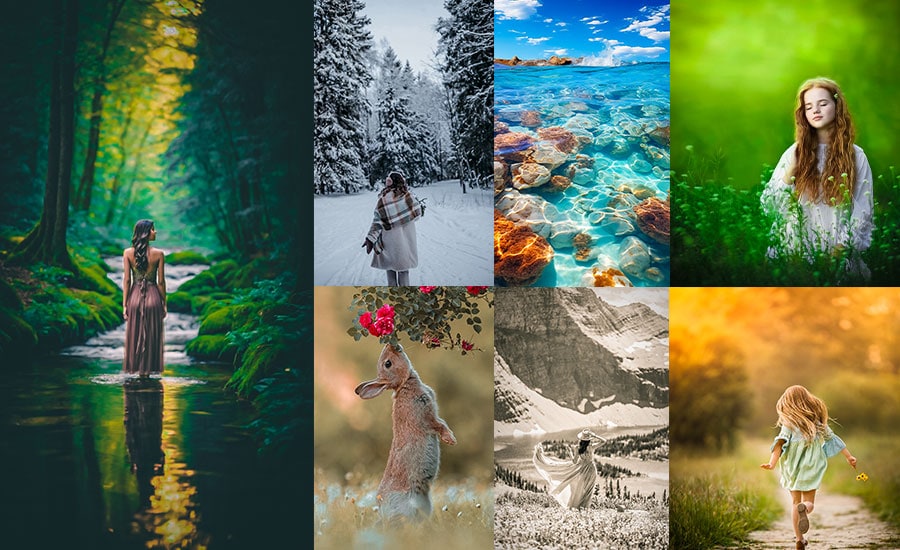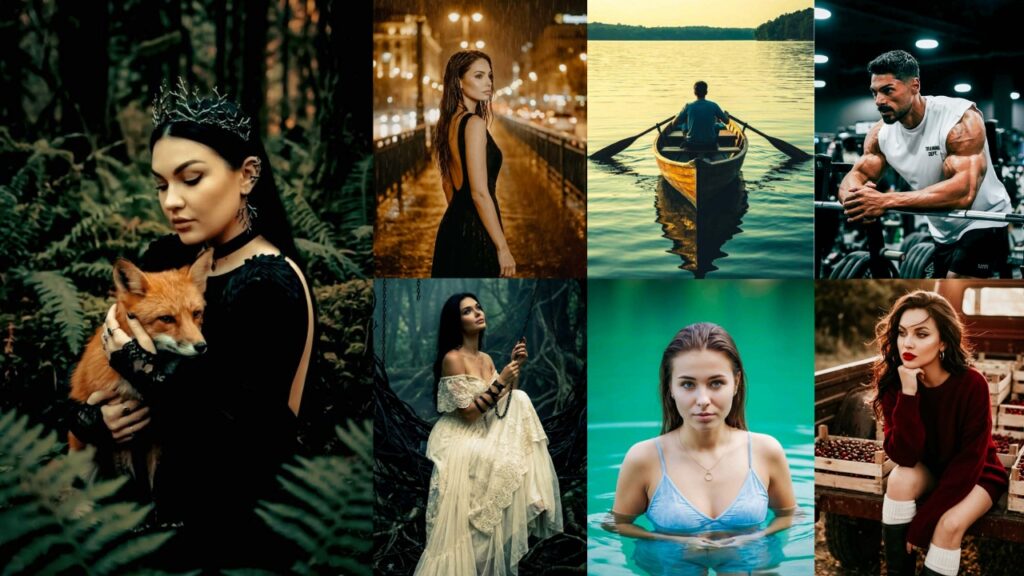
When you search for AI presets on Google, you’ll get two very different answers mixed into one search results page. Half the results are talking about Adobe’s actual AI: the Adaptive Presets and masking tools built into Lightroom itself, the ones that scan your photo and figure out where the sky, the skin, or the subject actually is before touching a single slider. The other half are preset packs from independent creators that use “AI” as a label for a really well-built, professionally graded look: no live scanning involved, just a smart XMP file someone spent hours perfecting.
Both are legitimate. Neither is fake marketing, once you know which is which. This guide walks through both worlds, organized by the genre and mood you actually search for, and for every single one, I’m giving you the real slider math: not “adjust to taste,” but the actual percentage moves across Light, Color, Effects, Detail, and Optics that create the look. This one’s long, but you’ll walk away knowing more than most people who sell these presets for a living.
A quick note before we begin: every number below is a starting point, not gospel. RAW files from a Sony a7 and a Fujifilm X-T5 will never respond identically to the same Exposure move. That’s photography, not a flaw in the recipe.

Pauline Jackson
My presets are designed to make professional color grading simple, intuitive, and accessible for creators of every skill level.
10 Types of AI Lightroom Presets (And What Each One Does to Your Photo)
Instead of starting from scratch, AI-powered presets help you achieve professional-looking edits in a few clicks. Whether you’re editing portraits, landscapes, travel photos, weddings, street photography, or social media content, the latest AI-assisted editing workflow can dramatically reduce editing time while maintaining a polished, natural look.
- Pauline Jackson
- 1. AI Portrait & Adaptive Face Presets
- 2. AI Skin Retouching & Beauty Presets
- 3. AI Cinematic Presets
- 4. AI Moody & Dark Presets
- 5. AI Light & Airy Presets
- 6. AI Film & Vintage Emulation Presets
- 7. AI Black & White Presets
- 8. AI Sky & Landscape Presets
- 9. AI Urban, Street & Night Presets
- 10. AI Denoise & Enhance Presets
1. AI Portrait & Adaptive Face Presets
When you’ve imported 100+ headshots from a corporate shoot, and every single face is lit slightly differently. This is exactly the mess Adobe built Adaptive Portrait presets to solve. They don’t apply one flat setting to the whole frame. They detect the face, split it into sub-masks (skin, eyes, teeth, hair, lips), and grade each region on its own terms. It’s the closest thing Lightroom has to a virtual retoucher standing over your shoulder. You still get the final say through the Amount slider, so nothing happens without your sign-off.
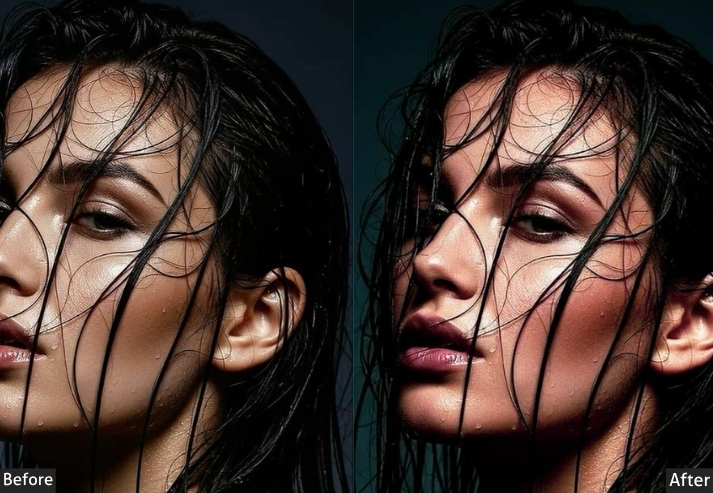
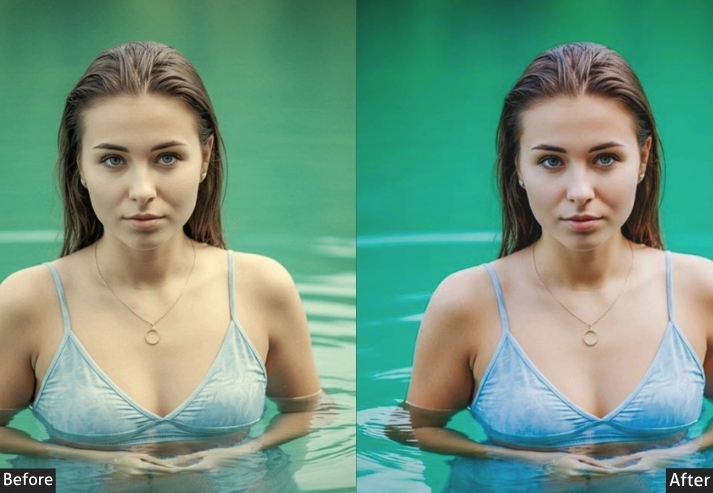
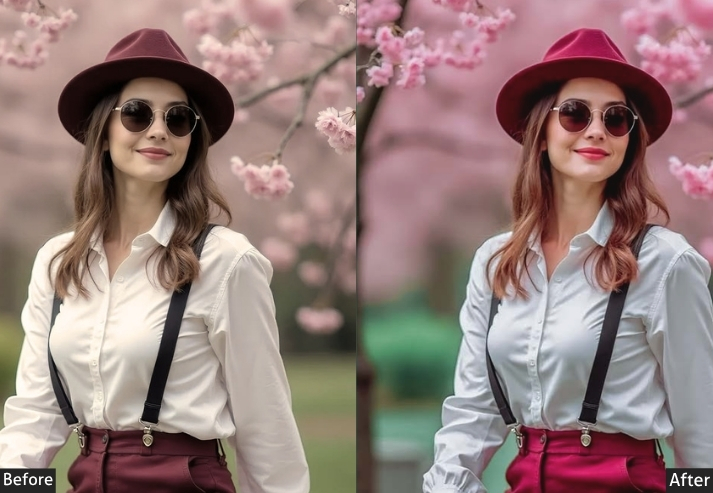
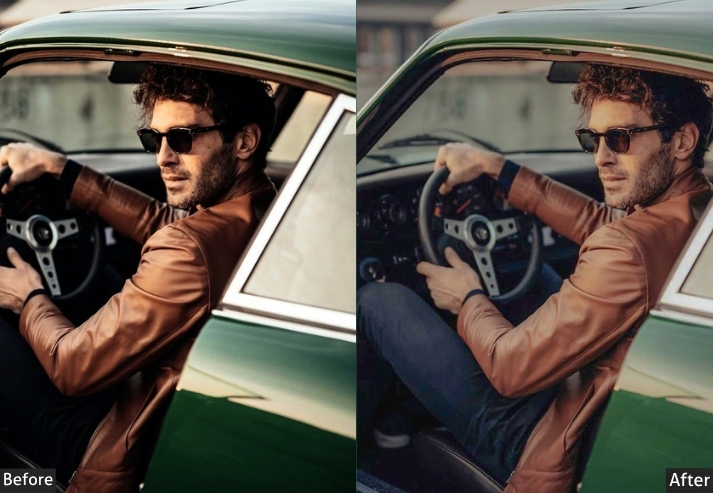
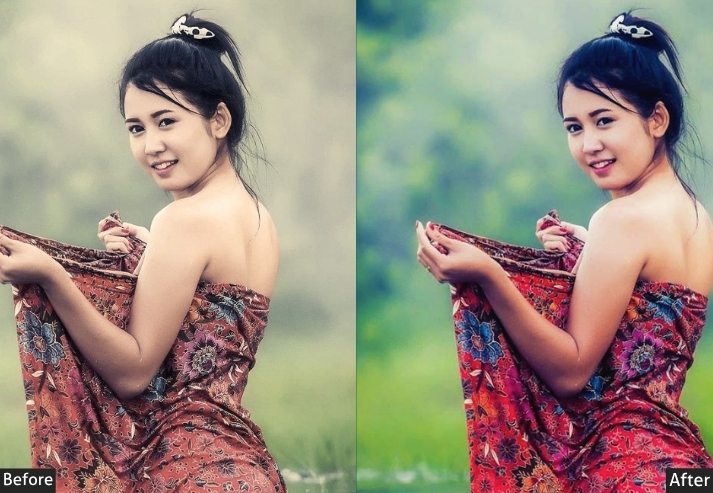
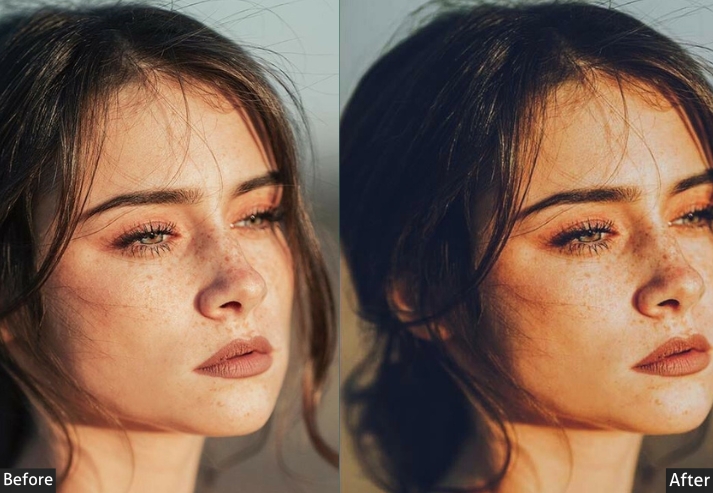
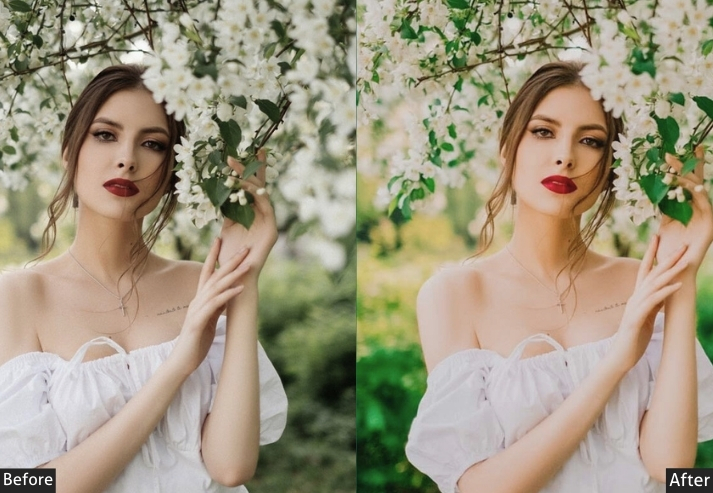
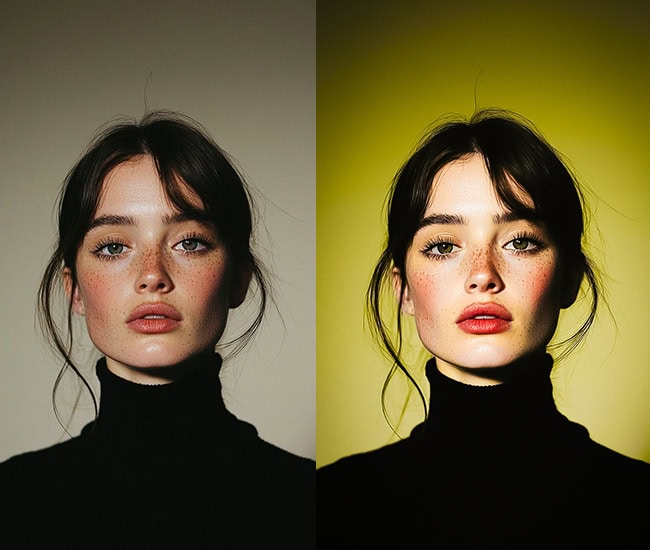
Purpose: Even out skin tone and lighting across a face without flattening its natural texture.
Best For: Headshots, corporate portraits, high-volume shoots where consistency matters more than a heavy stylized look.
Usage: Apply first, then nudge the Amount slider for each photo. Don’t chase 100% in every single frame.
Style: Clean, natural, believable. This is the “you, but well-rested” category, not a filter.
2. AI Skin Retouching & Beauty Presets
This one gets confused with regular portrait presets all the time, so let’s separate them properly: skin retouching presets exist purely to smooth, soften, and even out. They’re not trying to set a mood or a color story; they’re doing the unglamorous work a retoucher does before the creative grade even starts. Adobe’s “Polished Portrait” adaptive preset lives in this lane, using facial masking to soften skin while deliberately leaving eyes, eyebrows, and hair untouched and sharp. Used well, nobody notices it happened. Used badly, you get the plastic-doll look everyone’s learned to spot instantly.
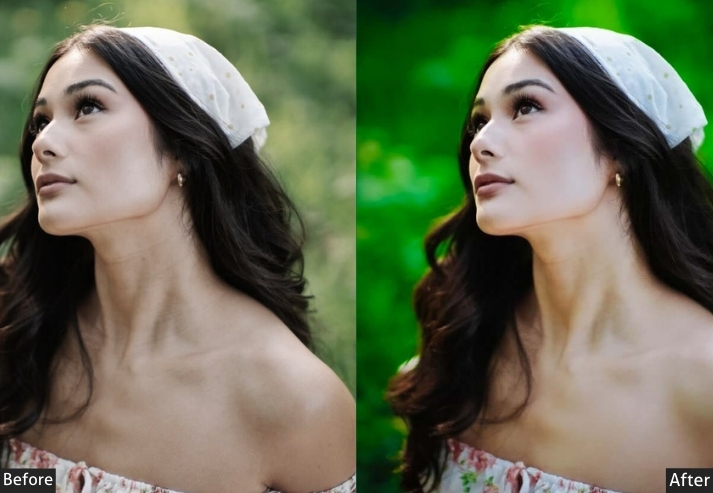
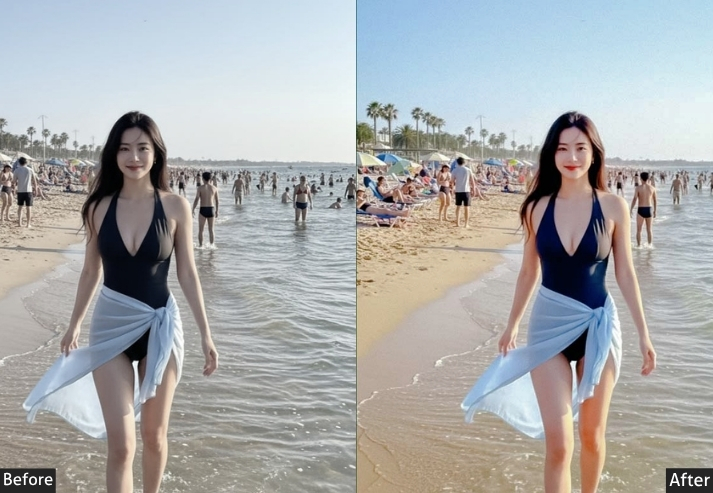
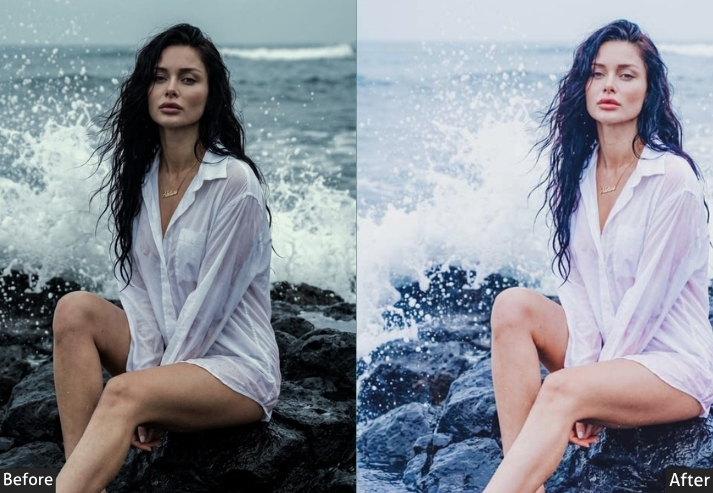
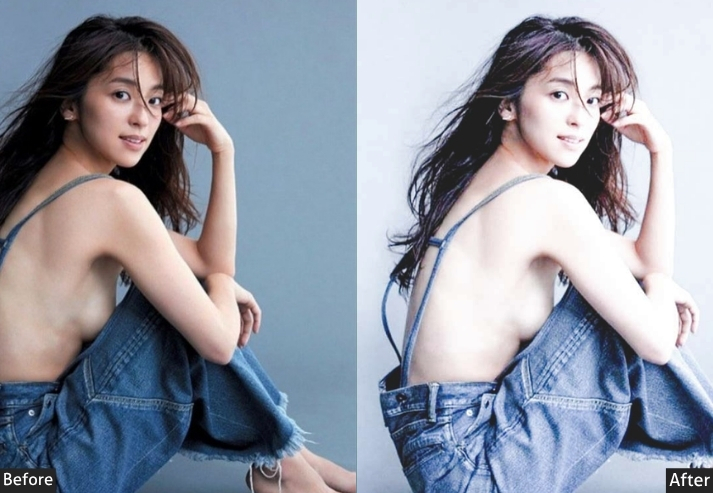
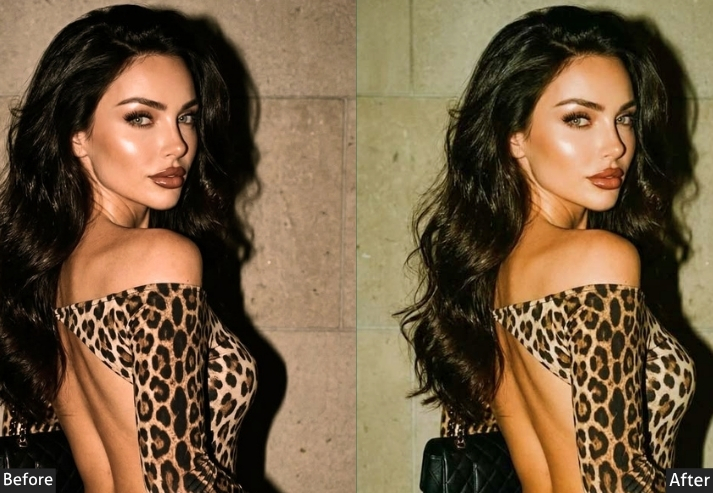
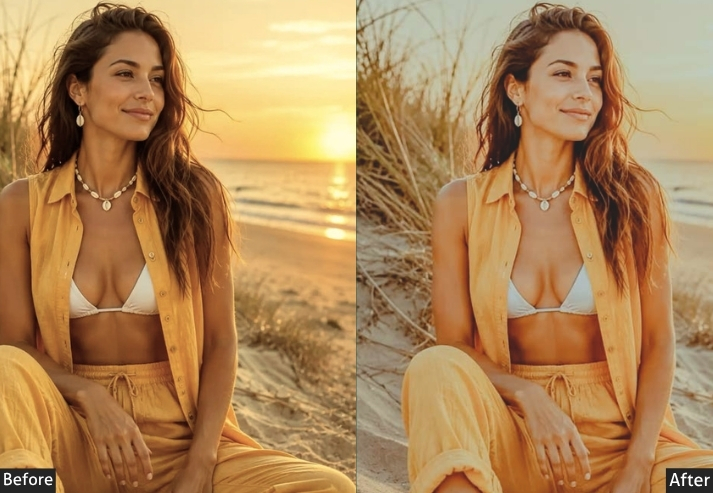
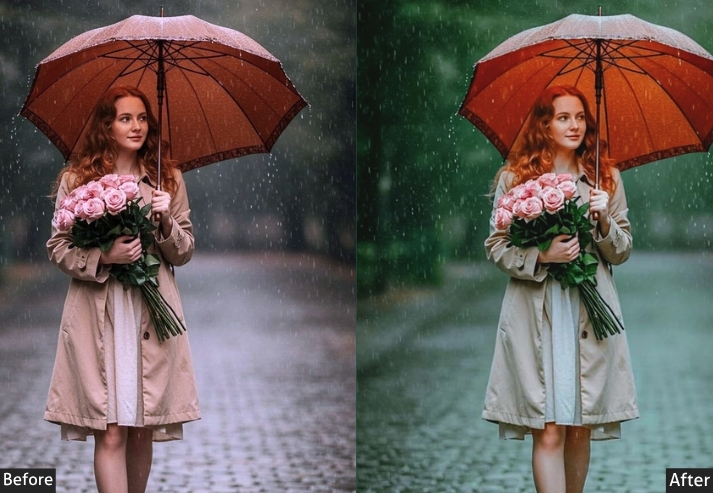
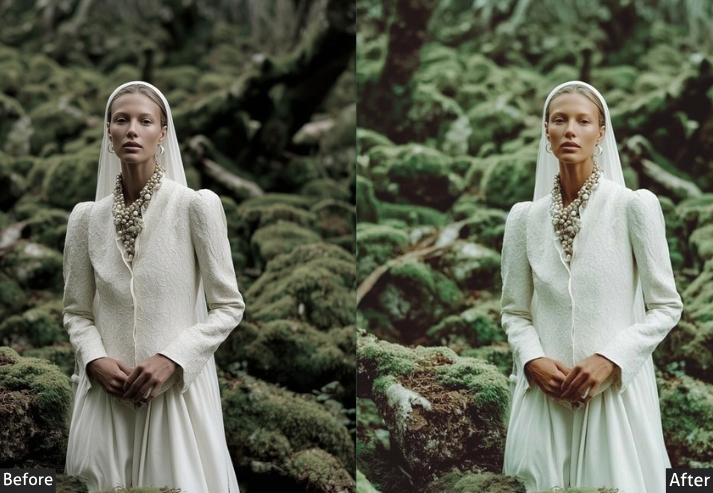
Purpose: Reduce blemishes, redness, and uneven texture while keeping the photo looking unedited.
Best For: Beauty, wedding close-ups, senior portraits, and any client who will zoom in on their own face.
Usage: Keep Texture reduction under 25%, anything more and skin loses pores entirely, which reads as fake instantly on screens.
Style: Soft, even, camera-ready, never waxy.
3. AI Cinematic Presets
Cinematic presets draw their entire personality from the film industry’s color-grading suites. Think teal shadows pushing against warm, almost orange skin tones, the kind of split-tone contrast you’d recognize from a Denis Villeneuve frame, even without knowing why it looks expensive. It’s the relationship between Color Grading’s shadow and highlight wheels working against each other. Get that balance right, and even a phone photo starts to look like a still from a higher-budget production.
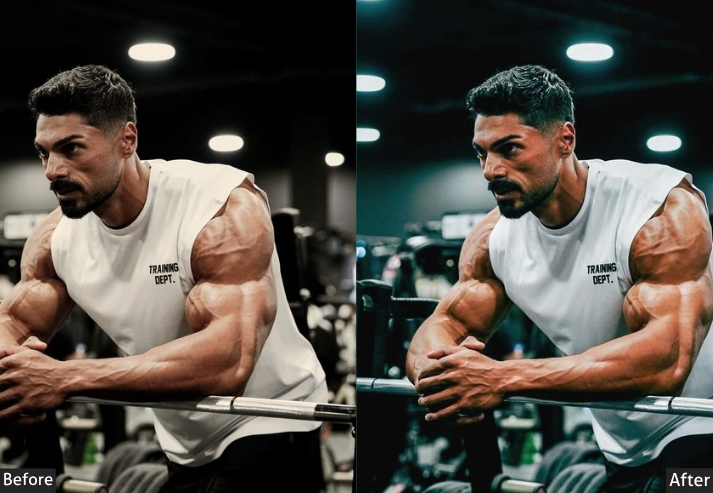
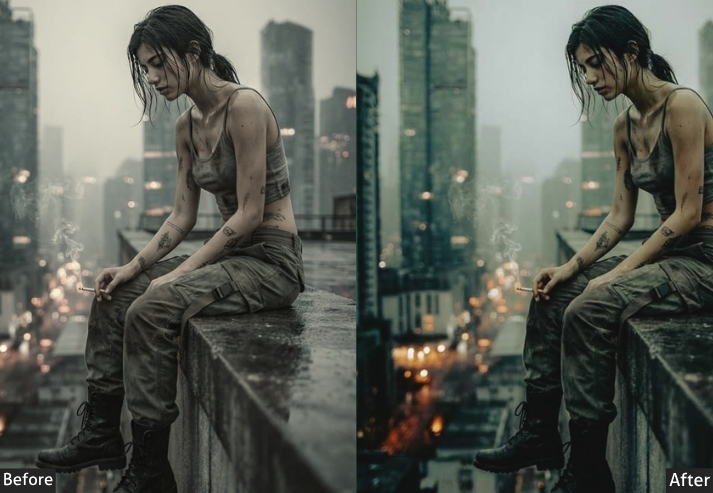
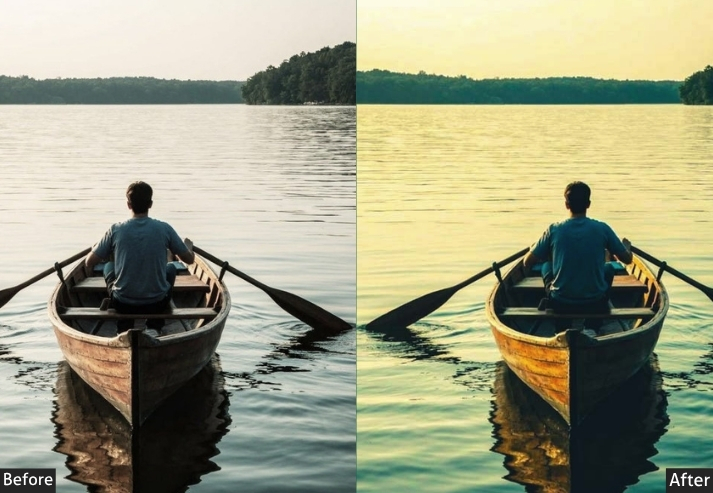
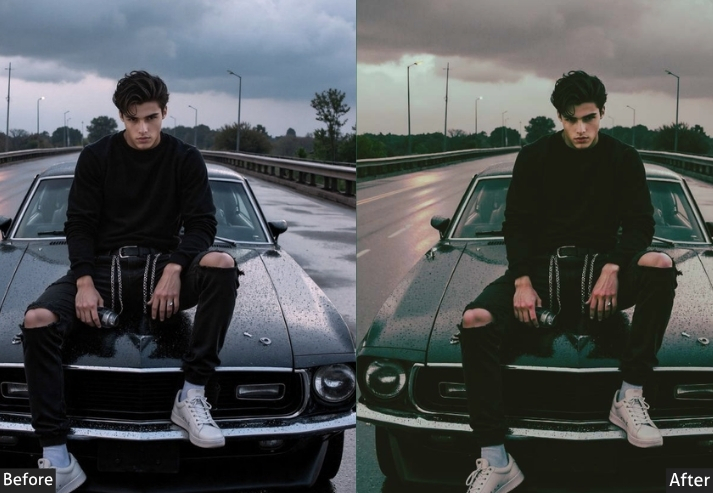
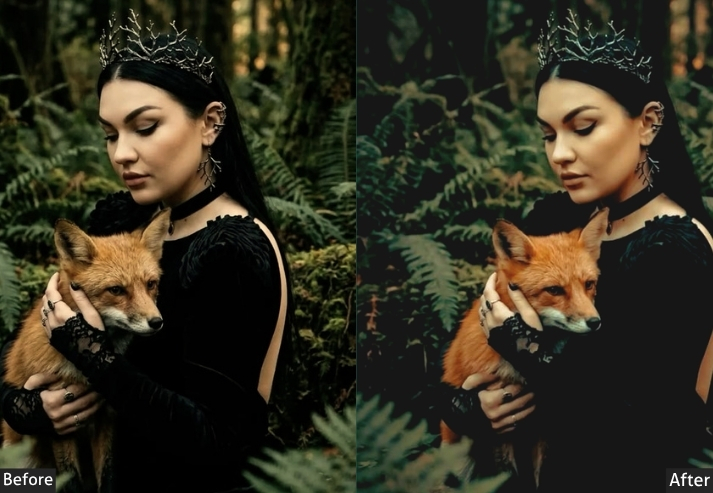
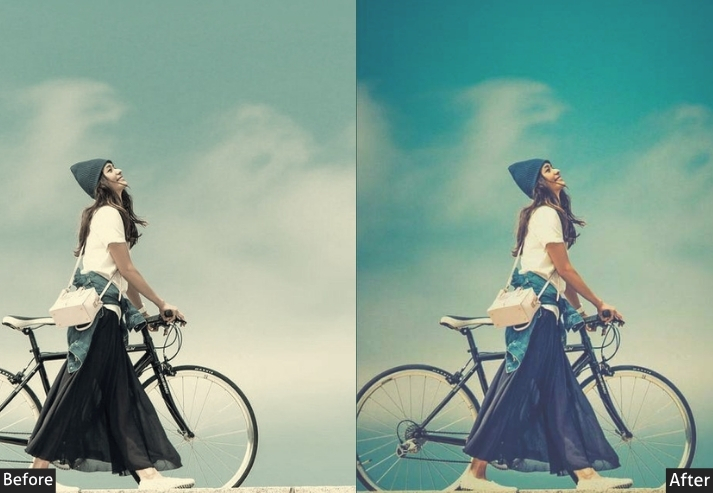
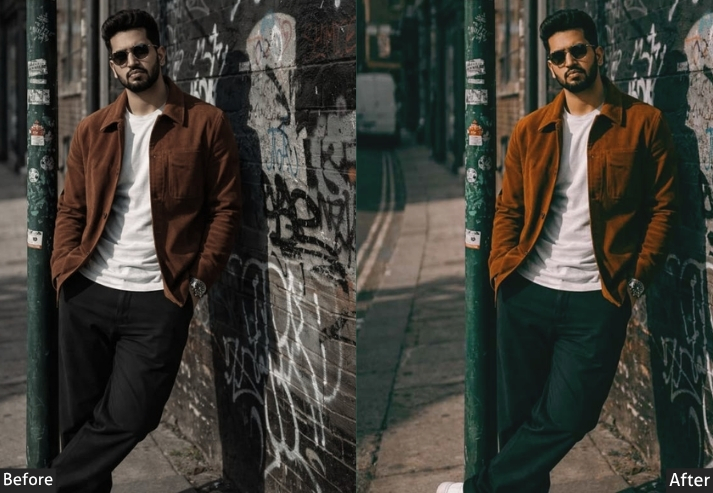
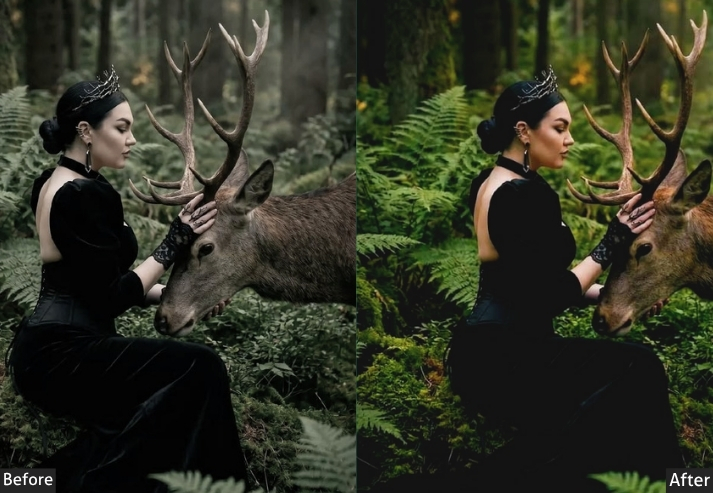
Purpose: Create the split-tone, high-production-value look associated with narrative film and streaming shows.
Best For: Travel films’ cover shots, brand storytelling content, moody couple portraits, and YouTube thumbnails.
Usage: Push the Color Grading wheels before you touch anything else. The split tone is the whole identity of this look.
Style: Moody, contrasty, deliberate. Not for casual snapshots.
4. AI Moody & Dark Presets
Moody presets take everything a “correct” exposure taught you and quietly ignore half of it. Shadows stay shadows rather than being lifted to reveal every last detail, and the whole frame leans into a heavier, more atmospheric register. This is one of the categories where AI masking earns its keep the most, since crushing shadows globally can murder skin detail if you’re not careful with a face in frame.
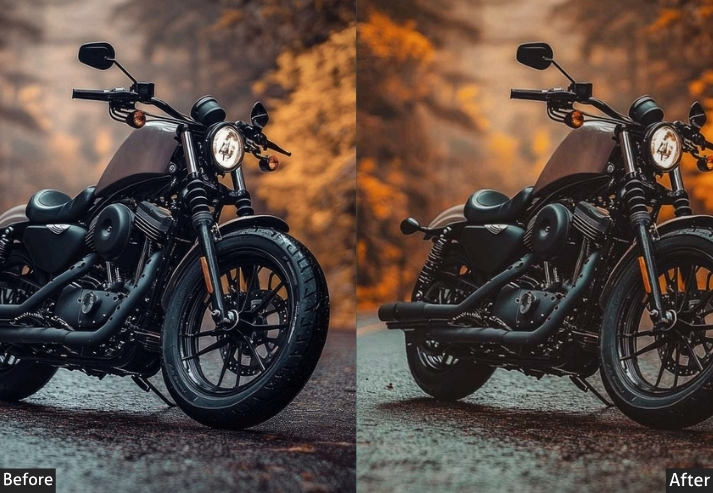
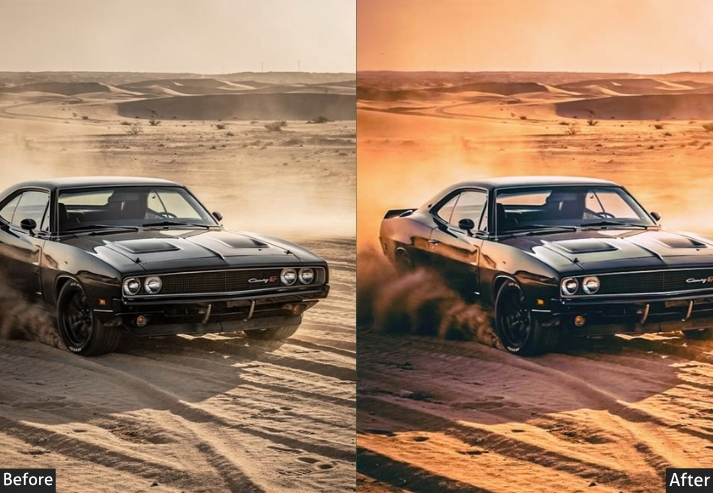
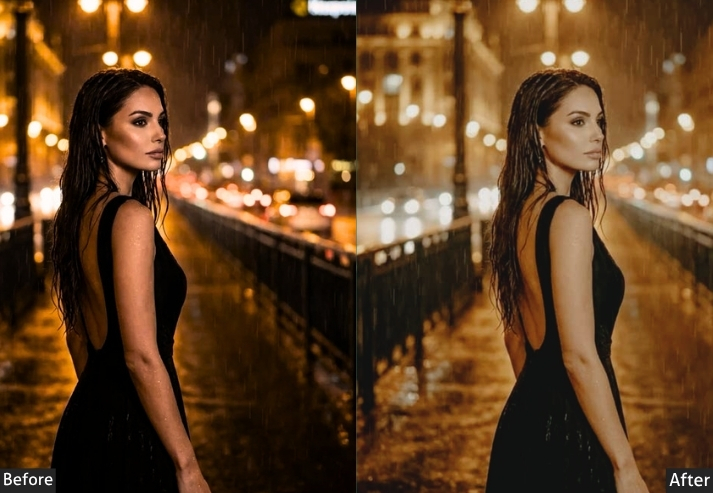
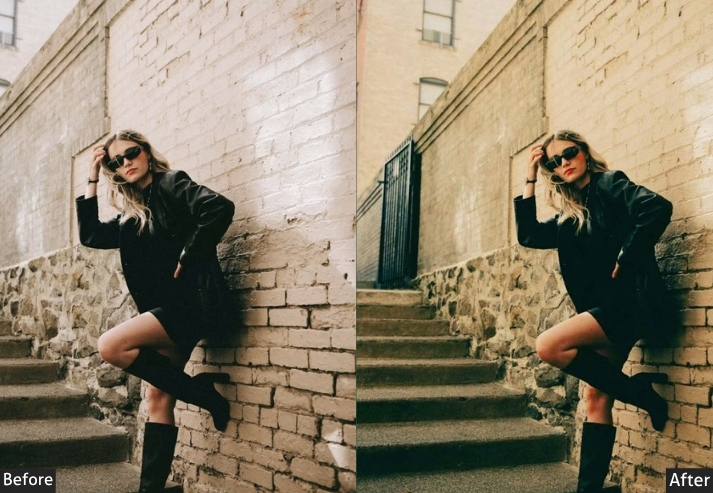
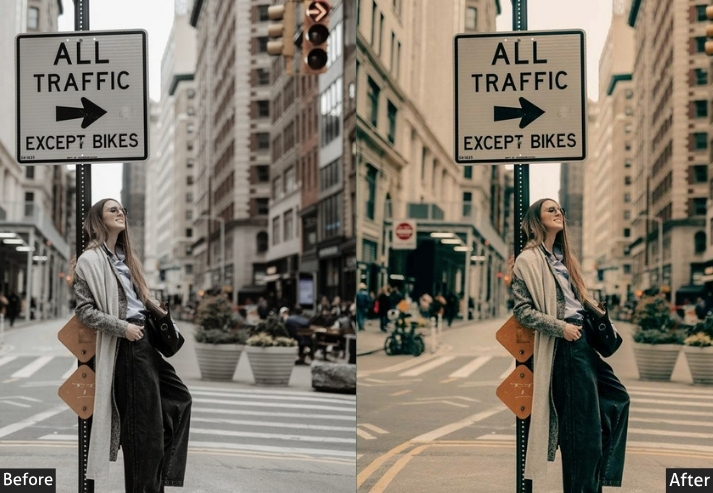
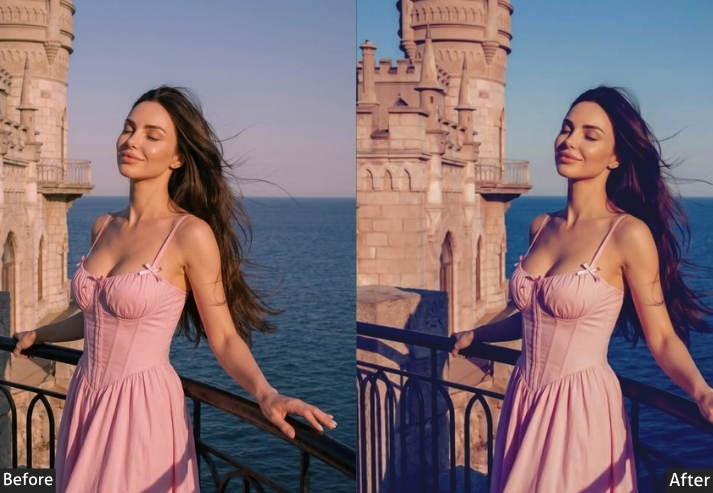
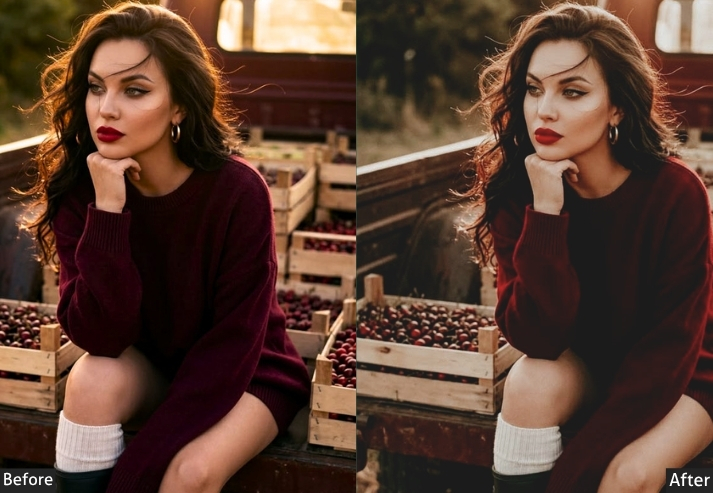
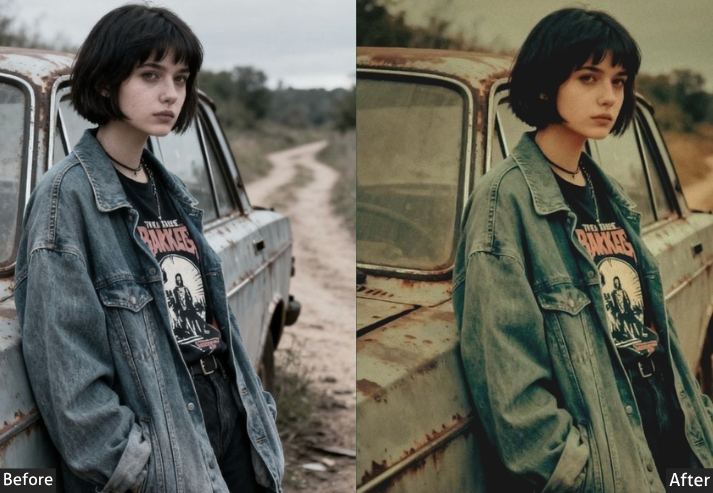
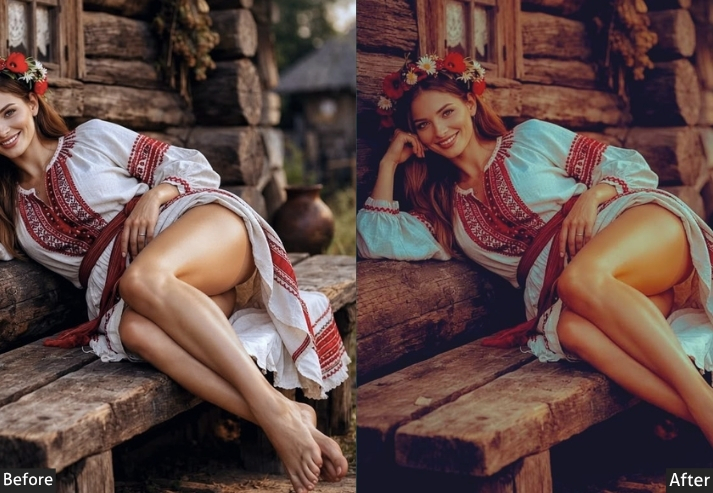
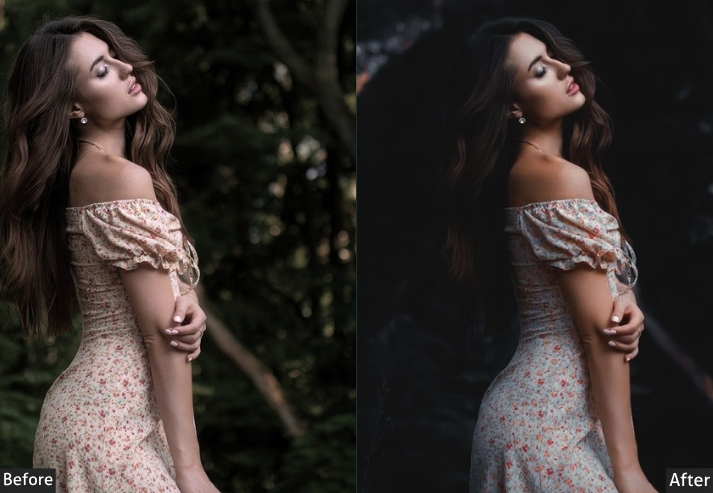
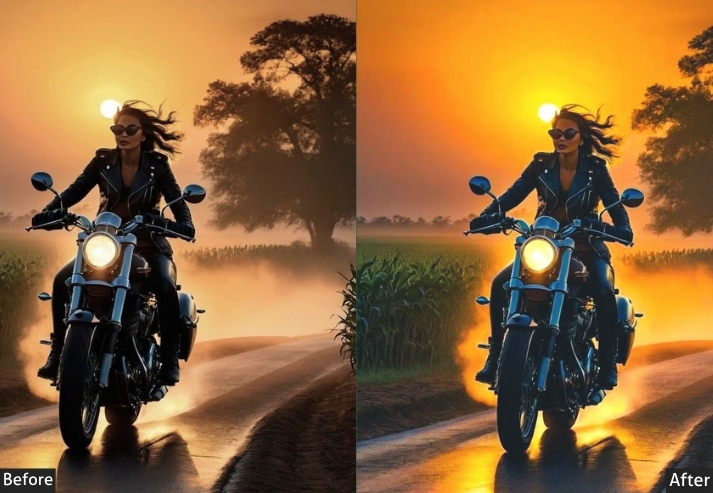
Purpose: Trade brightness for atmosphere and emotional weight.
Best For: Fine art portraits, editorial fashion, product shots for premium/luxury brands, and autumn and winter content.
Usage: Always check a subject-priority mask before publishing. Moody easily tips into “can’t see the subject’s face.”
Style: Heavy, cinematic, a little melancholic on purpose.
5. AI Light & Airy Presets
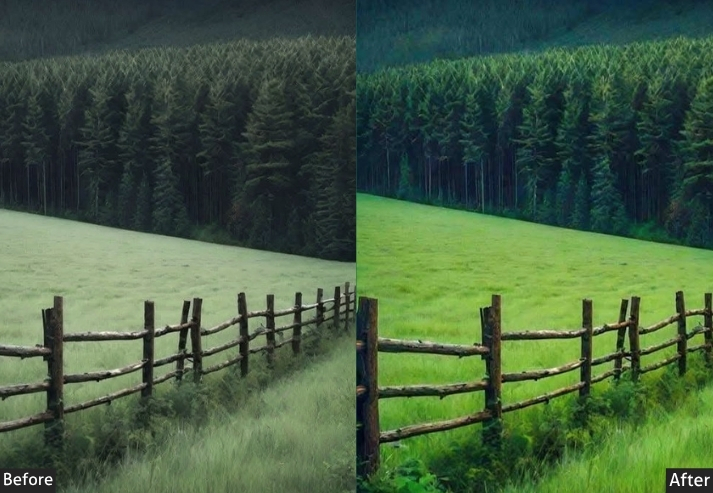
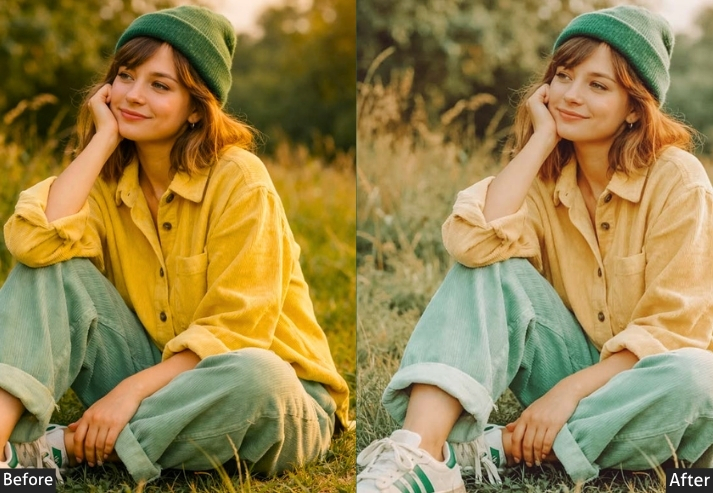
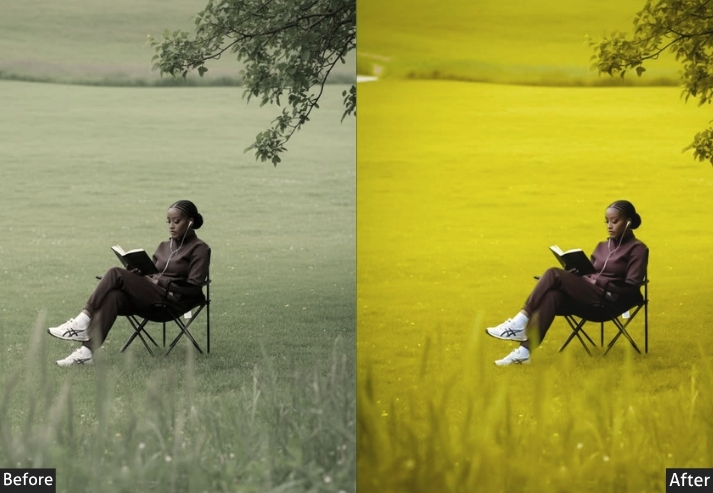
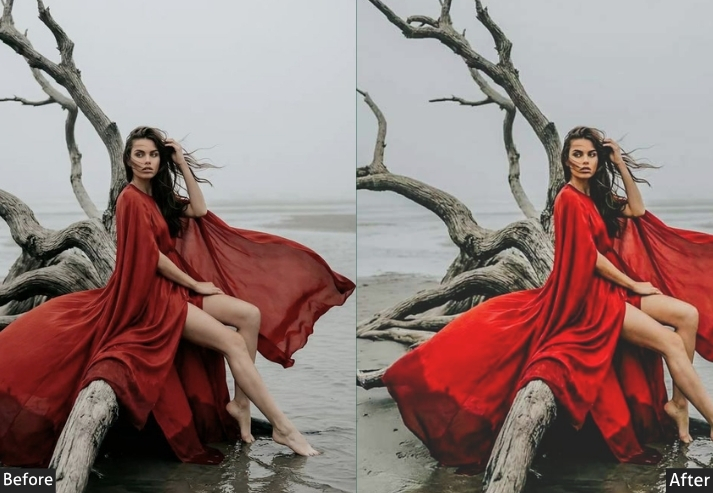
If Moody is the introvert of this list, light & airy is the one who shows up early and opens all the curtains. This look leans on soft, lifted shadows, a gentle pastel color cast, and highlights that glow rather than blow out. It’s become the signature look of a huge chunk of the wedding and newborn photography industry for exactly that reason. AI masking helps here by protecting whites (dresses, skin, sheets) from turning gray as everything else gets pushed to brighter tones.
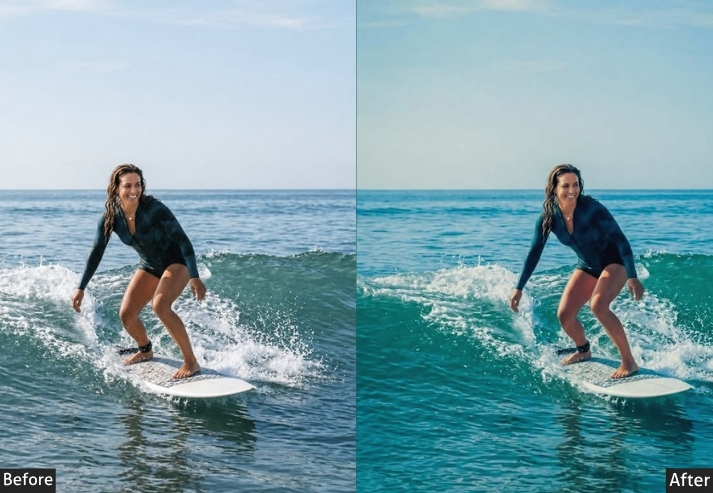
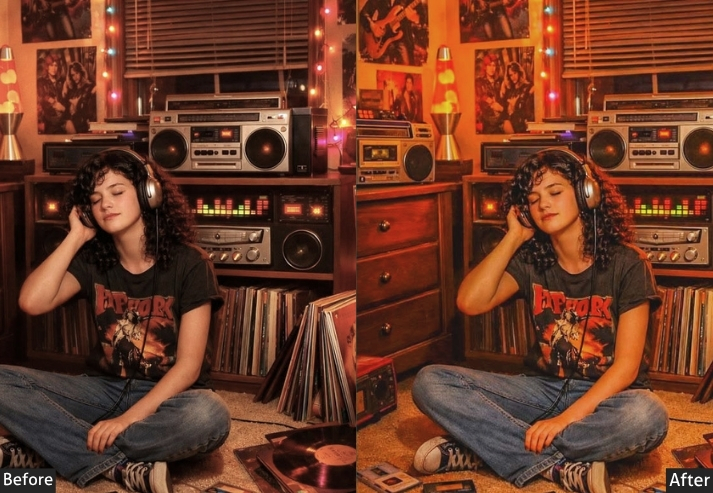
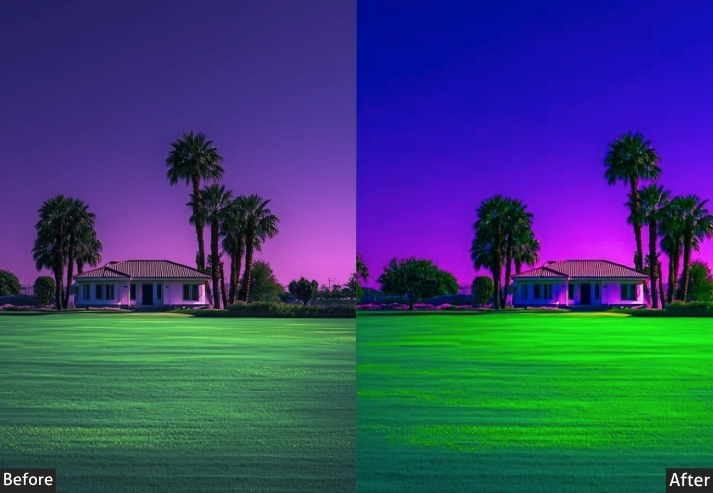
Purpose: Produce a soft, romantic, high-key look that feels bright without feeling washed out.
Best For: Weddings, newborns, maternity, spring/summer lifestyle content, pastel product flat-lays.
Usage: Watch your histogram’s right edge. This style courts clipped highlights more than any other on this list.
Style: Soft, pastel, dreamy, forgiving of imperfect skin.
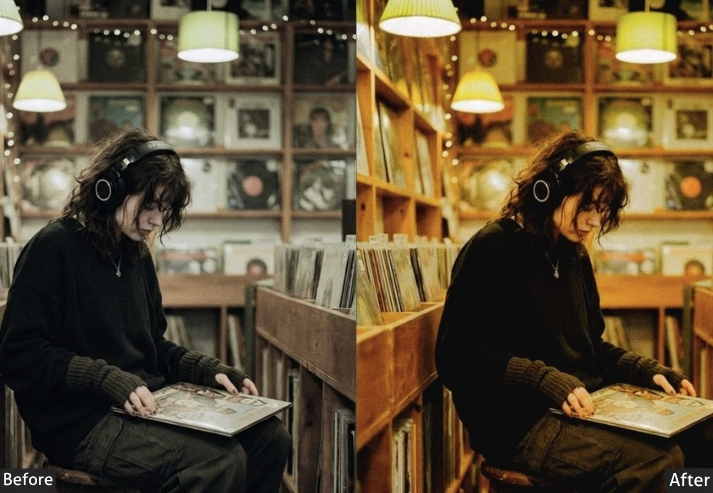
6. AI Film & Vintage Emulation Presets
Real film grain comes from actual silver halide crystals reacting to light, and no digital preset literally replicates that chemistry, but a good vintage emulation gets close enough that most people can’t tell the difference at a glance. These presets typically slightly fade the blacks, shift color casts toward specific stocks like Kodak Portra’s warm skin tones or Fuji’s cooler greens, and add a Calibration panel push that most tutorials never mention.
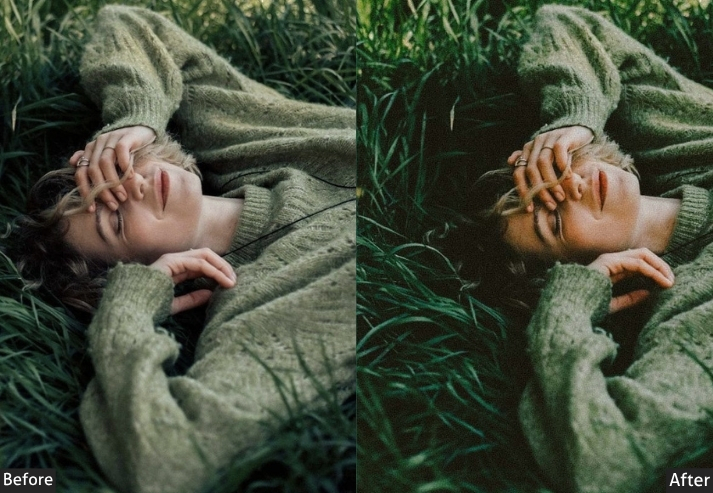
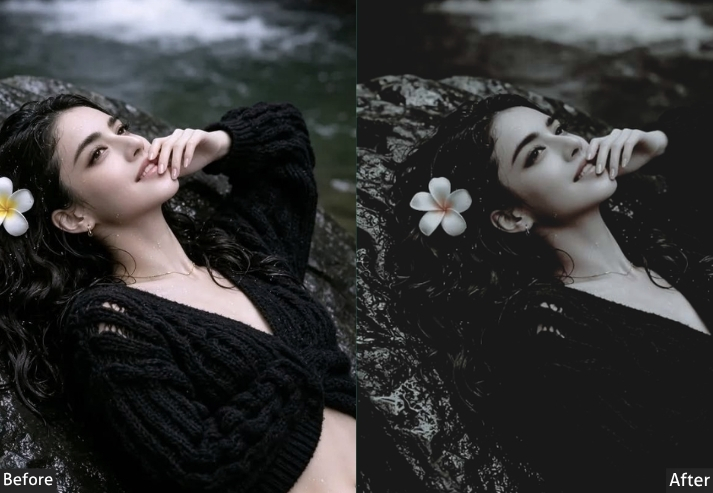
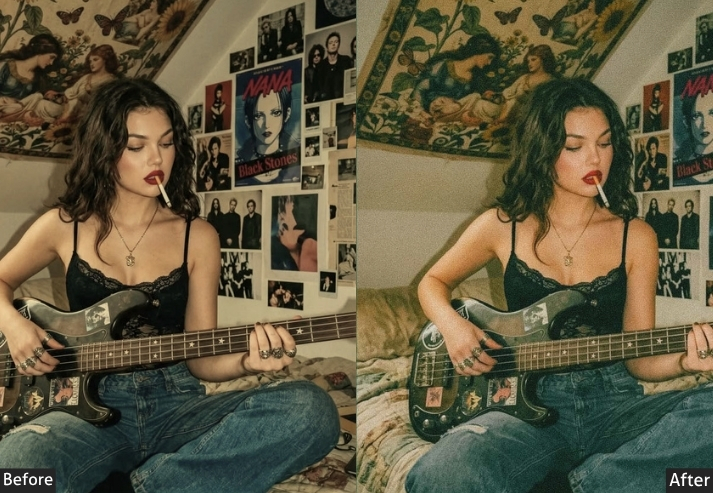
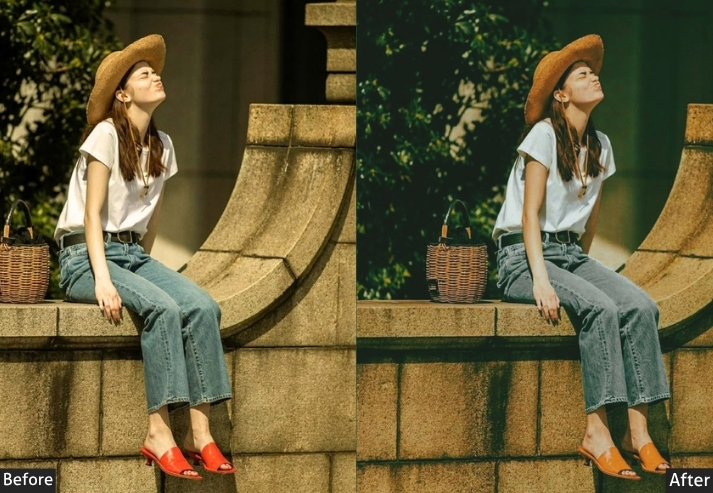
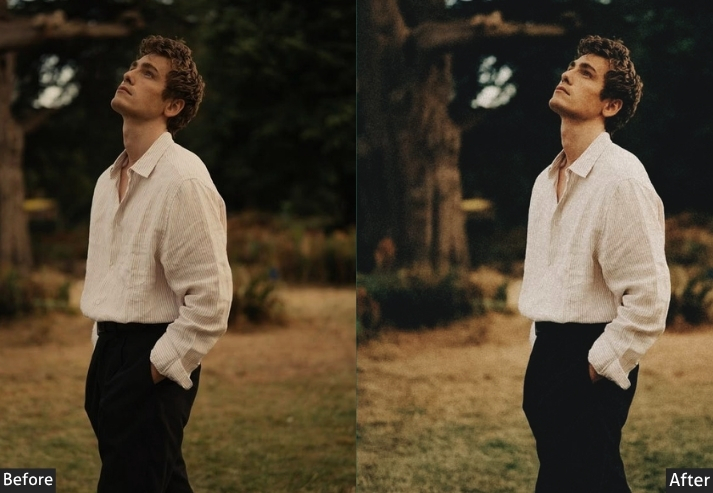
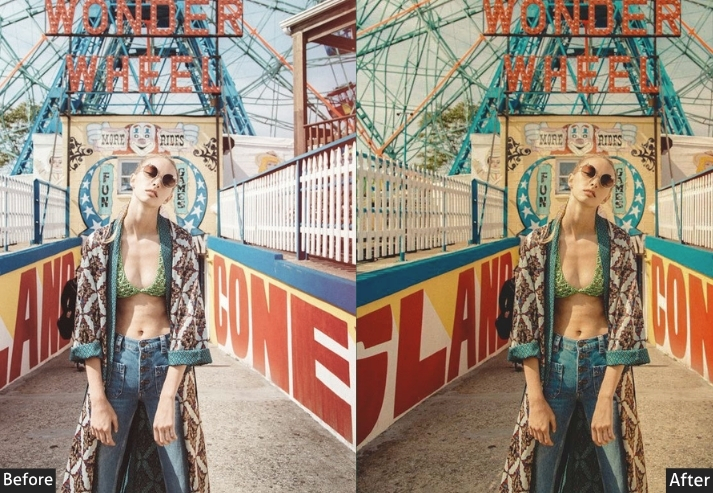
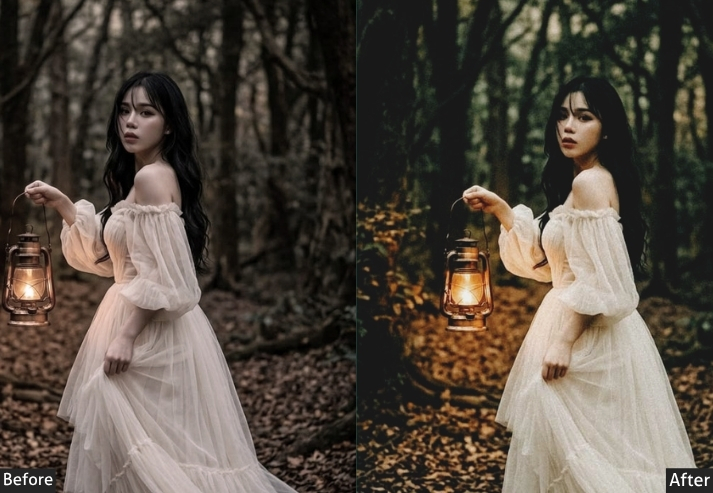
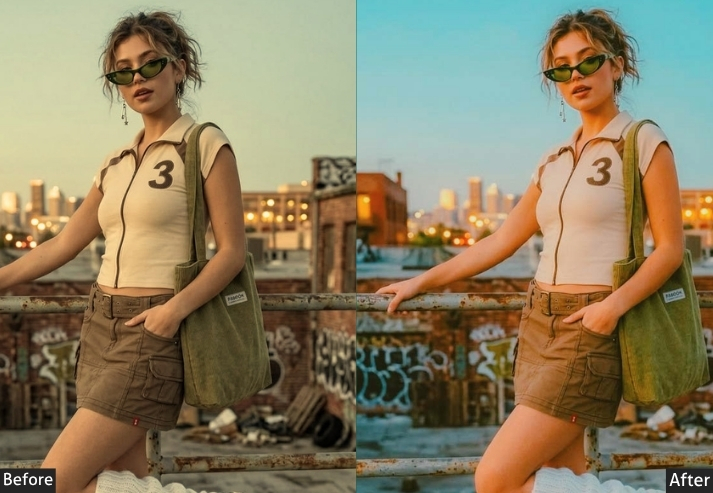
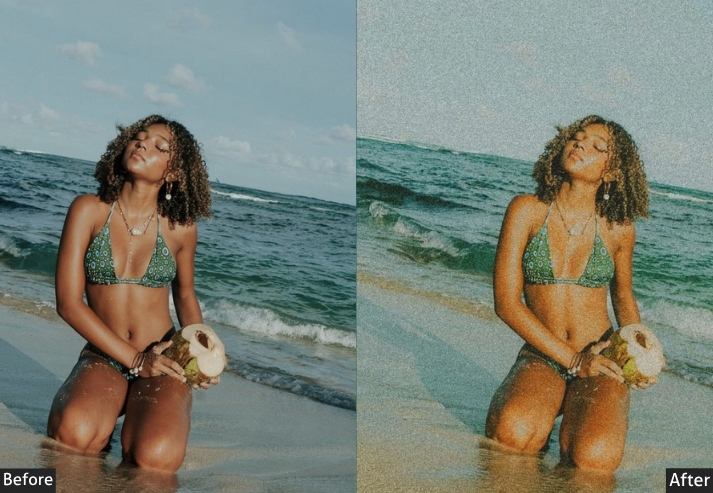
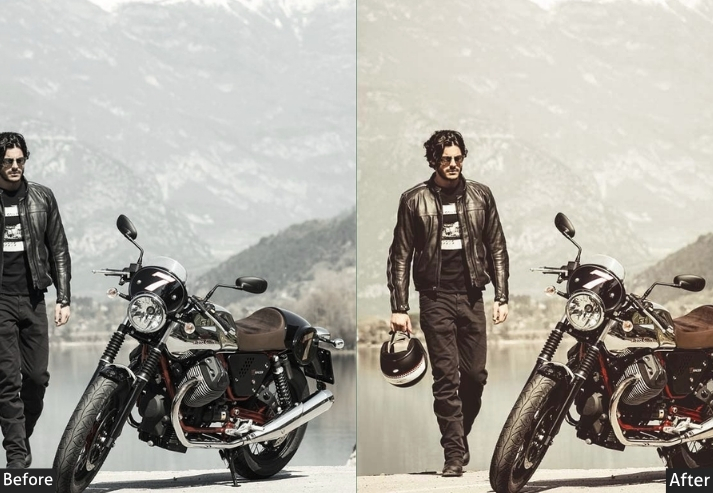
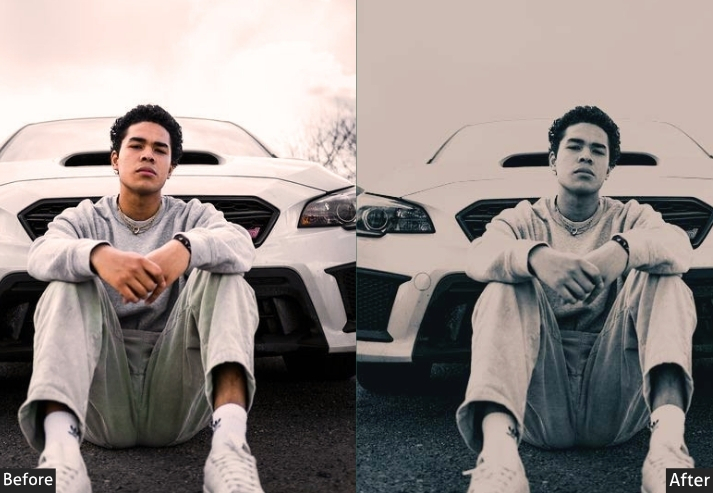
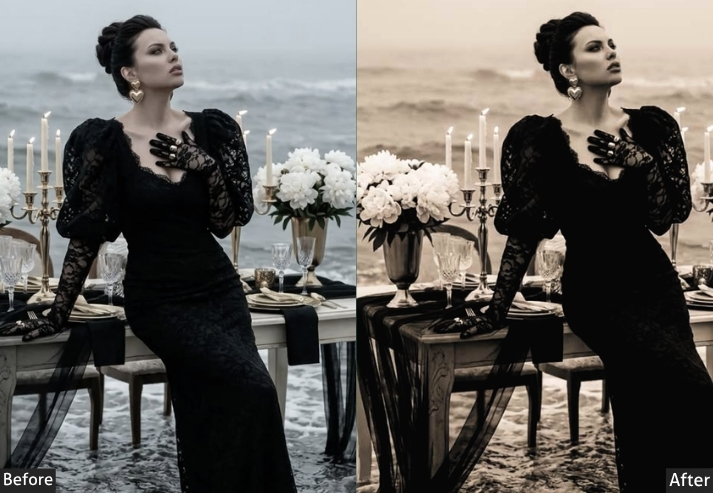
Purpose: Recreate the color response, tonal range, and imperfection of analog film stock.
Best For: Street photography, lifestyle brands leaning nostalgic, engagement shoots, and anyone tired of the “clean digital” look.
Usage: Don’t skip the Calibration panel. It’s the difference between “vintage filter” and “actually looks like film.”
Style: Warm, faded, slightly imperfect on purpose.
7. AI Black & White Presets
Black and white isn’t just Saturation dragged to zero. That’s the amateur move, and it produces a flat, muddy gray tone. A proper B&W conversion happens in the B&W Mix panel, where you control how bright or dark each original color renders in grayscale, which is the only way to get real tonal separation between a blue sky and white clouds that would otherwise merge into the same shade of gray.
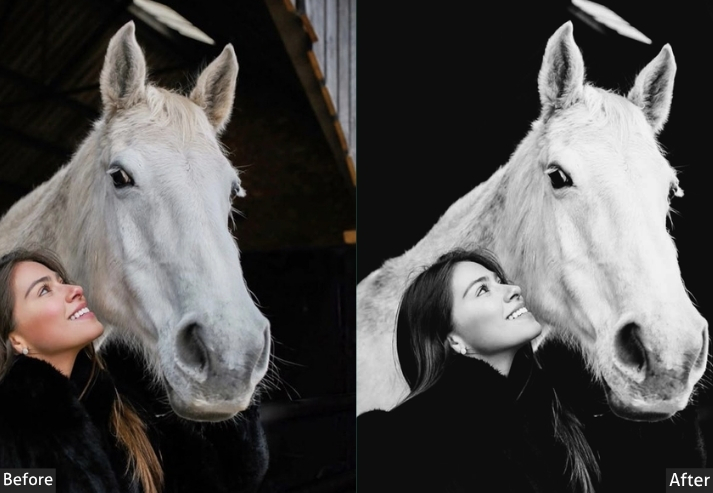
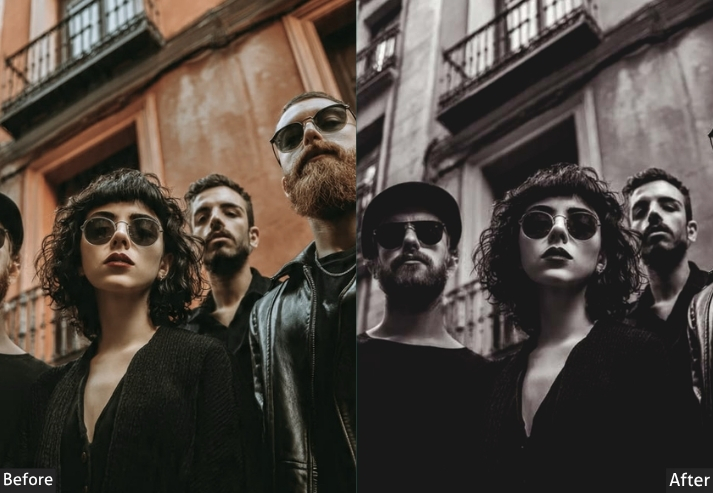
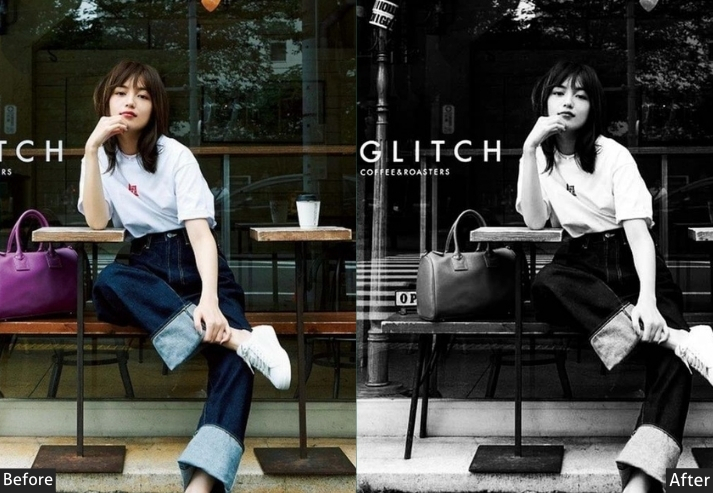
Purpose: Strip color distraction to emphasize shape, shadow, texture, and emotion.
Best For: Documentary and street work, fine art prints, timeless portrait sets, and architecture.
Usage: Always adjust B&W Mix per photo. A preset built on a blue-sky shoot will render an indoor portrait completely flat.
Style: Timeless, high-contrast, unapologetically dramatic.
8. AI Sky & Landscape Presets
This is where Adobe’s real AI does something a static preset genuinely cannot: the Select Sky tool identifies exactly where the sky sits in your frame- clouds, gaps between tree branches, reflections in water, and all. And let a preset apply deepened blues or dramatic sunset tones to that region alone, leaving your foreground completely untouched. Before this existed, landscape editing meant hand-painting gradient masks for every single frame. Now it’s closer to one click plus fine-tuning.
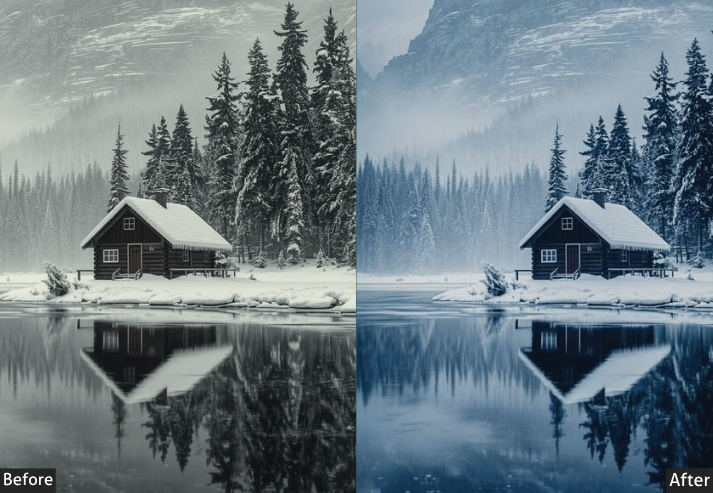
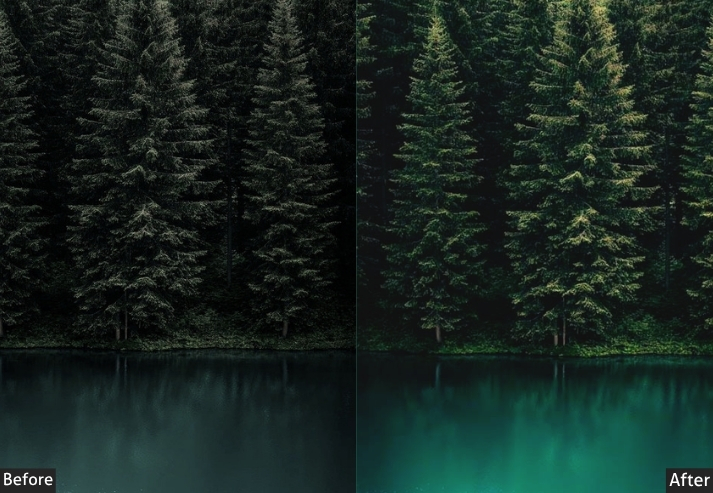
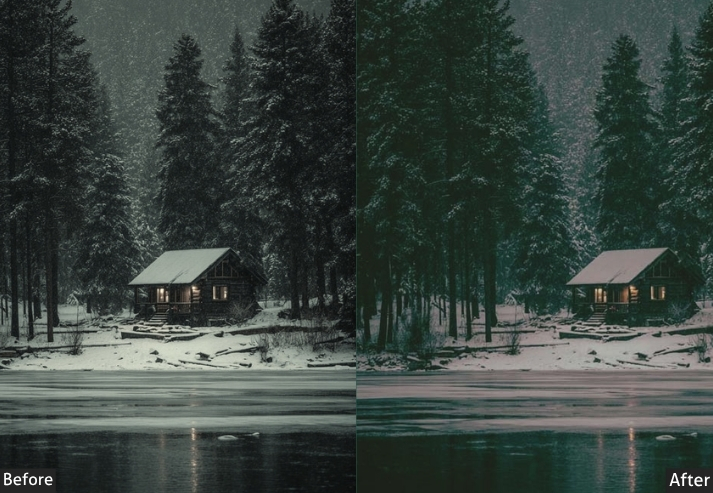
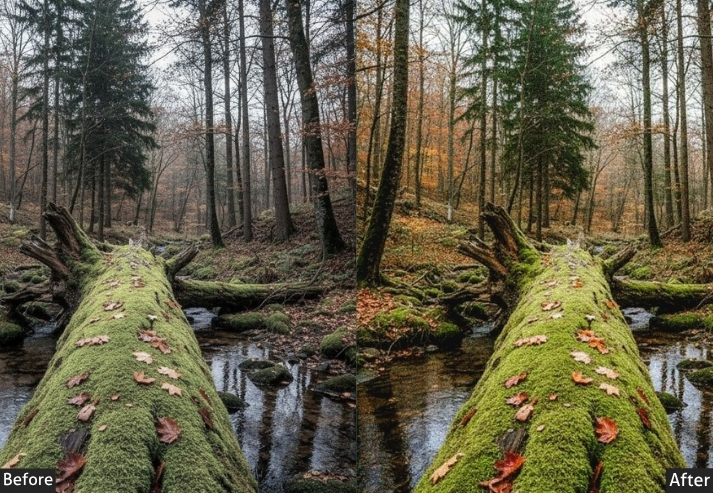
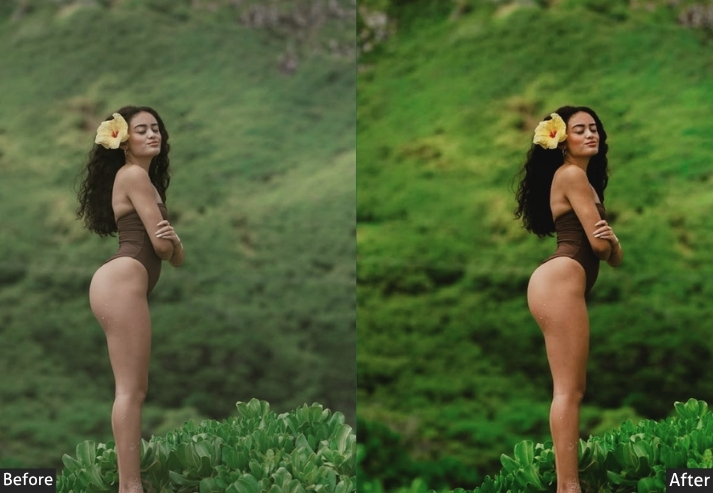
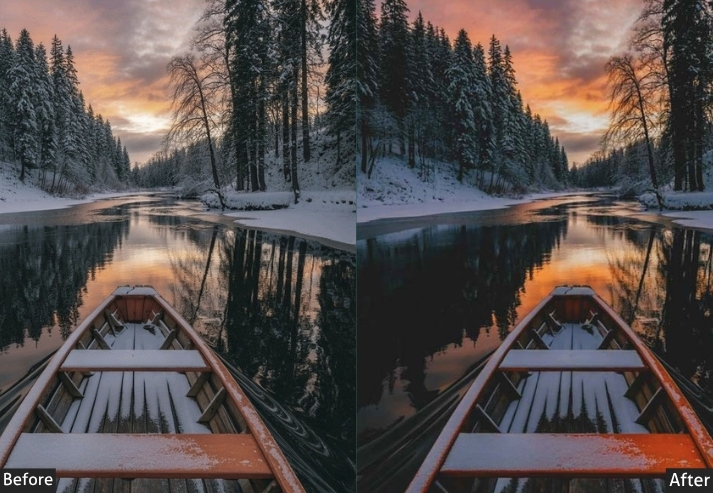
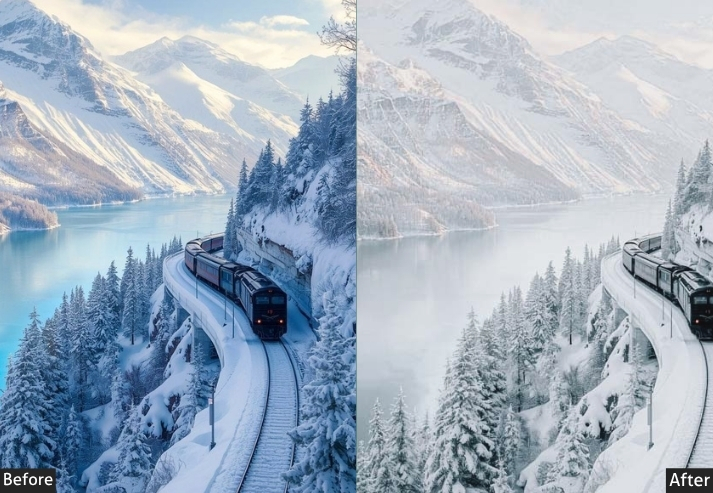
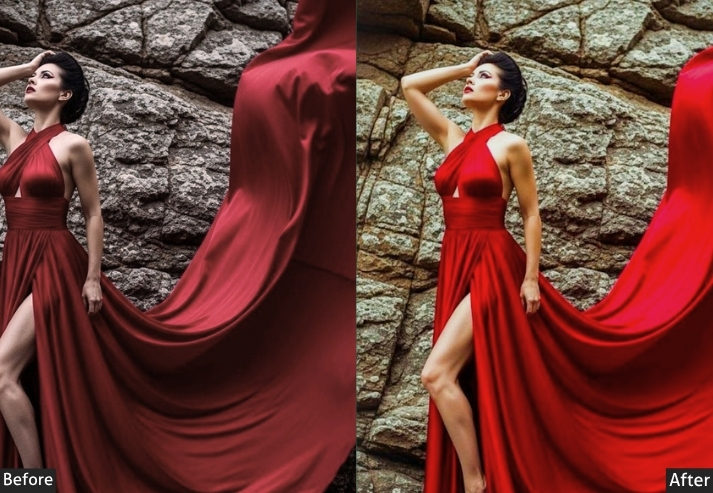
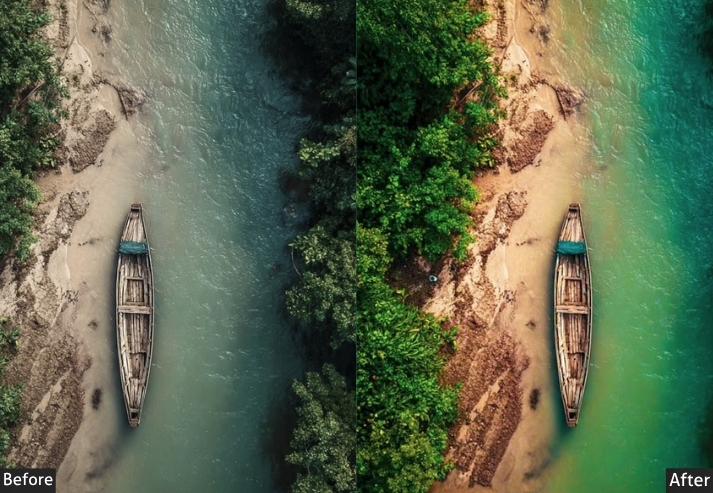
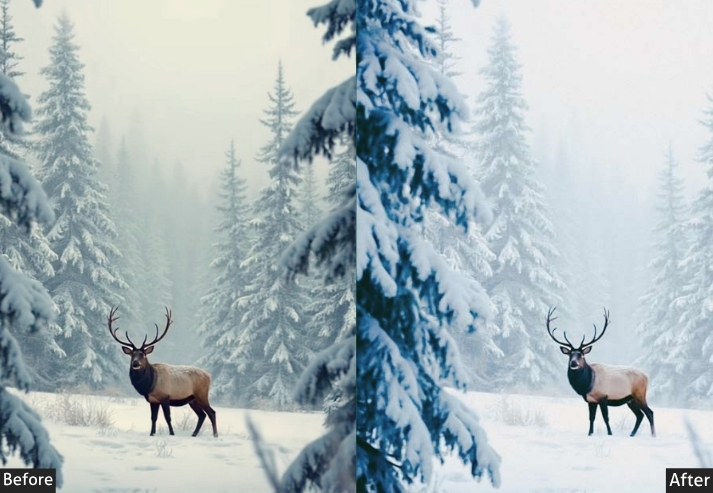
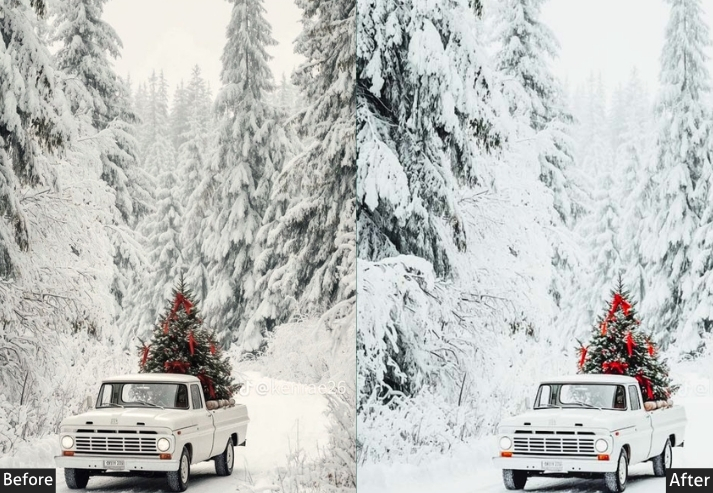
Purpose: Add drama and depth to skies without flattening or over-processing the land below.
Best For: Landscape, seascape, golden hour, and sunset photography.
Usage: Run AI Denoise first if the shot is noisy. Then apply the preset denoising. After grading, artifacts in the color shifts are amplified.
Style: Bold, dimensional, sky-forward without foreground being an afterthought.
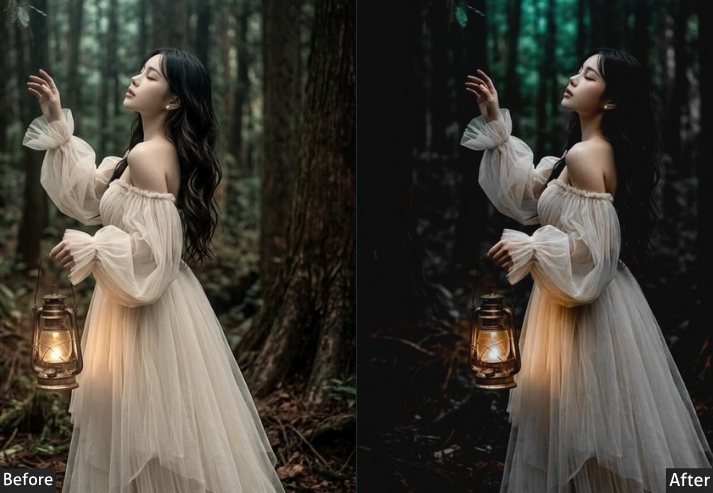
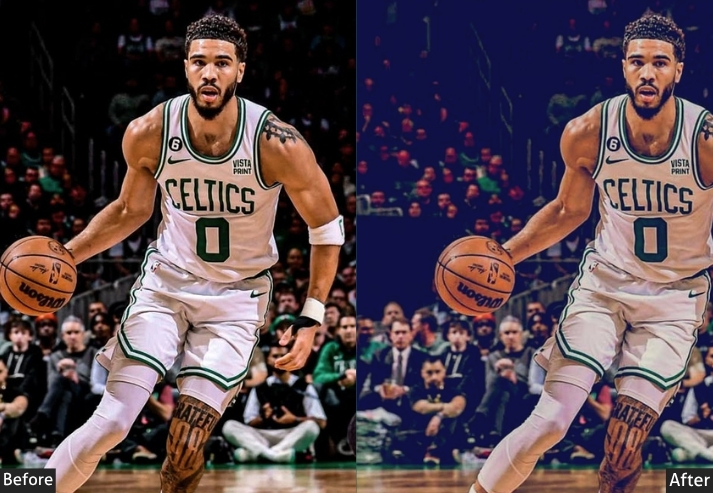
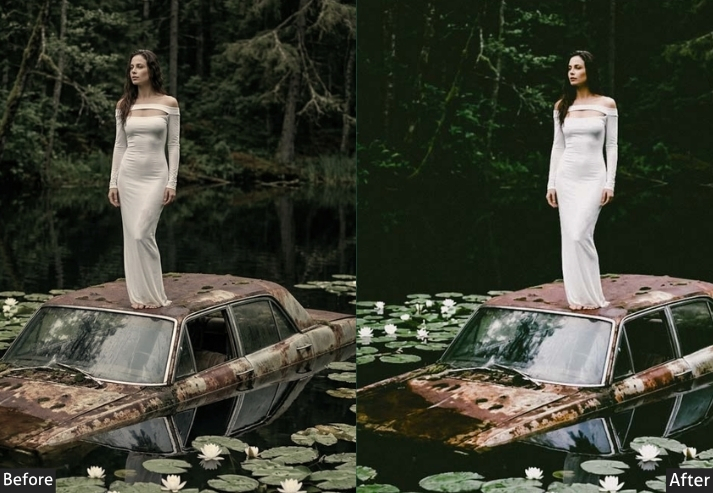
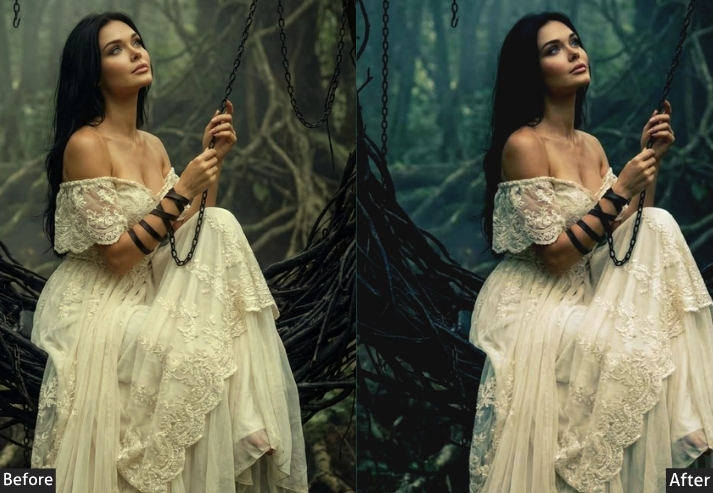
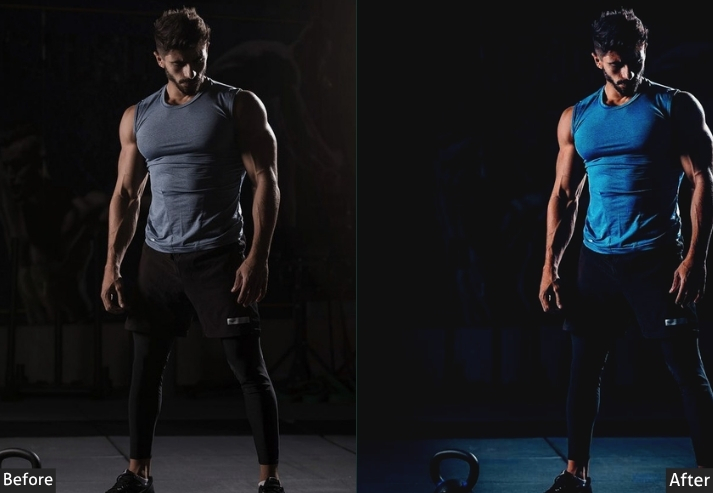
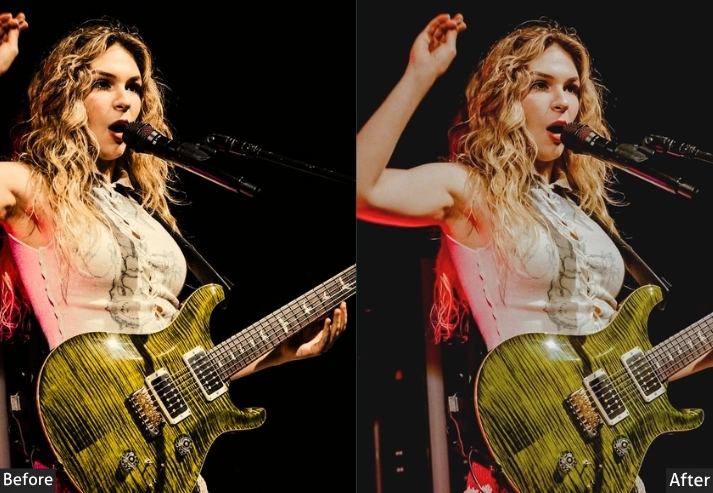
9. AI Urban, Street & Night Presets
Cities at night are a genuinely hard editing problem: mixed color temperatures from sodium streetlights, neon signage, and headlights all fighting in the same frame, plus the noise that comes with the high ISO you needed to capture any of it handheld. This category leans more heavily on Adobe’s actual AI Denoise feature than any other on this list, because no amount of clever slider work can fix noise the way a proper AI-trained denoising pass does.
10. AI Denoise & Enhance Presets
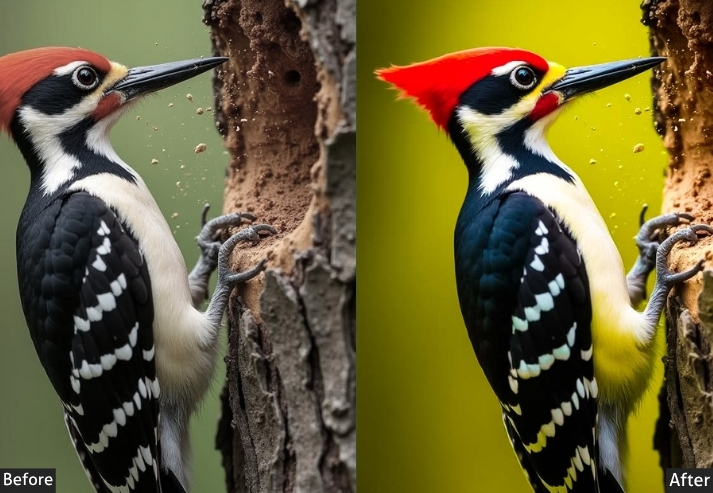
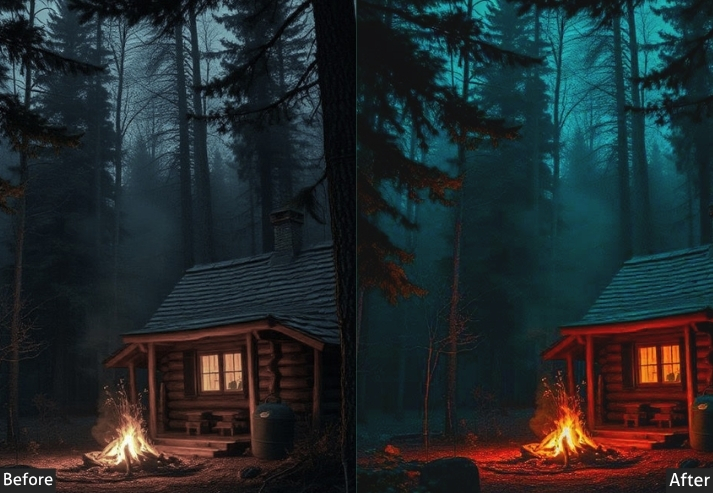
This last category is a bit of an odd one out because it’s less a “look” and more a repair tool wearing a preset’s clothing. And it deserves a spot here because so many people search “AI Lightroom presets” specifically hoping to find exactly this. Adobe’s Denoise and Enhance Details tools use a neural network trained on massive image datasets to rebuild fine detail and reduce noise in ways traditional sliders simply cannot replicate, generating an entirely new DNG file in the process rather than just adjusting existing pixel data.
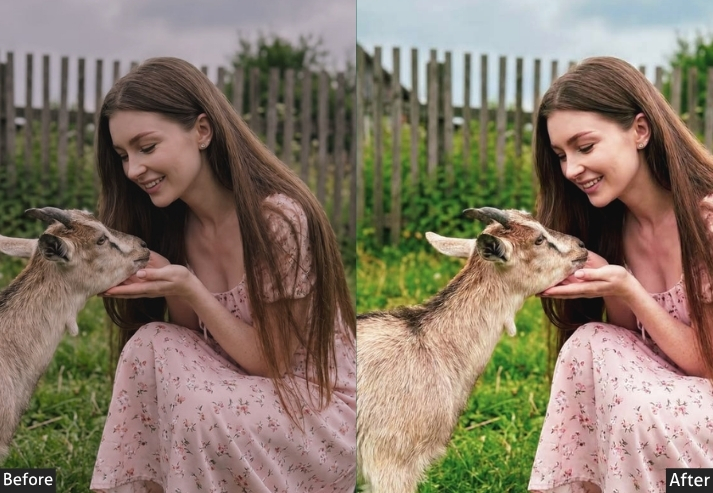
Purpose: Recover clean, sharp detail from noisy, high-ISO, or lower-resolution source files.
Best For: Astrophotography, wildlife shots at long focal lengths, wedding reception low light, any file you need to crop hard into.
Usage: This step happens before grading, never after. Apply it to the RAW file first, then bring your creative preset in on the resulting DNG.
Style: Invisible by design. If it’s noticeable, it’s been pushed too far.
The Bottom Line
We cover a wider range of tools than most people realize, from genuine machine-learning masking baked into Lightroom itself to expertly hand-graded XMP files that happen to use the word “AI” in their marketing. Neither approach is lesser. A well-built static preset from a photographer who’s edited ten thousand weddings can outperform a generic AI suggestion every time, and Adobe’s adaptive masking can save you from hours of hand-painting gradients on a landscape.
The best workflow usually borrows from both: let AI handle the tedious, technically heavy lifting, sky selection, skin masking, and noise cleanup, and let a genuinely well-designed preset carry the creative point of view that AI still can’t fake.
More Free Presets For You:
50 Free Aesthetic Lightroom Presets Download
50 Free Kodak Portra Lightroom Presets Download
50 Free iPhone Photography Lightroom Presets Download
50 Free Landscape Lightroom Presets Download
70 Free 4k Lightroom Presets Download