Hey there, future wildlife photography rockstar! I’m thrilled you’re here because fifteen years ago, I was exactly where you are now, excited, overwhelmed, and wondering why my photos of a “charging rhino” looked more like a gray potato with motion blur. 😅
After thousands of hours in the field (and yes, countless failed shots), I’m going to share everything I wish someone had told me when I started. This isn’t just another technical guide; it’s your roadmap from “what does this button do?” to “holy cow, I actually captured that moment!” Ready? Let’s begin! 🚀
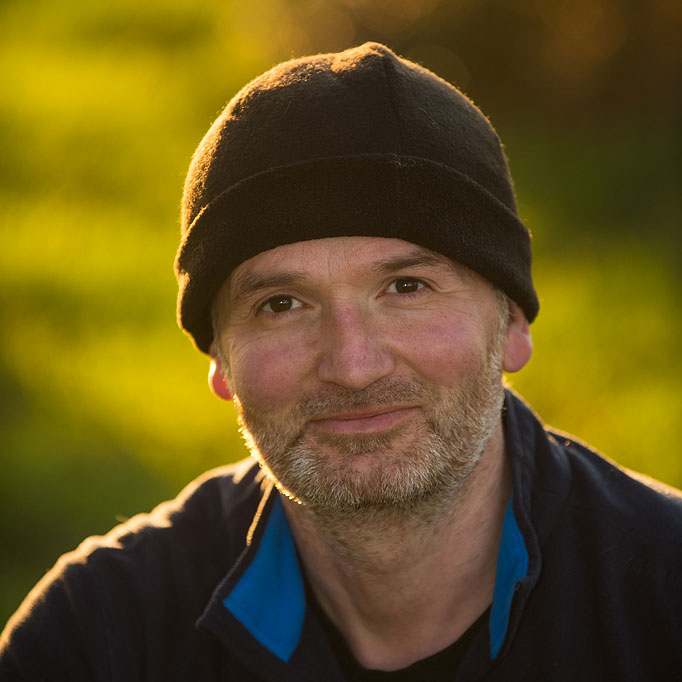
I enjoy photographing everything from tiny birds to majestic mammals, always searching for the perfect combination of light, timing, and storytelling.
- Andy Parkinson
- The Three Types of Wildlife Photographers
- 🎯 Skill #1: Patience (Like, Superhuman Levels)
- 🧠 Skill #2: Animal Behavior Knowledge
- 💪 Skill #3: Physical & Mental Toughness
- 🎨 Skill #4: Artistic Vision
- 💼 Skill #5: Business Savvy
- Choosing Your Gear Without Breaking the Bank
- Part 1: The Mindset Shift Every Wildlife Photographer Needs
- Part 2: Choosing Your Gear (Without Breaking the Bank)
- Part 3: Mastering Camera Settings
- Animal Eye Detection AF: The Game-Changer
- Part 4: In the Field – Techniques That Actually Work
- Modern Scouting Tools That Most Photographers Ignore
- Part 5: Post-Processing – Where Good Photos Become Great
- Coastal and Water-Based Wildlife
- Safari and Vehicle-Based Photography
- Step 1: The Cleanup Stage (Foundation)
- Step 2: Exposure and Tone (The Big Stuff)
- Step 3: Color Magic (Making It Pop)
- Step 4: Sharpening and Noise Reduction
- Mistake #1: Chasing Every Animal
- Mistake #2: Over-Editing
- Mistake #3: Only Shooting in Perfect Light
- Mistake #4: Ignoring the Background
- Mistake #5: Being Impatient
- Mistake #6: Not Learning Animal Behavior
- 📚 Education Options (What's Worth It?)
- 🎓 What You Should Actually Study
- Birds in Flight (BIF)
- Low-Light Wildlife
- Small Subjects (Insects, Amphibians)
- Dangerous/Distant Wildlife
- Finding Your Style
- Sharing Your Work
- Entering Competitions
- Selling Your Work (When You're Ready)
- The Wildlife Photographer's Code
- Ethical Editing
- Learning Resources
- Practice Challenges
- Join the Community
- 📅 Your 12-Month Roadmap
- 🎯 Setting Realistic Goals
- 🔄 The Long Game
- Your Action Plan for This Week
What Is A Wildlife Photographer?
Alright, let’s start with the basics. A wildlife photographer captures images of wild animals in their natural habitats, requiring patience, skill, and an understanding of animal behavior to convey the essence of wildlife.
But here’s what nobody tells you: being a wildlife photographer is like being part detective, part ninja, part meteorologist, and part artist: all rolled into one adventurous package!
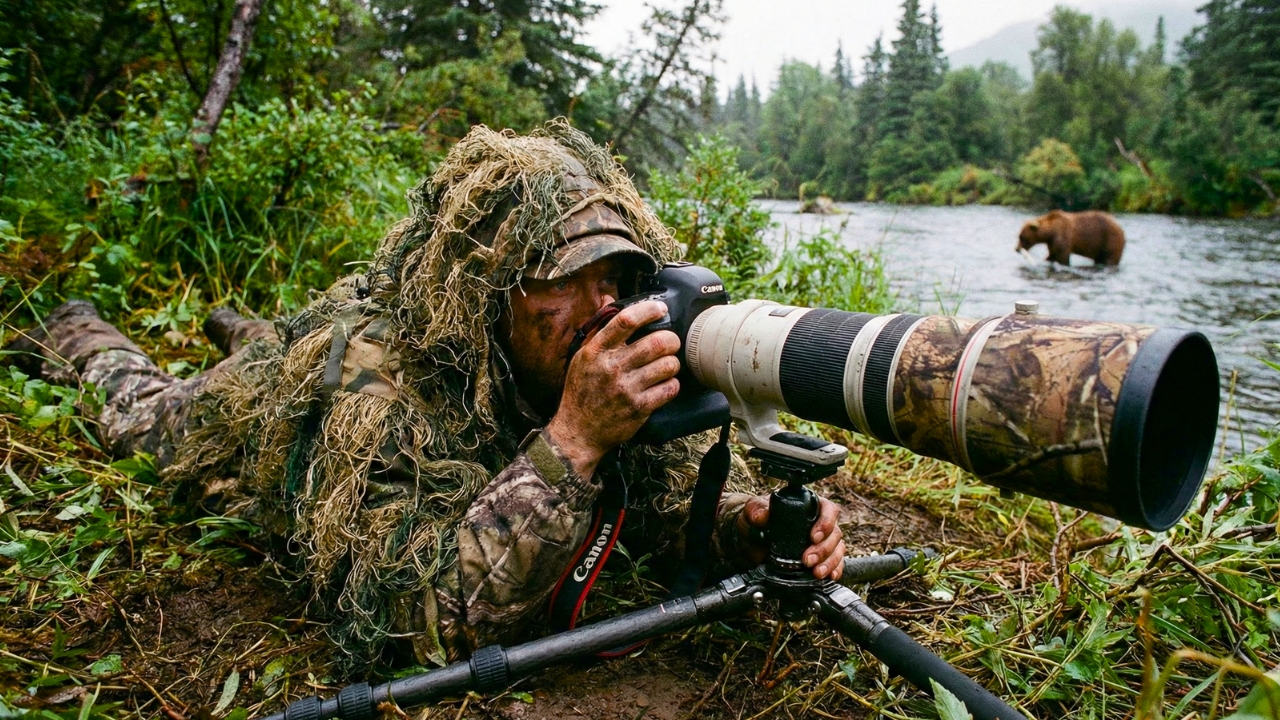
What wildlife photographers actually do:
- Document animals in their natural environments for artistic, journalistic, and conservation purposes.
- Spend countless hours researching animal behavior (yes, you’ll become a mini zoologist!).
- Travel to remote locations-sometimes glamorous, often not (ever tried changing a lens in a sandstorm? Fun times!).
- Help raise awareness for conservation efforts through powerful imagery.
- Work freelance or for publications, organizations, and conservation groups.
Many wildlife photographers travel frequently to photograph species in their natural habitats, learning about new weather patterns, terrain types, and etiquette when visiting new communities.
Think of yourself as a storyteller with a camera. Your job isn’t just to snap pretty pictures. It’s to share the wonder, beauty, and urgent need to protect our planet’s incredible creatures.
The Three Types of Wildlife Photographers
Before we go further, let’s be real about what “pro” means:
- The Pure Professional (5% of wildlife photographers): Lives 100% off photography income. Shoots for National Geographic, BBC, and major conservation organizations. Has $50,000+ in gear. Travels 200+ days a year. This is HARD to achieve.
- The Hybrid Pro (25%): Makes significant income from wildlife photography + related services (workshops, speaking, prints, tours). Still has financial security. This is more realistic and actually pretty awesome.
- The Passionate Side-Hustler (70%): Has a day job but makes money from photography and constantly improves. Dreams of going full-time someday. Absolutely nothing wrong with this! Many incredible photographers fit here.
Which path you choose depends on your life situation, risk tolerance, and how much you like eating regularly. 🍕
Do You Have What It Takes? (The Skills Nobody Talks About)
Forget camera specs for a minute. The REAL skills you need:
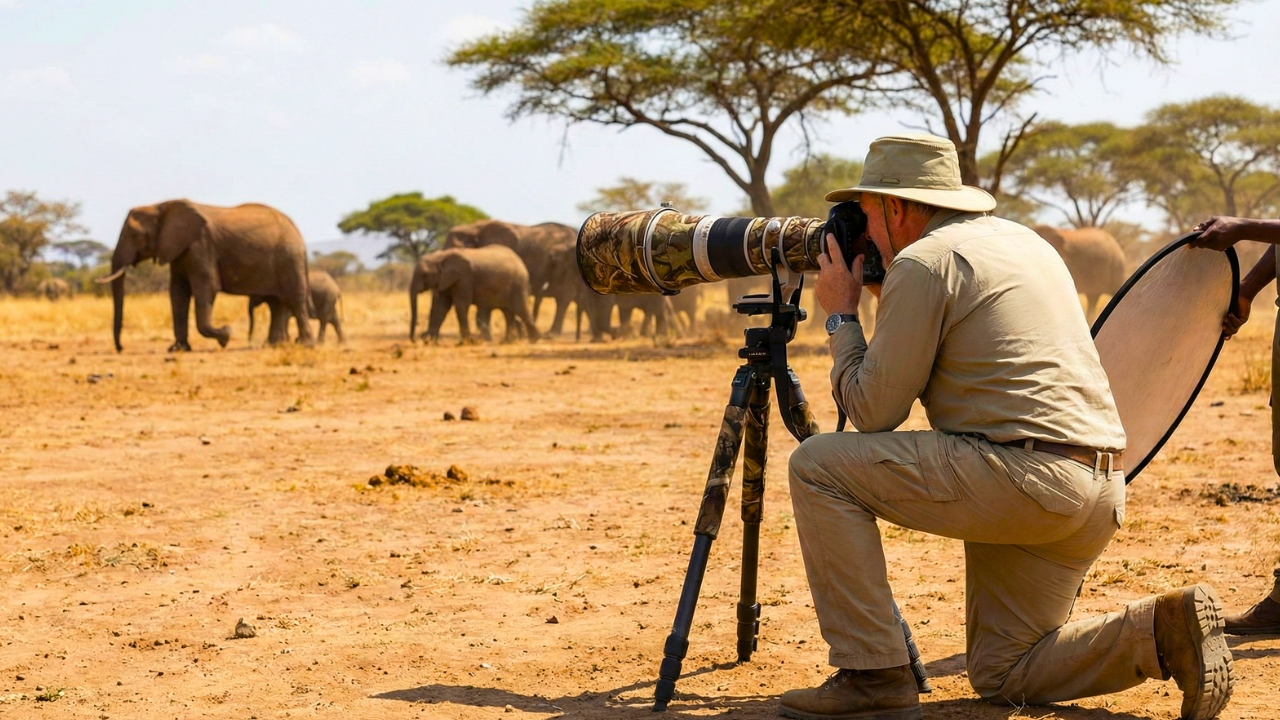
🎯 Skill #1: Patience (Like, Superhuman Levels)
I once waited 11 hours in a hide for a kingfisher to return. It never did. The next day, I waited 9 more hours. Got 3 seconds of action. Got THE shot. Sold it for $4,000.
Was it worth it? Absolutely. Would I do it again? Without hesitation. Am I slightly insane? Probably.
🧠 Skill #2: Animal Behavior Knowledge
You can’t photograph what you can’t find. The best wildlife photographers are half photographer, half biologist. You need to know:
- When do your subjects eat, sleep, hunt, and mate?
- What weather conditions bring them out?
- Which habitats do they prefer?
- What sounds, movements, or scents will scare them?
Pro tip: Spend more time studying animals than studying camera manuals. The manual doesn’t change. Animal behavior does.
💪 Skill #3: Physical & Mental Toughness
Wildlife photography means:
- Hiking 10 miles with 40 lbs of gear.
- Working in extreme heat, cold, rain, and snow.
- Dealing with dangerous animals (respectfully, from a distance).
- Managing loneliness on solo trips.
- Bouncing back from “the one that got away”.
If you think “outdoor adventures” means a temperature-controlled cabin with WiFi, we need to have a chat. 😅
🎨 Skill #4: Artistic Vision
Here’s the harsh truth: Technical perfection is the baseline now, not the goal.
Everyone has sharp autofocus. Everyone has 40+ megapixels. What separates pros from hobbyists is vision:
- Can you tell a story in one frame?
- Do you understand light as a painter does?
- Can you capture emotion, not just documentation?
- Do your photos make people feel something?
This is the skill that takes years to develop. And honestly? It’s the most important one.
💼 Skill #5: Business Savvy
THE BIG SECRET NOBODY TELLS YOU: Being a mediocre photographer with great business skills will make you more money than being an amazing photographer with zero business sense.
Harsh? Yes. True? EXTREMELY.
You’ll need to understand:
- Marketing and self-promotion.
- Copyright and licensing.
- Pricing and negotiation.
- Client management.
- Basic accounting.
- Website and social media.
More on this later, but don’t skip the business stuff. Please. I’m begging you.
Choosing Your Gear Without Breaking the Bank
The Camera Body
What actually matters in a wildlife camera body:
- Fast burst rate: at least 10–15 fps for mirrorless; 5–7 fps minimum for DSLRs.
- Animal Eye Detection AF: This has become the single biggest game-changer in modern wildlife photography.
- Good high-ISO performance: animals don’t wait for perfect light.
- Weather sealing: you will shoot in rain, mist, and mud
Budget-friendly options:
- Entry-level: Canon EOS R50, Nikon Z50 II, Sony A6700 ($700–$1,300): excellent Animal Eye AF, great for beginners.
- Mid-range sweet spot: Canon R7, Nikon Z6 III, Sony A7 IV ($1,500–$2,800): professional results at sensible prices.
- Pro tier: Canon R5 Mark II, Sony A1 II, Nikon Z9 ($3,500+): only if budget allows.
Andy’s advice: Buy a used previous-generation body and invest the savings into glass. I shot with a Canon 7D Mark II for years and landed magazine covers. The lens is what matters.
How To Take Wildlife Photos?
If you’ve been dreaming about ditching your desk job to chase elephants in Africa or photograph owls in your local forest, you’re in the right place. I’m going to walk you through everything, and I mean everything you need to know to become a professional wildlife photographer.
Fair warning: I’m going to be brutally honest. No sugar-coating. No “follow your dreams and everything will be perfect” nonsense. Just real talk from someone who’s been there, made the mistakes, and somehow managed to turn this obsession into a career. Let’s go!
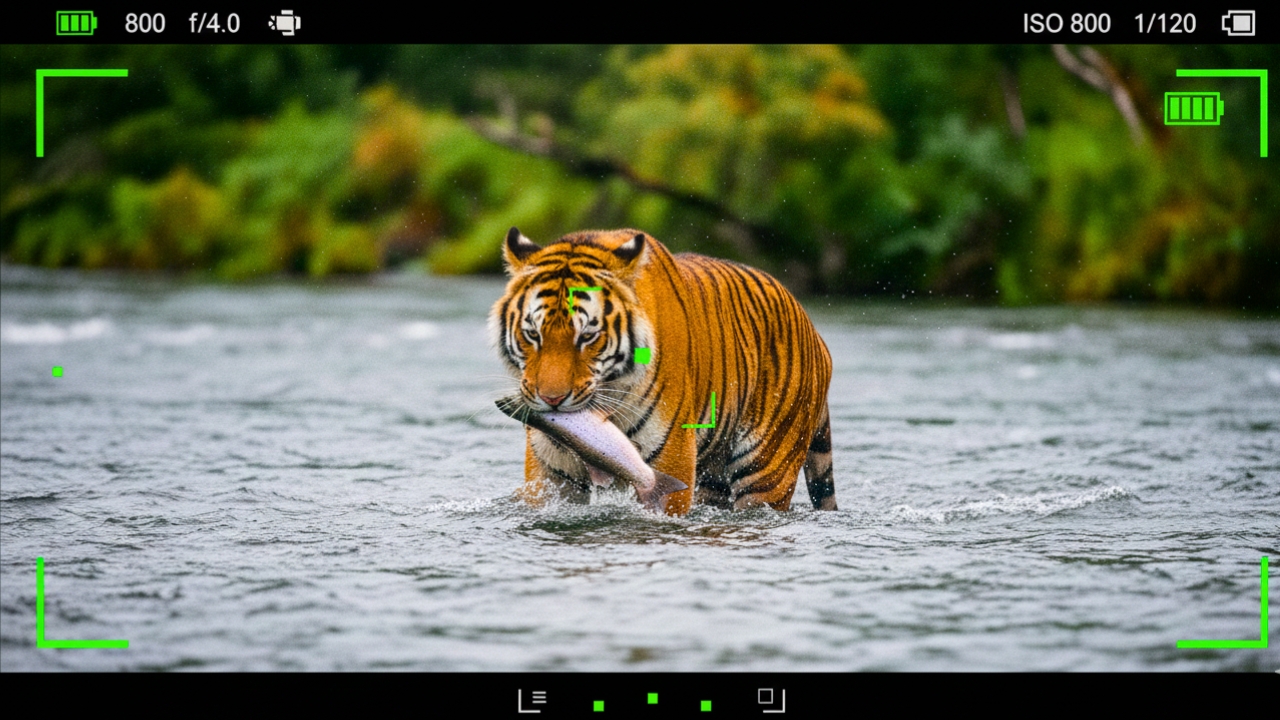
Part 1: The Mindset Shift Every Wildlife Photographer Needs
Before we even talk about camera settings, let me share something crucial: Wildlife photography is 70% patience, 20% preparation, and 10% luck. That’s it. Your expensive gear matters less than you think.
I once watched a photographer with a $15,000 setup get mediocre shots while a teenager with an entry-level DSLR captured National Geographic-worthy images. The difference? The teen knew his subjects, understood behavior, and was patient enough to wait for the moment.
The Three Golden Rules:
- Know your subject: research their behavior, habitat, and patterns.
- Respect the wildlife – Never disturb animals for a shot.
- Be ready for failure – For every keeper, you’ll have 50+ rejects (and that’s totally normal!).
Part 2: Choosing Your Gear (Without Breaking the Bank)
Let’s talk equipment realistically. Do you need a $6,000 camera body? Nope! Here’s what you actually need:
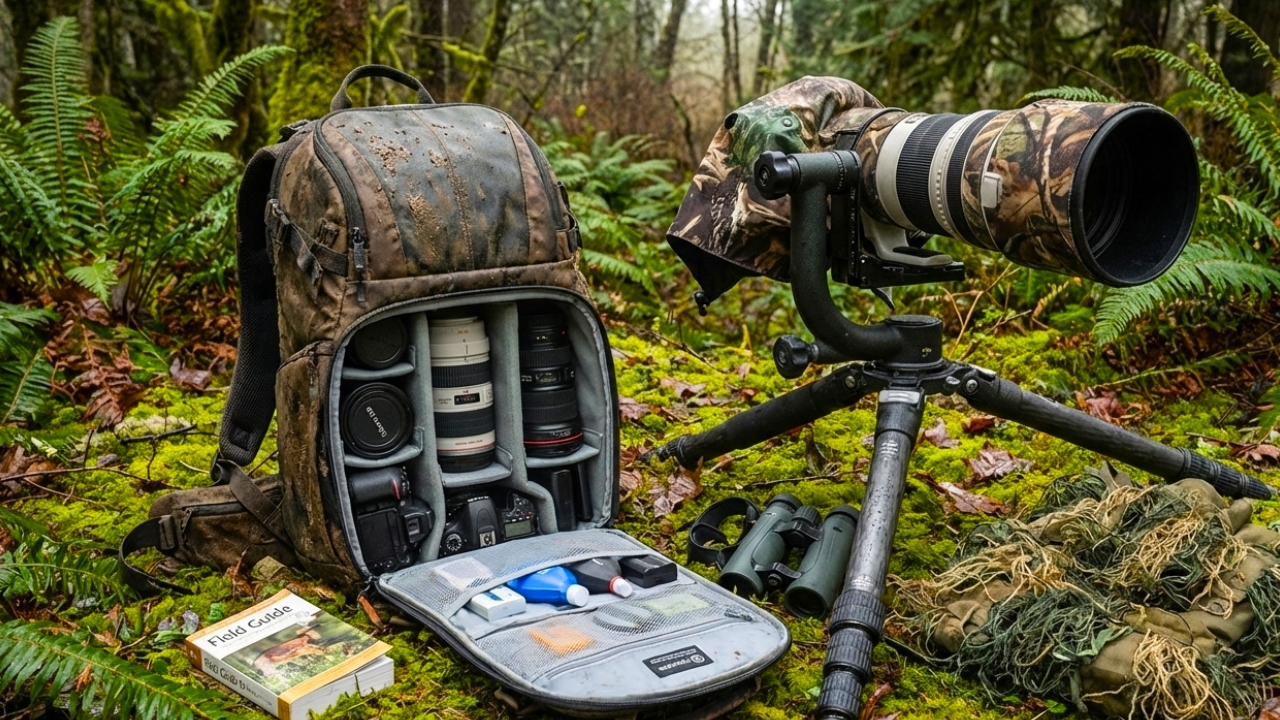
The Camera Body
What matters:
- Fast burst mode (at least 5-7 fps for beginners).
- Decent autofocus system (animal eye-detection is a game-changer).
- Good high-ISO performance (wildlife doesn’t wait for perfect light).
Budget-friendly options:
- Entry-level: Canon EOS R10, Nikon Z50, Sony A6400 ($700-$1,200).
- Mid-range: Canon R7, Nikon Z8, Sony A7 IV ($1,500-$2,500).
- Pro: If you’ve got the budget, Canon R5 Mark II, Sony A1, Nikon Z9 ($3,500+).
Pro tip: Buy a used previous-generation camera body and invest more in lenses. I shot with a “dinosaur” Canon 7D Mark II for years and landed magazine covers!
The Lens (Where You Should Invest)
This is where things get real. Wildlife photography demands a lot of it.
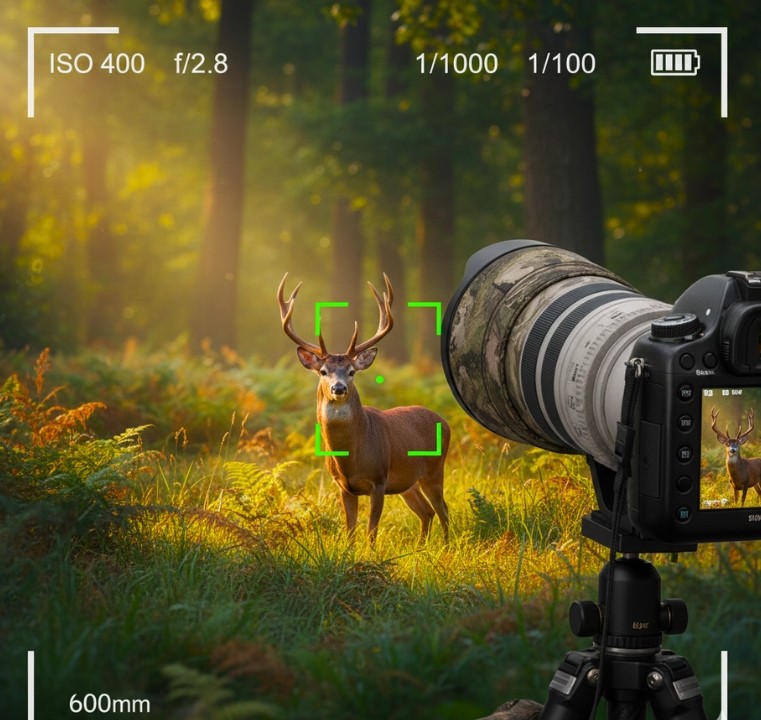
The bare minimum: 200mm; The sweet spot: 300-500mm; The dream: 600mm+
Budget lens recommendations:
- Telephoto zoom: Tamron 150-600mm ($1,000-$1,400) – My first “serious” wildlife lens!
- Prime option: Used Canon/Nikon 400mm f/5.6 ($600-$1,000 used).
Investment lenses:
- Sony 200-600mm G ($2,000).
- Canon RF 100-500mm ($2,800).
- Nikon Z 180-600mm ($1,700).
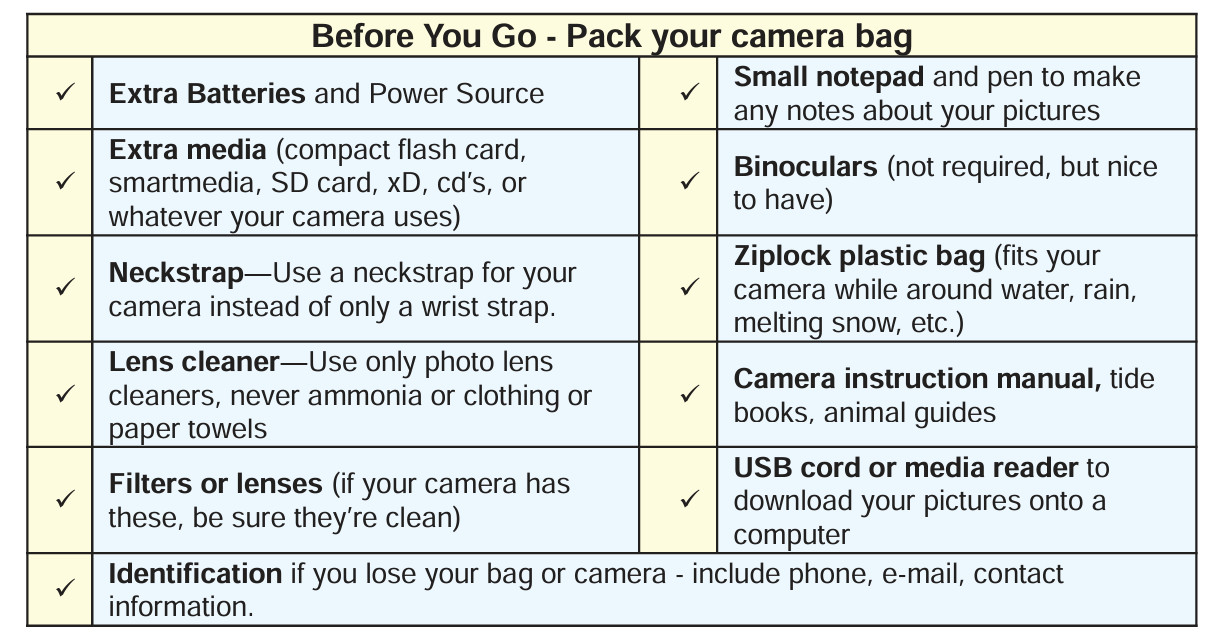
Essential Accessories
- Memory cards: Fast cards (UHS-II) – trust me, you’ll fill them quickly.
- Spare batteries: Always carry 2-3 extras.
- Monopod/Tripod: Your arms will thank you (I use a monopod 80% of the time).
- Camera strap: A good harness system saves your neck.
- Weather protection: Rain sleeves or camera covers.
| Budget Level | Camera Body | Lens | Est. Total | Best For |
|---|---|---|---|---|
| Starter | Canon R50 / Nikon Z50 II | Tamron 150-600mm | ~$1,700 | Local parks, birds, larger mammals |
| Enthusiast | Canon R7 / Sony A7 IV | Canon RF 100-500mm or Sony 200-600mm | ~$4,500 | Safari, birds in flight, action |
| Pro | Sony A1 II / Canon R5 II | Brand 500mm or 600mm prime | $8,000+ | Publishable editorial work |
Part 3: Mastering Camera Settings
Alright, deep breath… This is where most beginners panic. But I’m going to make this super simple with my “Set It and Forget It” Starting Point that works 80% of the time.
My Go-To “Ready for Anything” Settings:
Mode: Manual with Auto-ISO (yes, really!).
Shutter Speed: 1/1000s (minimum for most animals).
Aperture: f/5.6 to f/8.
ISO: Auto (with max limit at 6400).
Focus Mode: Continuous AF (AI Servo/AF-C).
Focus Area: Wide or Animal Eye Detection.
Drive Mode: High-speed continuous.
The Shutter Speed Rule of Thumb
General formula: Your shutter speed should be at least 1/[focal length]
- Using a 500mm lens? Shoot at a minimum of 1/500s.
- 200mm lens? At least 1/200s.
But reality check:
- Slow animals (elephants, tortoises): 1/250s-1/500s is fine.
- Medium-paced (deer, most birds): 1/500s – 1/1000s.
- Fast action (birds in flight, running predators): 1/1600s – 1/3200s.
- Crazy fast (hummingbirds, diving birds): 1/4000s+
Animal Eye Detection AF: The Game-Changer
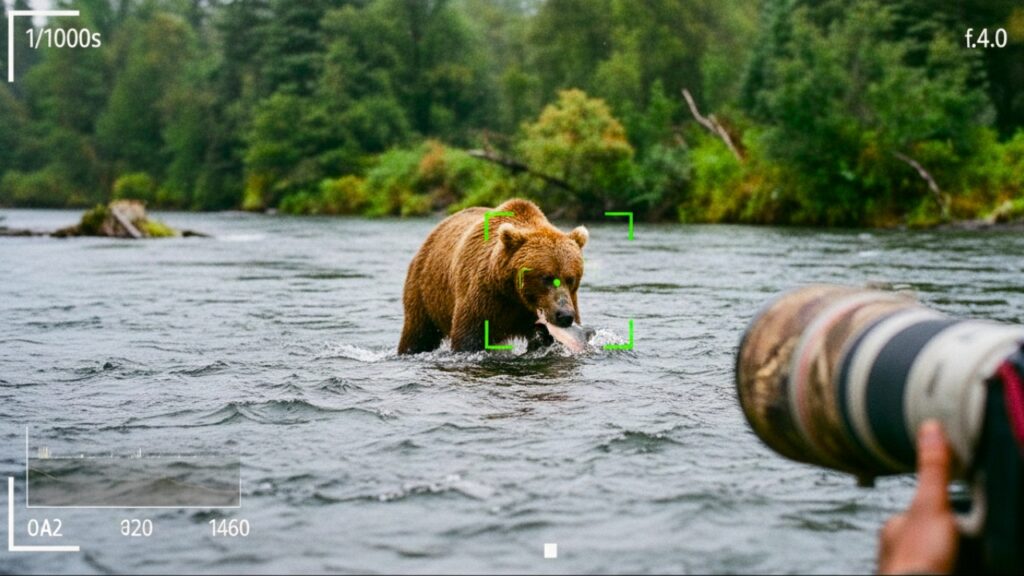
If your camera supports Animal Eye Detection (Sony’s Real-time Tracking, Canon’s Animal Eye AF, Nikon’s Animal Detection AF), turn it on and leave it on. This technology has fundamentally changed wildlife photography — your camera can now lock onto and track an animal’s eye even through vegetation, dust, and fast movement.
How to get the most out of Animal Eye AF:
- Enable “Animal Priority” over human detection in your AF menu.
- Use the widest AF area available (Wide or Full Area) and let the camera hunt for the eye.
- If the camera hunts or loses the subject, switch to a Zone AF or Single Point as a fallback.
- Don’t fight the camera: If it locks onto the eye, trust it. Only override with Single Point when shooting through branches or for precise framing.
Back-button focus: Separate your focus activation from the shutter button by assigning AF to your rear thumb button (usually AF-ON). This gives you precise control: hold AF-ON to track a moving subject, release it to lock focus on a stationary one, and press the shutter independently. Once you try it, you’ll never go back.
Aperture: The Background Blur Magic
Here’s where art meets science. Your aperture does two things:
- Controls how much light enters.
- Determines background blur (bokeh).
For wildlife:
- f/2.8 – f/4: Gorgeous bokeh, but shallower focus (risky if animal moves).
- f/5.6 – f/8: Sweet spot! Sharp subject, nice background separation.
- f/11+: Use when you need everything sharp (landscapes with wildlife).
Story time: I once shot a leopard at f/2.8 and only got its nose in focus because it turned its head. The eye? Blurry. Now I stick to f/5.6-f/6.3 for single animals and f/8 for groups. Learn from my expensive mistakes!
ISO: Embrace the Noise!
Old-school photographers will gasp, but I’m going to say it: A sharp, slightly noisy photo beats a blurry, noiseless photo EVERY. SINGLE. TIME.
Modern cameras handle ISO 3200-6400 like champs. I’ve sold photos shot at ISO 8000. The key? Nail the focus first, worry about grain later (we’ll fix it in editing).
Autofocus Settings (The Secret Sauce)
This is where modern cameras really shine. Here’s my setup:
Focus Mode: Continuous/AI Servo Focus Area:
- Start with “Wide Area” or “Zone AF”.
- Upgrade to “Animal Eye Detection” once you’re comfortable.
- Use “Single Point” for stationary, cooperative subjects.
Back-button focus: Once you try it, you’ll never go back! This separates focusing from the shutter button, giving you more control.
| Scenario | Shutter Speed | Aperture | ISO | Focus Mode |
|---|---|---|---|---|
| Stationary / slow animals | 1/250s–1/500s | f/5.6–f/8 | 100–800 | AF-S / Single |
| Walking / trotting mammals | 1/800s–1/1500s | f/5.6–f/8 | Auto (max 3200) | AF-C + Animal Eye |
| Running / charging mammals | 1/1600s–1/3200s | f/6.3–f/8 | Auto (max 6400) | AF-C Wide Area |
| Birds in flight (large) | 1/2000s–1/3200s | f/5.6–f/8 | Auto (max 6400) | AF-C + Bird Eye AF |
| Birds in flight (small/fast) | 1/4000s+ | f/6.3–f/8 | Auto (max 12800) | AF-C Wide Burst |
| Macro (insects, frogs) | 1/200s–1/800s | f/8–f/16 | 100–400 | Manual or AF-S |
| Low light / dawn / dusk | Minimum 1/250s | f/2.8–f/5.6 | 3200–12800 | AF-C + Eye AF |
Part 4: In the Field – Techniques That Actually Work
Settings are great, but let’s talk about actually getting the shot.
Location Scouting (Do Your Homework)
The best wildlife photographers aren’t lucky-they’re prepared.
Before you go:
- Research what animals live there and when they’re active.
- Check weather and lighting (Golden hour = magic hour).
- Scout locations on Google Earth.
- Join local wildlife photography groups for intel.
- Ask park rangers for recent sightings.
I spent three mornings at the same pond because I knew herons fed there at dawn. Morning one: nothing. Morning two: distant shots. Morning three: A heron landed 10 feet from me, and I got my best-ever catch sequence. Patience pays!.
Modern Scouting Tools That Most Photographers Ignore
Great wildlife photography starts with great digital scouting. These tools will put you in the right place before you ever leave the house:
iNaturalist: Community-sourced wildlife sightings with precise GPS data. Search any location to see what species have been observed recently and exactly where.
eBird (Cornell Lab): Essential for bird photographers. Shows recent sightings, hotspots, and seasonal occurrence maps for every bird species globally.
PhotoPills: Plan golden hour, blue hour, Milky Way, and sun/moon positions precisely at your chosen location and date.
Google Earth Pro: Identify water sources, clearings, and habitat types before visiting. Locate vantage points and approach routes.
Weather apps with hourly wind data: Animals use wind for scent detection. Approach from downwind.
Approaching Wildlife (Without Scaring Everything Away)
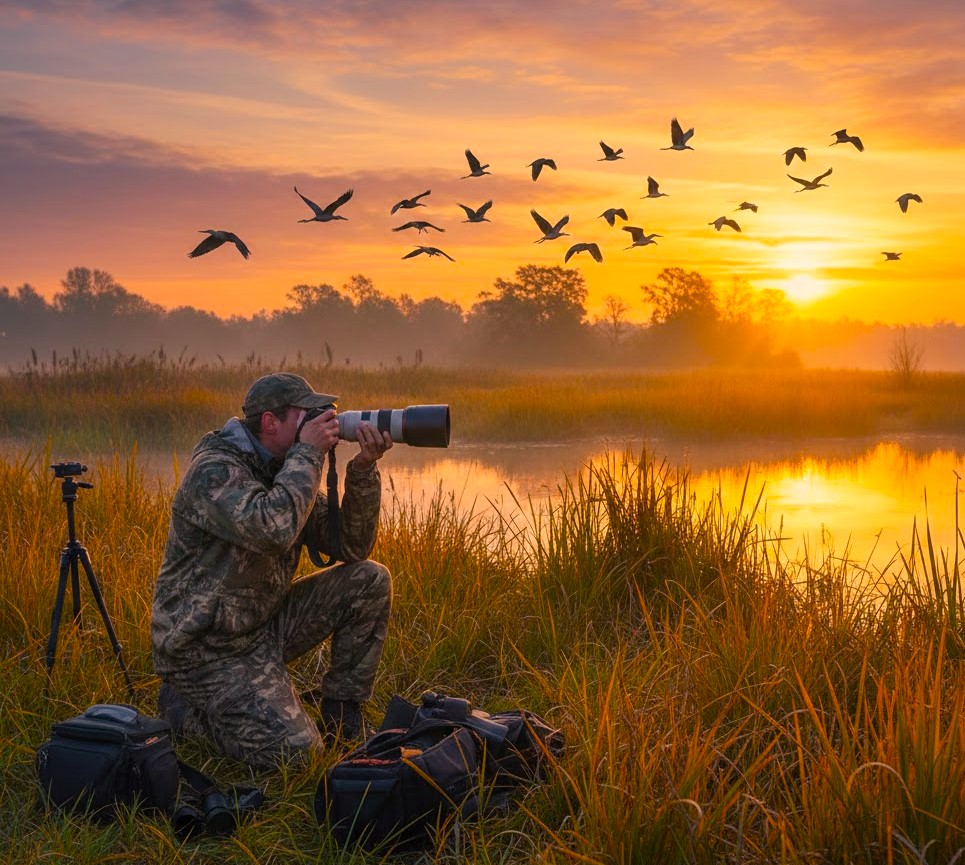
The stealth approach:
- Move slowly and deliberately (no sudden movements).
- Stay low when possible.
- Wear earth-tone clothing.
- Turn off all beeping camera sounds.
- Stay downwind (animals have amazing noses).
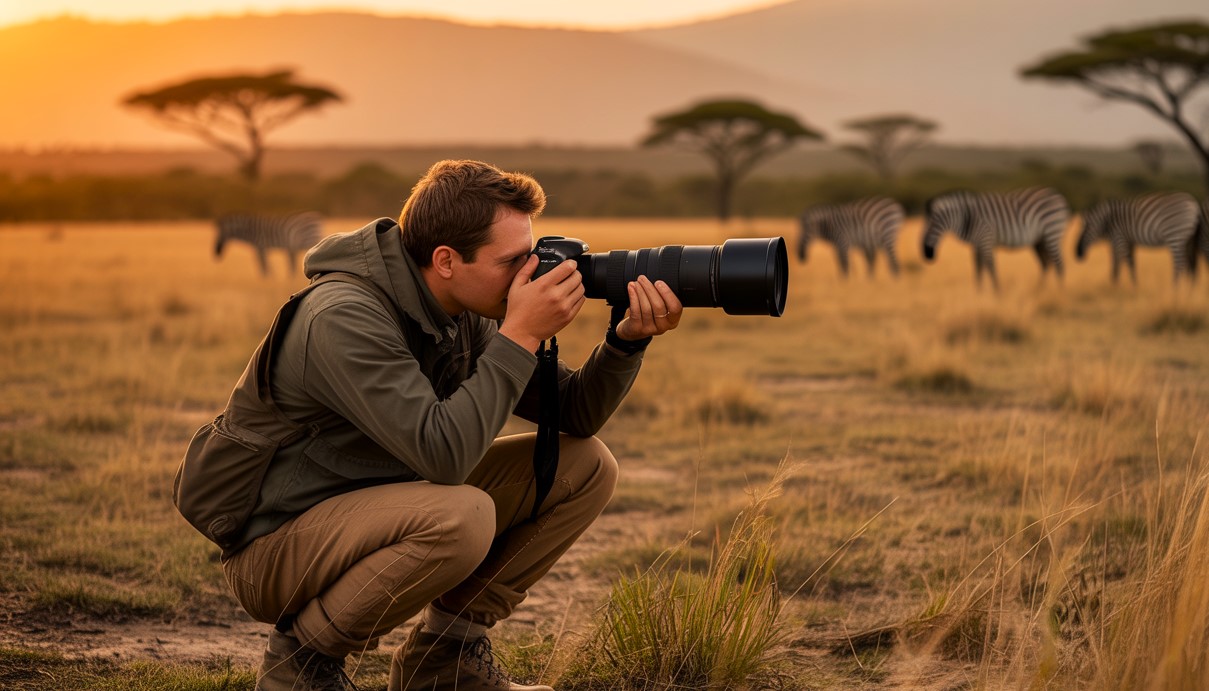
The waiting game: Find a good spot and… wait. Seriously. Set up near water sources, feeding areas, or trails and let the wildlife come to you. Bring a thermos of coffee and enjoy the show. ☕
Composition Beyond the Rule of Thirds
Yes, the rule of thirds is important (subject’s eye on an intersection point), but let’s get creative:
Eye-level shooting: Get down to the animal’s level. This creates connection and intimacy.
Leading lines: Use paths, branches, and water edges to guide viewers’ eyes to your subject.
Negative space: Don’t always fill the frame. Sometimes the environment tells the story.
Action space: If your subject is moving or looking in a direction, leave space in front of them (not behind).
Break the rules: Once you know them, break them intentionally for impact!
| Light Condition | Quality | Best For | Camera Tips |
|---|---|---|---|
| Golden hour (first/last hour) | Warm, directional, soft shadows | Portraits, environmental shots | Use a warmer white balance (+200K); expose for the highlights |
| Blue hour (just before/after golden) | Cool, flat, very low light | Moody atmospheric shots | High ISO, wide aperture; use a tripod |
| Overcast | Diffused, even, no harsh shadows | Fur/feather texture, colors pop | Slightly reduce exposure (-0.3); colors will be punchy |
| Bright midday sun | Harsh, contrasty, deep shadows | Silhouettes, backlit rim light | Shoot in shade; expose for highlights; use fill flash |
| Rain / misty | Moody, atmospheric, dramatic | Storytelling, environment shots | Weather seal your gear; use a lens hood; embrace the mood |
Behavioral Photography (The Next Level)
Static portraits are nice, but behavior tells stories:
- Hunting/feeding.
- Playing.
- Parenting.
- Fighting/defending territory.
- Mating displays.
- Grooming.
These moments create emotional connections and make your photos memorable. Wait for the action, the interaction, the personality!
Lighting Tips from the Trenches
Golden hour (hour after sunrise, hour before sunset): Soft, warm, magical light. Plan your shoots around this.
Overcast days: Actually amazing! No harsh shadows, even lighting, colors pop. Don’t stay home just because it’s cloudy.
Harsh midday sun: Challenging but not impossible. Look for shade, use fill-flash, or shoot silhouettes.
Backlit subjects: Can create stunning rim lighting or dramatic silhouettes. Expose for the highlights and embrace the mood!
Part 5: Post-Processing – Where Good Photos Become Great
Okay, you’ve got your shots loaded on your computer. Now what? This is where many beginners get overwhelmed, but I’m going to give you a simple, repeatable workflow.
Software Choices (What I Actually Use)
For beginners:
- Adobe Lightroom ($10/month with Photoshop) – My primary tool, 90% of my work.
- Luminar Neo (One-time $79) – Great AI features, beginner-friendly.
- Capture One (Subscription or purchase) – Professional favorite.
My recommendation: Start with Lightroom. Learn it well. Add Photoshop later for advanced retouching.
Essential First Steps (Before You Touch Anything)
1. Monitor calibration: Your screen needs to show accurate colors! Use tools like Datacolor SpyderX ($170) or DisplayCal (free software).
2. Shoot RAW: I cannot stress this enough. RAW files contain WAY more data than JPEGs. Yes, they’re bigger. Yes, they require editing. But the flexibility is worth it 1000x over.
Compromise for beginners: Shoot RAW + JPEG so you can compare and learn.
3. Cull ruthlessly: Before editing, delete the obvious fails. Be brutal. If the focus is off, it’s gone. If the moment isn’t there, it’s gone. Quality over quantity!
Coastal and Water-Based Wildlife
Coastal locations: beaches, estuaries, and river mouths offer incredible wildlife access, especially for wading birds, seals, otters, and seabirds.
- Get low: Shooting from ground level on a beach creates stunning reflections and eye-level contact with wading birds.
- Watch the tide: Low tide concentrates waders on exposed mudflats. High tide pushes them into predictable roost sites.
- Protect your gear: Salt spray is corrosive. Keep a rain cover on at all times. Clean your camera and lens after every coastal session.
- Use a beanbag in your vehicle: Many coastal species are habituated to cars shooting from your window with a beanbag rest.
- Settings: Fast shutter (1/1600s+) for flying birds, f/6.3–f/8, Auto-ISO up to 3200. In bright coastal sun, beware of overexposed bright plumage – expose for highlights.
Safari and Vehicle-Based Photography
Shooting from a vehicle in Africa or other safari destinations is its own discipline. Animals in game reserves are often habituated to vehicles, allowing incredibly close approaches that would be impossible on foot.
- Use a beanbag on the window: A filled beanbag provides a stable, vibration-dampening rest for long telephoto lenses. Far better than a tripod in a moving vehicle.
- Turn the engine off: Vibration from the engine causes blur. Ask your guide to switch off when you’re shooting.
- Communicate with your guide: A good guide reads animal behavior and anticipates action before it happens. Build that relationship.
- Avoid shooting across the vehicle: Wait until the animal is on your side. The quality of light and angle matter as much as proximity.
- Shoot the unexpected: The big five are obvious targets. But the behavior of smaller animals, a dung beetle rolling a ball, a lilac-breasted roller at sunrise, often produces the most memorable images.
How To Edit Wildlife Photos: My Step-by-Step Editing Workflow
Import and Organization (Don’t skip this!)
- Create a clear folder structure: Year > Month > Location/Subject.
- Use star ratings: 5 stars = portfolio pieces, 1 star = maybe delete.
- Add keywords for searching later.


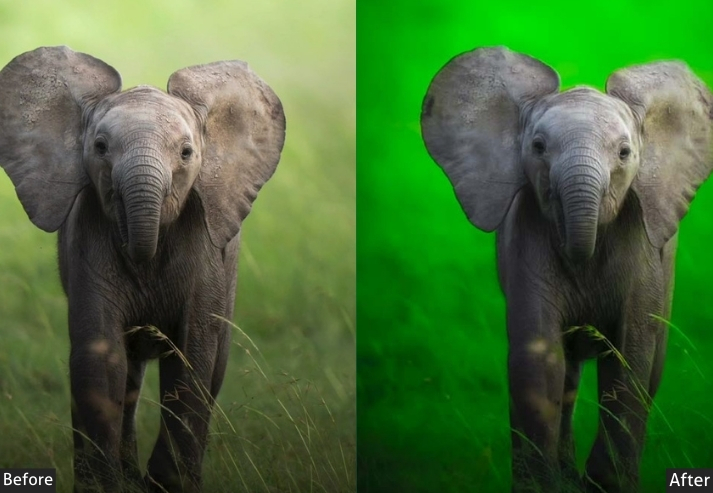

Step 1: The Cleanup Stage (Foundation)
Time: 1-2 minutes per photo.
Lens corrections:
- Enable Profile Corrections (removes distortion and vignetting).
- Remove Chromatic Aberration (those weird color fringes).
Spot removal:
- Remove sensor dust spots.
- Clean up distracting twigs/branches (but don’t go overboard-check competition rules if submitting!).
Straighten and crop:
- Level the horizon.
- Strengthen composition.
- Remove distractions at edges
Pro tip: I crop at least 80% of my images. Modern cameras have enough megapixels to crop significantly without losing quality.
Step 2: Exposure and Tone (The Big Stuff)
Time: 2-3 minutes
Work top to bottom in Lightroom’s Develop panel:
Exposure slider: Get the overall brightness right.
- Underexposed? Drag right (+0.3 to +0.7 typically).
- Overexposed? Drag left (but be careful with blown highlights!).
Highlights/Shadows:
- Pull down highlights to recover bright areas
- Lift shadows to reveal detail in dark areas
- Don’t max these out! Natural looks best
Whites/Blacks:
- Hold Alt/Option while dragging to see clipping
- Set the white point until small areas just start to clip
- Set the black point similarly
My typical starting point:
- Highlights: -30 to -50
- Shadows: +20 to +40
- Whites: +10 to +20
- Blacks: -10 to -15
Step 3: Color Magic (Making It Pop)
Time: 2-3 minutes
White Balance:
- Use the eyedropper on something neutral (gray rock, white feathers)
- Or adjust manually: Warmer for mood, cooler for fresh feel
- Don’t overthink it-what looks good?
Vibrance and Saturation:
- Start with Vibrance +10 to +20 (boosts muted colors)
- Touch Saturation gently (+5 max usually)
- Remember: Subtle is better than oversaturated!
HSL Panel (This is where the magic happens): Adjust individual color channels for that pro look.
Example for a bird:
- Boost blue saturation for sky
- Adjust orange/yellow hues for accurate feathers
- Shift the green hue to make foliage more appealing
Warning: It’s easy to go crazy here. Take breaks and come back with fresh eyes!
Step 4: Sharpening and Noise Reduction
AI Denoise (Lightroom AI Denoise – the modern approach):
- For any shot at ISO 1600 and above, use Denoise → AI Denoise (Photo > Enhance > Denoise in Lightroom Classic).
- Set the Amount slider between 40–70, depending on ISO level.
- AI Denoise creates a new DNG file: it preserves far more fine detail (feathers, fur, eyes) than the older Luminance slider method.
- After AI Denoise, apply sharpening: Amount 40–60 · Radius 1.0 · Hold Alt/Option on Masking and drag until only edges are white.
If using the classic Detail panel (lower ISO shots):
- Luminance NR: 20–40 for higher ISO shots.
- Color NR: 25–50 (removes color splotches).
- Don’t over-smooth – you’ll destroy feather and fur texture.

Step 5: Local Adjustments (The Secret Weapon)
Time: 3-5 minutes for special shots
This separates amateurs from pros. Use local adjustments to guide viewers’ eyes.
Radial/Graduated Filters:
- Darken corners to create a vignette (subtle!)
- Lighten the subject area
- Darken busy backgrounds
Brush Adjustments:
- Eyes: Always brighten and clarify eyes! This creates a connection
- Teeth/claws: Slight brightening and sharpening
- Rim lighting: Enhance existing rim light on edges
Real example: For that leopard photo I mentioned? I:
- Brightened and sharpened both eyes
- Added clarity to whiskers
- Darkened the background by -0.7 EV
- Added subtle vignette. Took 4 minutes. Made the difference between “nice shot” and “wow!”
Step 6: Final Touches
Time: 1 minute
Clarity: +10 to +20 for texture (don’t overdo on smooth subjects like birds!)
Dehaze: +5 to +15 for atmospheric shots (use sparingly)
Vignette: -5 to -10 (very subtle darkening of corners)
Grain: Sometimes I add a tiny bit of grain (+5-10) for a film-like quality
Get: Wildlife Photography Editing With Lightroom & Free Presets
Common Mistakes (And How I Made Them All)
Let me save you some pain by sharing my biggest face-palm moments:
Mistake #1: Chasing Every Animal
Early me would sprint after every bird, exhaust myself, and get nothing but blurry butt shots.
The fix: Pick one subject/area, sit down, and wait. Let them come to you.
Mistake #2: Over-Editing
My first “good” hawk photo looked like it had been attacked by the saturation slider. It was neon-level ridiculous.
The fix: Edit until it looks good, then dial everything back 20%. Less is more!
Mistake #3: Only Shooting in Perfect Light
I missed so many opportunities waiting for “perfect” golden hour light.
The fix: Shoot in all conditions. Some of my best photos are from overcast, rainy, or midday situations.
Mistake #4: Ignoring the Background
Sharp subject, perfect focus… but there’s a huge branch growing out of its head.
The fix: Before pressing the shutter, scan the entire frame. Move position if needed.
Mistake #5: Being Impatient
Arriving at a location, seeing nothing in 20 minutes, and leaving. How many times did I do this? Too many.
The fix: Give it at least an hour. Bring coffee, snacks, and enjoy being in nature.
Mistake #6: Not Learning Animal Behavior
Pointing the camera at random animals and hoping for the best.
The fix: Spend time observing without the camera. Learn patterns, behaviors, and habits.
Master Your Craft (The Skills That Actually Matter)
📚 Education Options (What’s Worth It?)
Formal Education:
- Photography degree: Honestly? Not necessary for wildlife photography. Helps with networking, though.
- Biology/Ecology degree: MORE useful for understanding animal behavior
- Business courses: ABSOLUTELY worth it if you’re going pro
Alternative Learning (My Recommendations):
- Online workshops with specific wildlife photographers you admire
- YouTube tutorials (free and often excellent!)
- Photography books – Read the masters: Art Wolfe, Frans Lanting, Nick Brandt
- Camera club membership – Feedback is gold
- Assist a pro – Reach out to photographers in your area, offer to help on shoots
🎓 What You Should Actually Study
1. Technical Mastery
- Exposure triangle (aperture, shutter speed, ISO) until it’s muscle memory
- Autofocus modes and techniques for different scenarios
- Reading histograms
- Back-button focus (game-changer!)
- Manual mode in your sleep
2. Light Management
- Golden hour and blue hour shooting
- Overcast vs. harsh sun
- Backlighting for drama
- How to expose for white animals (swans, polar bears) vs. black animals (gorillas, black leopards)
3. Composition Rules (and when to break them)
- Rule of thirds
- Leading lines
- Negative space
- Eye contact and catch lights
- Environmental portraits vs. tight portraits
- Action shots with space to “move into.”
4. Post-Processing
- Lightroom basics (90% of your work)
- Photoshop for advanced editing
- Noise reduction
- Sharpening techniques
- Ethical editing limits (more on this below)
🎬 Practice, Practice, Practice…
Different Scenarios, Different Approaches
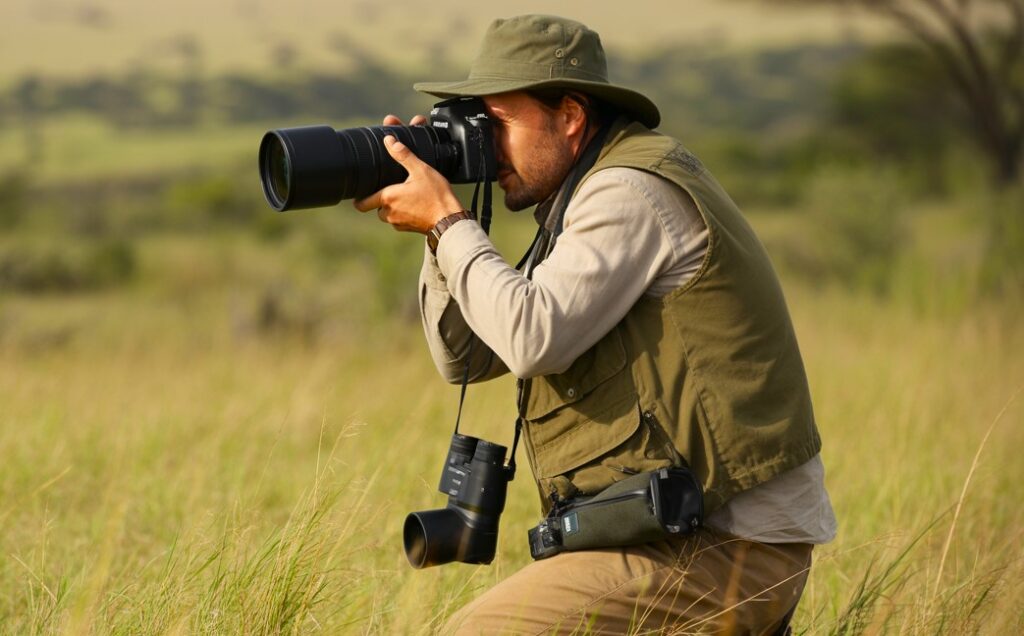
Birds in Flight (BIF)
The boss level of wildlife photography!
Settings:
- Shutter speed: 1/2000s minimum
- Aperture: f/5.6 to f/8
- Focus: Continuous with tracking
- Drive mode: High-speed burst
Technique:
- Track the bird’s path before it enters the frame
- Pre-focus on the distance
- Lead the bird slightly
- Hold that shutter down!
Expect: 5% keeper rate (yes, really). This is hard!
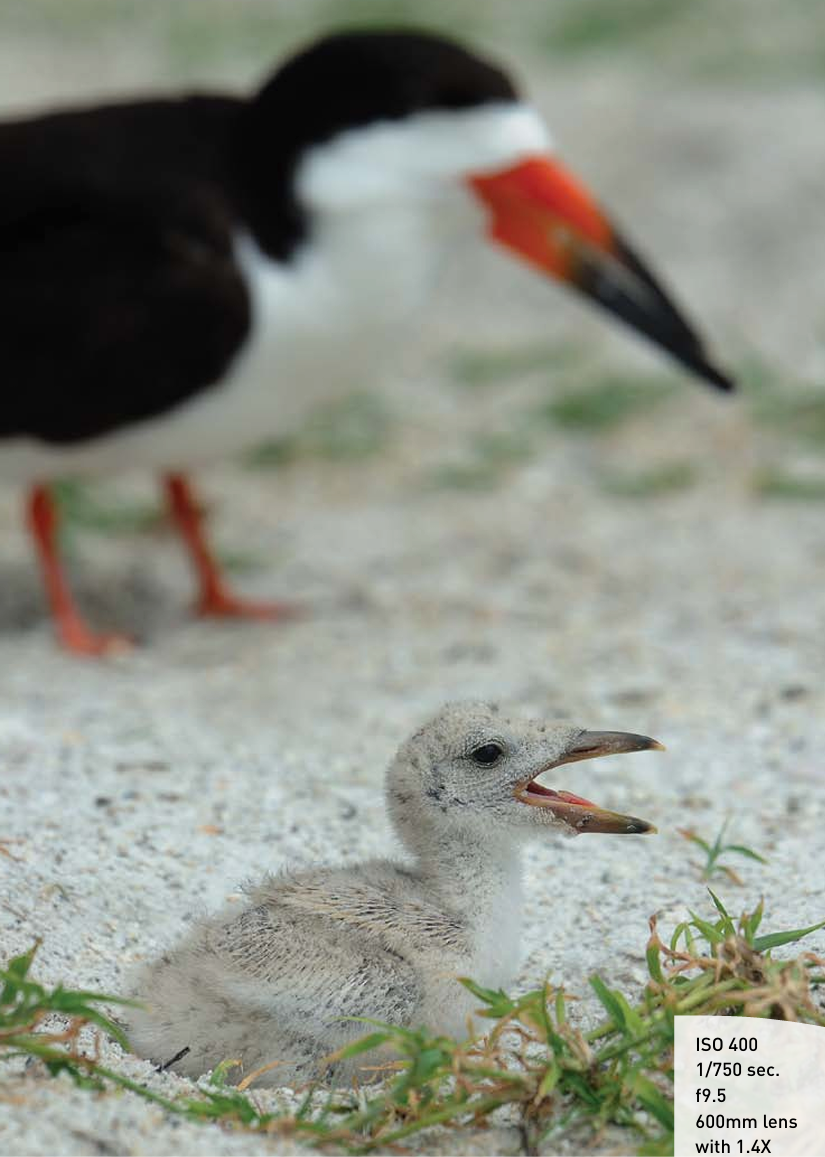
Low-Light Wildlife
Dawn, dusk, or forest animals.
Settings:
- Shutter speed: As fast as you can manage (1/250s minimum)
- Aperture: Wide open (f/2.8 to f/5.6)
- ISO: High! (3200-12800)
Technique:
- Use a tripod/monopod
- Enable image stabilization
- Consider slight motion blur as a creative choice
- Shoot RAW for better noise reduction later
Small Subjects (Insects, Amphibians)
Settings:
- Shutter speed: 1/200s+ (they move suddenly)
- Aperture: f/8 to f/16 (need depth of field)
- Focus: Manual often works better
- Consider a macro lens or extension tubes
Technique:
- Get eye-level or lower
- Watch for wind (the enemy of macro!)
- Use natural light or diffused flash
- Focus stack if needed
Dangerous/Distant Wildlife
Safety first, always!
Settings:
- Whatever gets the shot from a safe distance
- Don’t be a hero for a photo
Technique:
- Respect minimum distances (varies by location)
- Use the longest lens you have
- Crop in post if needed
- Remember: No photo is worth injury
Building Your Portfolio & Style
You’ve got the skills, now let’s talk about developing your unique voice.
Finding Your Style
Don’t try to copy others. Instead:
- Shoot what excites YOU
- Develop a consistent editing aesthetic
- Focus on specific subjects or environments
- Let your personality show through
My style evolved from “technically perfect” to “moody and story-driven” over the years. Yours will too!
Sharing Your Work
Social Media:
- Instagram: Use relevant hashtags (#wildlifephotography #naturephotography)
- Flickr: Join groups, get feedback
- 500px: Great for serious work
- Facebook groups: Amazing communities
Pro tip: Post consistently (2-3 times/week), engage with others’ work, and tell stories in captions. People connect with the story behind the shot.
Entering Competitions
Start small:
- Local camera club contests
- Online monthly challenges
- Wildlife Photographer of the Year (dream big!)
Read the rules carefully: Many have strict editing guidelines (no cloning, etc.)
Selling Your Work (When You’re Ready)
Stock photography:
- Shutterstock, Adobe Stock, Getty Images,
- Lower income per sale but passive,
Pros: Passive income, work once and sell repeatedly
Cons: Highly competitive, requires a huge portfolio, and rates are dropping
You need hundreds of quality images to make decent money here. It’s a numbers game.
Prints:
- Etsy, your own website.
- Art fairs and local galleries.
Pros: Higher profit margins, artistic control
Cons: Requires marketing, printing costs, and slower sales
Tip: Limited edition prints create scarcity and command higher prices.
Licensing:
- Magazines, books, websites.
- Can be lucrative for unique shots.
Pros: Higher rates, prestigious
Cons: Highly competitive, specific image needs, deadline pressure
Teaching (Online Courses, eBooks, Presets) ($500-$5,000/month potential)
Create once, sell forever:
- Lightroom presets ($15-$50)
- Photography eBooks ($25-$100)
- Online courses ($200-$500)
- Mentorship programs ($500-$2,000)
Platforms:
- Teachable
- Gumroad
- Your own website
Reality check: Making money from wildlife photography is tough. Do it for love first, money second (if at all).
Conservation & Ethics
This is the most important section, honestly.
The Wildlife Photographer’s Code
1. Animal welfare above all
- Never bait, chase, or stress animals
- Keep a safe distance
- Don’t share specific locations of nesting sites or dens
2. Respect the environment
- Stay on trails
- Leave no trace
- Don’t disturb habitats
3. Be honest about your images
- Disclose if using captive animals
- Don’t mislead about locations
- Be transparent about editing
4. Use your platform for good
- Share conservation messages
- Support wildlife organizations
- Educate others
Ethical Editing
Where’s the line? Here’s my guideline:
Acceptable:
- Adjusting exposure, color, and sharpness
- Removing sensor dust
- Cropping
Gray area (check competition rules):
- Removing distracting small elements
- Major cloning
- Adding/removing catchlights in eyes
Never acceptable:
- Adding elements that weren’t there
- Combining multiple photos
- Drastically changing animal appearance
Keep Growing (Your Journey Continues)
Learning Resources
YouTube Channels:
- Morten Hilmer (incredible wildlife cinematographer)
- Steve Perry (technical excellence)
- Mark Smith (engaging tutorials)
Websites/Blogs:
- Nature TTL
- Photography Life
- National Wildlife Magazine
Workshops: Consider investing in a wildlife photography workshop. Learning from pros in the field is invaluable!
Practice Challenges
30-Day Challenges:
- Day 1-10: Backyard/local park birds
- Day 11-20: Different lighting conditions
- Day 21-30: Tell a story with 3-5 connected images
Seasonal Projects: Document one species through all four seasons
Behavior Focus: Spend a month only shooting behavior/action, not portraits
Join the Community
Local Groups:
- Camera clubs
- Meetup.com photography groups
- Nature centers
Online Communities:
- Reddit r/wildlifephotography
- Photography forums
- Facebook groups
Share your work, ask for critique (with thick skin), and celebrate others’ successes!
Your 90-Day Transformation Plan
Weeks 1-4: Local Wildlife Start in your own backyard. Seriously.
- Birds at feeders
- Squirrels in parks
- Ducks at ponds
- Insects (macro photography is great training!)
Goal: Shoot 100 photos minimum per week. Keep 5.
Weeks 5-8: Expand Your Range
- Visit local wildlife refuges
- State parks at dawn/dusk
- Zoos (great for practice, but label these clearly – never pass off zoo photos as wild)
- Pet photography (helps with animal behavior reading)
Goal: Create 3 mini-portfolios (birds, mammals, action)
Weeks 9-12: Specialize and Refine
- Pick ONE subject you love
- Study it obsessively
- Shoot it 50 different ways
- Develop YOUR style
Goal: Create 10 portfolio-worthy images
Your Action Plan (Let’s Get Practical)
Okay, you’ve read all this. Now what?
📅 Your 12-Month Roadmap
Months 1-3: Foundation
- Take inventory of current gear
- Set up a business structure
- Create a basic website
- Open social media accounts
- Start shooting 3x per week locally
- Study 10 photographers you admire
- Take an online course (composition/lighting)
Months 4-6: Skill Building
- Build a portfolio of 15 strong images
- Enter the first competition
- Connect with 20 photographers online
- Attend a local camera club
- Plan first dedicated photo trip
- Start blog (1 post per month)
- Practice editing workflow
Months 7-9: Going Public
- Launch professional portfolio
- Make first sale (print/stock/assignment)
- Attend a photography workshop or conference
- Pitch to a local publication
- Expand portfolio to 30 images
- Create email list
- Network with conservation groups
Months 10-12: Momentum
- Host first workshop or photo walk
- Establish consistent income streams
- Win or place in the competition
- Give the first talk/presentation
- Create a business plan for Year 2
- Evaluate what’s working (double down!)
- Plan signature project
🎯 Setting Realistic Goals
Bad Goal: “I want to be a professional wildlife photographer” (Too vague, no timeline, no metrics)
Good Goal: “In 12 months, I will earn $10,000 from wildlife photography through stock sales, print sales, and one workshop” (Specific, measurable, time-bound)
Break it down:
- $5,000 from stock (upload 500 images)
- $3,000 from prints (sell 20 prints at $150 average)
- $2,000 from one workshop (8 people at $250)
See? Suddenly it feels achievable!
Effective Marketing Strategies
1. SEO for Your Website
- Blog regularly (helps Google find you)
- Use keywords naturally
- Alt text on all images
- Fast loading speed
- Mobile-friendly design
2. Email Marketing
- Build a mailing list
- Send monthly newsletters
- Share stories, not just photos
- Offer value (tips, behind-the-scenes)
3. Networking (The Most Important One)
- Join professional organizations (NANPA, iLCP)
- Attend photography conferences
- Connect with conservation groups
- Collaborate with other photographers
- Comment on others’ work genuinely
4. PR & Media Outreach
- Press releases for achievements
- Pitch stories to local media
- Guest posts on photography blogs
- Podcast interviews
5. Partnerships
- Tourism boards
- Wildlife organizations
- Camera stores
- Travel companies
The Species Specialization Question
Should you specialize or be a generalist?
Generalist Pros:
- More market opportunities
- Flexibility
- Never bored
Generalist Cons:
- Harder to become “known” for anything
- Competing with everyone
Specialist Pros:
- Become THE expert
- Better knowledge = better photos
- Easier to market yourself
- Build authority
Specialist Cons:
- Limited market
- Traveling to your subject can get expensive
My take: Start general, then specialize as you discover what makes your heart sing. I started shooting everything, then fell in love with big cats. Now I’m THE leopard guy in certain circles. 🐆
🔄 The Long Game
Year 1: Everything is hard. You’re learning. Be patient.
Year 3: You’re finding your groove. Still struggling, but improving.
Year 5: You’re established. Still challenges, but you know how to handle them.
Year 10: You’re experienced. Now you mentor others.
This is a marathon, not a sprint. Pace yourself accordingly.
Final Thoughts: Your Wildlife Photography Journey Starts Now
Here’s what I want you to remember from this novel-length guide (thanks for sticking with me!):
You don’t need perfect gear. That photographer with the entry-level camera who outshot the pro? That can be you.
You don’t need exotic locations. Your local park has more wildlife than you realize. Some of my favorite shots are from a pond 10 minutes from my house.
You don’t need to be perfect. I’ve been doing this for 15 years and still delete 90% of what I shoot. That’s normal. That’s the process.
What you DO need: ✅ Patience (lots of it) ✅ Respect for wildlife ✅ Willingness to learn and fail ✅ Love for nature ✅ Persistence
Every professional wildlife photographer started exactly where you are now-nervous, excited, maybe a little overwhelmed. The difference between them and everyone else? They kept showing up. They kept learning. They didn’t quit after the first (or fiftieth) failed shot.
Your Action Plan for This Week
Don’t just read this and close the tab. Take action!
Today: Review your camera settings. Set up your “ready for anything” starting point.
Tomorrow: Scout a local location. Where’s the nearest park, pond, or nature area?
This weekend: Go shoot! Spend 2-3 hours in one spot. Observe, wait, shoot.
Next week: Edit your favorite shot using the workflow I shared. Post it (tag me if you want-I’d love to see it!).