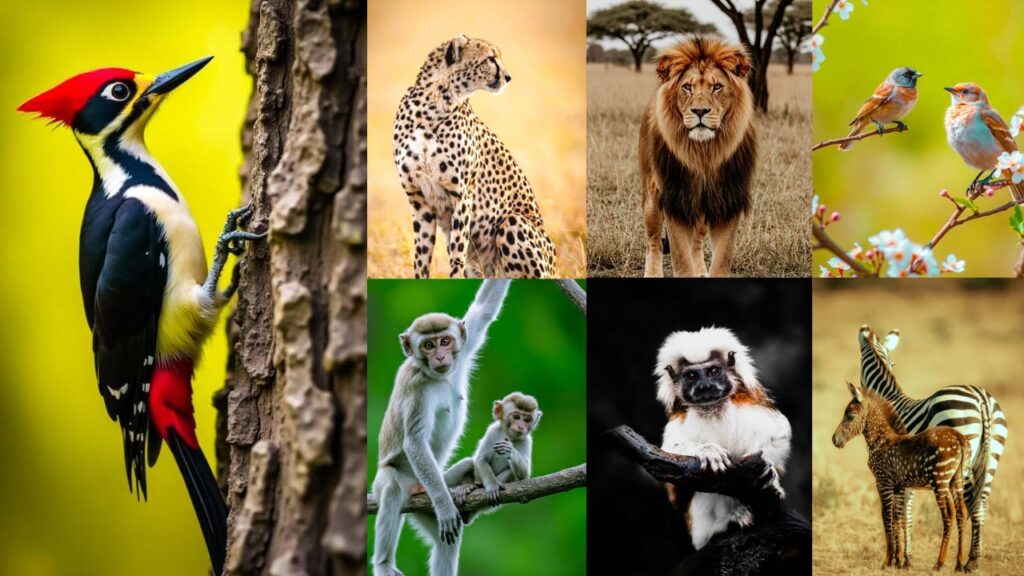
There’s a moment every wildlife photographer knows: you get home after a golden-hour safari, open Lightroom, and the shots look completely flat. The lion’s coat is muddy brown instead of burnished amber. The forest feels grey instead of lush and alive. That gap between what you felt in the field and what the RAW file shows is exactly what these presets close.
I’ve spent years photographing wildlife across different environments: dusty savannahs, dense rainforests, open marshlands, and each of these preset packs was built from real editing sessions on real wildlife shots. They’re not generic Instagram filters. Each one is tuned to handle specific challenges: fur texture retention, green-channel foliage control, and shadow recovery for backlit animals.

Pauline Jackson
I design, refine, and test each collection with real photos so the results feel practical, flexible, and ready for everyday use. From subtle enhancements to bold transformations, my goal is to make editing feel simpler and more inspiring.
50 Wildlife Lightroom Presets Free Download
Sometimes, the camera doesn’t quite capture the magic exactly as we felt it. The colors look a little flat, the shadows are too harsh, or the details get lost. I’ve been there more times than I can count! That’s why I started putting these presets together. I wanted to create a tool that helps bring out the wild’s real beauty without making your photos look over-processed or fake.
I’m thrilled to share that tool with you. Let’s begin and get your editing workflow started.
| Subject / Scenario | Recommended Preset | Why |
|---|---|---|
| Lion at golden hour | Natural Warmth | Enhances warm amber tones in fur and dry grass |
| Parrot or tropical bird | Vivid Wildlife | Punchy colour boost without oversaturation |
| Deer in misty forest | Moody Forest | Handles dappled light and cool, atmospheric tones |
| Elephant silhouette at dusk | Cinematic Wildlife | Documentary-grade tonal depth for strong compositions |
| Migratory bird, timeless feel | Vintage Wildlife | Film-grain nostalgia, works great as B&W base |
| Owl or nocturnal animal | Dark / Night | Optimized for high ISO, low-light noise control |
| Safari mammals (general) | Natural Warmth → Cinematic | Try both: Natural Warmth for soft light, Cinematic for drama |
| Underwater wildlife | Vivid Wildlife | Blue-shifted saturation complements underwater colour casts |
1. Natural Warmth Preset
The Natural Warmth preset was built for golden-hour and late-afternoon wildlife sessions, the kind of light that turns an ordinary lion portrait into something you’d frame on a wall. It nudges the temperature warmer, lifts shadows to reveal fur detail in backlit subjects, and adds just enough vibrance to make dry grass glow without making the scene look artificial.
This is my most-used preset for African savannah mammals (lions, elephants, giraffes) and meadow birds. If you shot in the hour before sunset and the colors look a little desaturated in-camera, this is the one-click fix.


Light Panel: Exposure +10% | Contrast +15% | Highlights −10% | Shadows +10% | Whites +5% | Blacks −5%.
Color Panel: Vibrance +20% | Saturation +10% | Temperature +5 (warmer).
Effects Panel: Clarity +15% | Dehaze +5% | Vignette −10%.
Detail Panel: Sharpening +20% | Noise Reduction +10%.
Purpose: a warm, welcoming light that screams “nature at its finest.”
Best For: Sunrise or sunset shots.
Usage: cozy, golden-hour vibe to shine through.
Style: Warm, natural, and oh-so-inviting.
2. Vivid Wildlife Preset
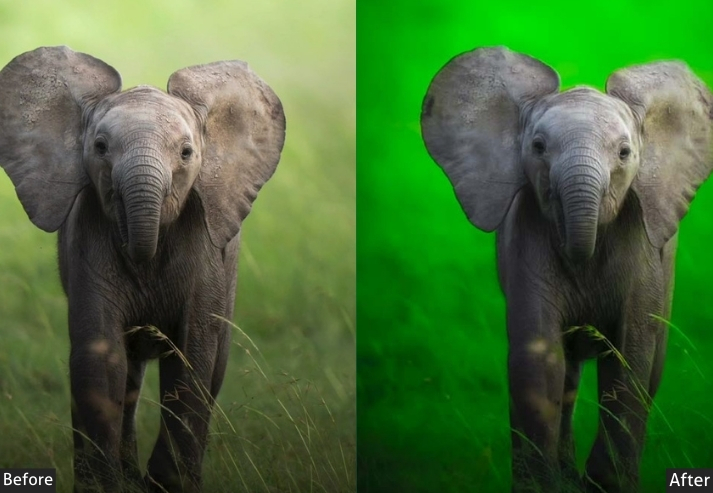
This one is designed for scenes where color is the story. Think scarlet macaws against a jungle canopy, a Bengal tiger in vivid orange against monsoon-green grass, or a poison dart frog on a mossy rock. Where the Natural Warmth preset is subtle and atmospheric, Vivid is unapologetic. It pushes saturation and clarity together to create images that hold attention.
The key difference from a standard “saturation boost” is the HSL tuning underneath: greens and blues are shifted to avoid the neon, cartoon look that trips up beginners, while oranges and reds shine naturally.

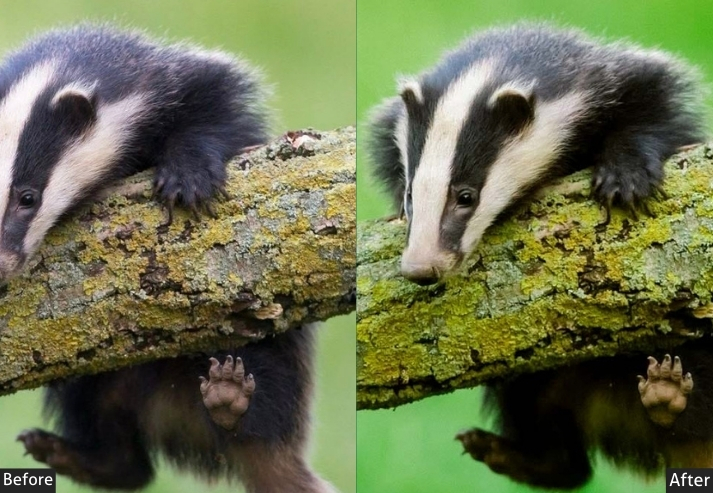


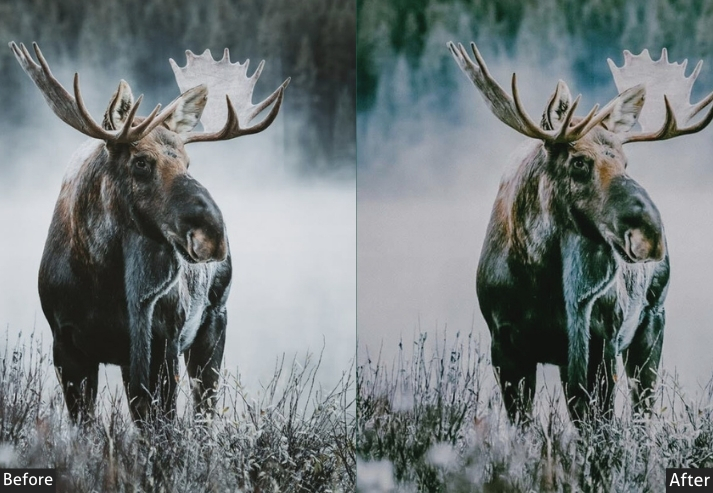


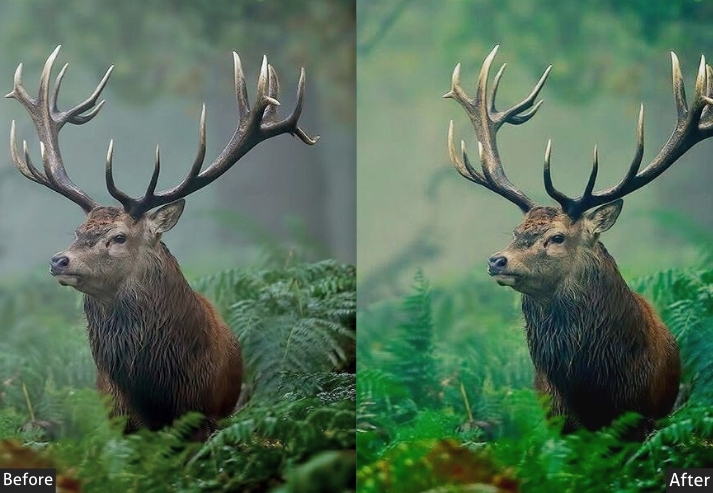
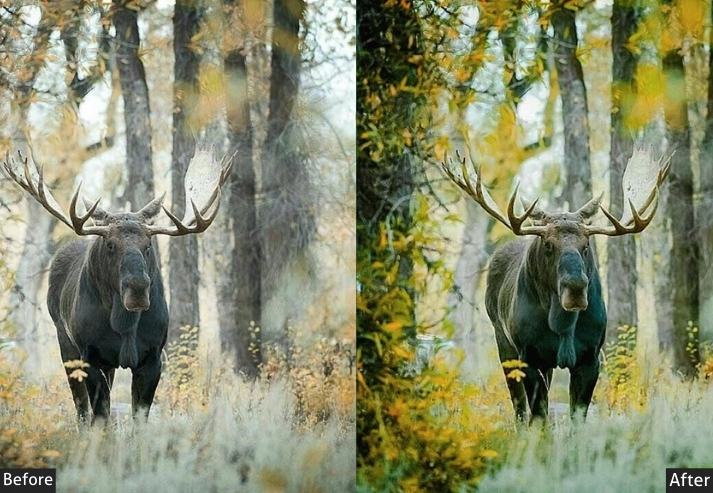

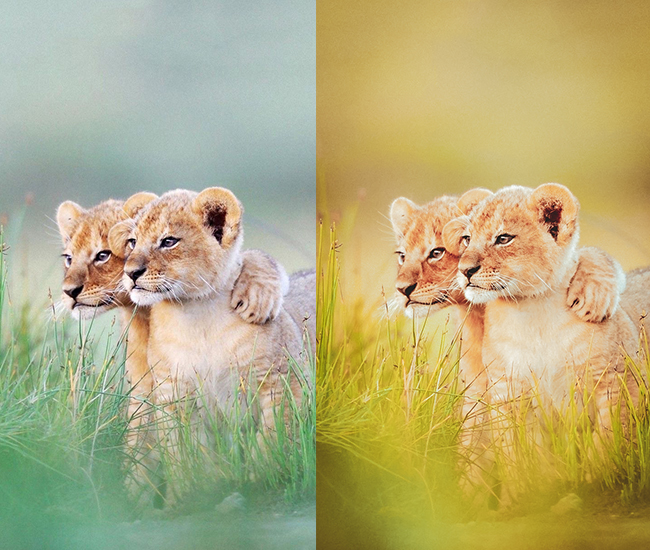
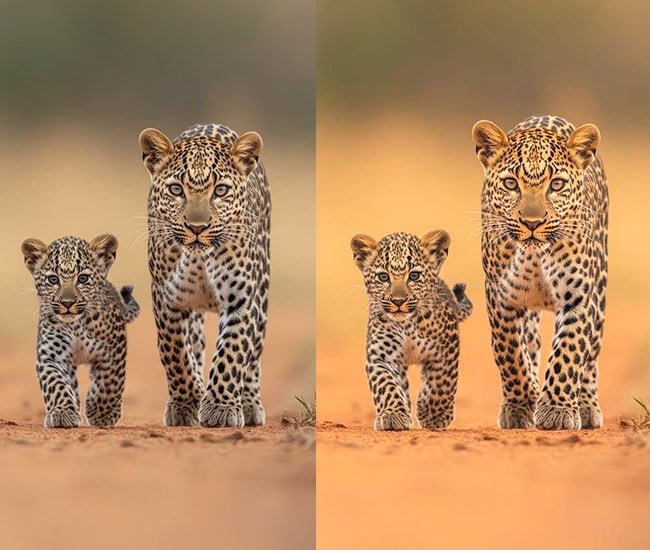
Light Panel: Exposure +5% | Contrast +20% | Highlights −15% | Shadows +15% | Whites +10% | Blacks −10%.
Color Panel: Vibrance +30% | Saturation +20% | Temperature −5 (cooler).
Effects Panel: Clarity +20% | Dehaze +10% | Vignette −5%.
Detail Panel: Sharpening +25% | Noise Reduction +5%.
Purpose: burst with life and grab everyone’s attention.
Best For: Colorful critters, parrots, tigers, or wildflower-dotted landscapes.
Usage: nature’s vibrancy to steal the show.
Style: Bold, colorful, and totally eye-catching.
3. Moody Forest Preset
The Moody Forest preset handles one of wildlife photography’s hardest lighting scenarios: the dappled, high-contrast mess you get shooting inside dense forest. Bright patches of sky bleed through the canopy while your subject sits in deep shadow. Standard auto-editing blows out the highlights and crushes the shadow detail simultaneously.
This preset aggressively pulls highlights down and deliberately lifts shadows, creating a controlled tonal range that feels atmospheric rather than underexposed. The cool temperature shift gives it the blue-green cast you associate with early morning mist genuinely useful for rainforest primates, jaguars, owls, and woodland deer.

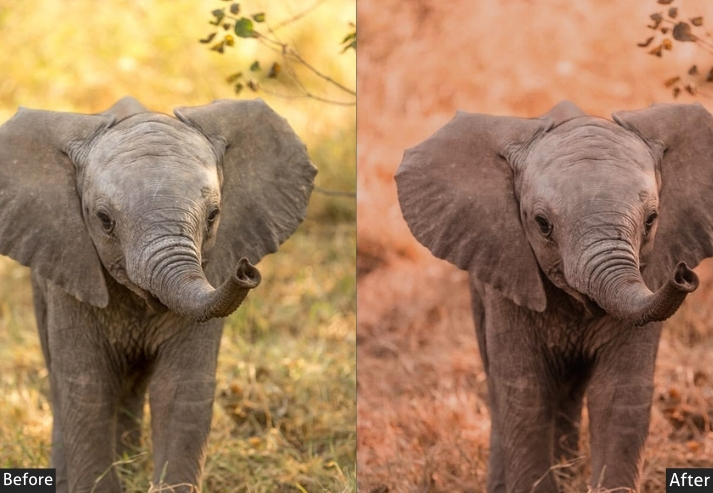


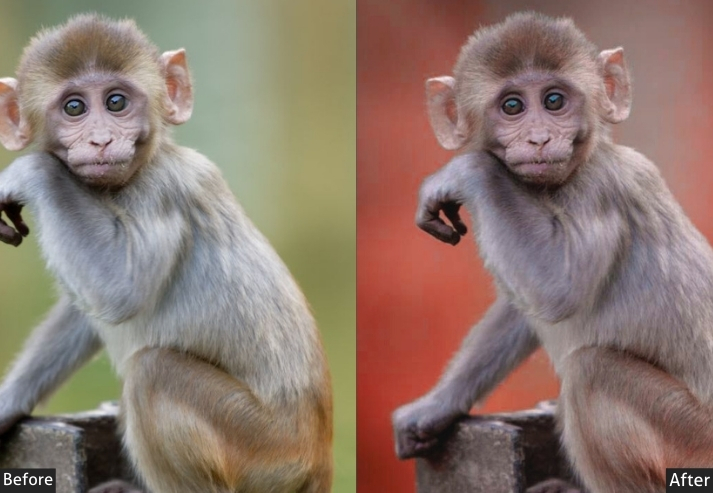

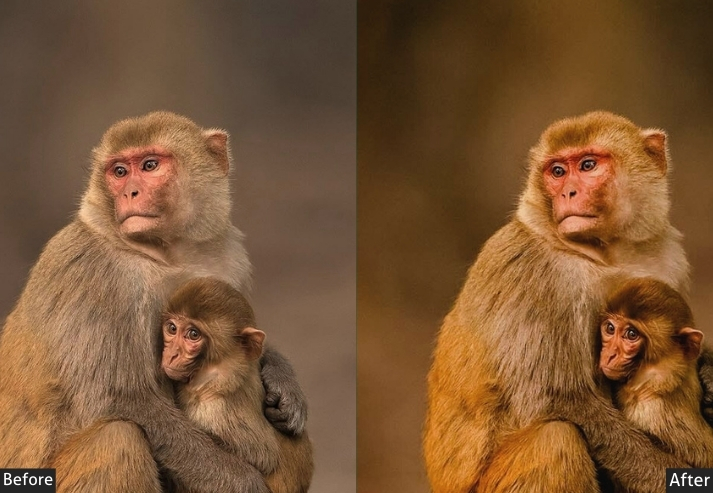


Light Panel: Exposure −10% | Contrast +25% | Highlights −20% | Shadows +20% | Whites −10% | Blacks −15%.
Color Panel: Vibrance +10% | Saturation −10% | Temperature −10 (cooler).
Effects Panel: Clarity +25% | Dehaze +15% | Vignette +10%.
Detail Panel: Sharpening +30% | Noise Reduction +15%.
- Purpose: a dark, atmospheric story in your wildlife shots.
- Best For: Dense forests, misty mornings, or elusive animals in low light.
- Usage: Use this when you want your pics to feel like a scene from a nature documentary.
- Style: Dark, moody, and dripping with atmosphere.
4. Cinematic Wildlife Preset
This preset takes its cues from the color grading used in nature documentaries. the signature look of BBC Earth and National Geographic productions. It’s built around a slightly crushed black point (lifted shadows with darker blacks) that gives images that characteristic “film still” feel, combined with a subtle teal-and-orange grade.
Where the Moody Forest preset leans cold and atmospheric, Cinematic leans warmer in the midtones while maintaining deep, rich shadows. It works particularly well on large mammals with strong silhouettes or any shot with a dramatic sky.


Light Panel: Exposure −5% | Contrast +20% | Highlights −20% | Shadows +20% | Whites −5% | Blacks −10%.
Color Panel: Vibrance +15% | Saturation +10% | Temperature −5 (cooler).
Effects Panel: Clarity +20% | Dehaze +15% | Vignette +10%.
Detail Panel: Sharpening +25% | Noise Reduction +10%.
Purpose: a blockbuster-worthy story vibe.
Best For: Strong compositions or dramatic lighting moments.
Usage: Use this to make your pics feel like a nature blockbuster.
Style: Dramatic, story-driven, and cinematic Oscar material!
5. Vintage Wildlife Preset
The Vintage Wildlife preset recreates the look of wildlife photography from the field-guide era, the faded, warm-grain aesthetic of 1970s slide film. It deliberately desaturates slightly and lifts the blacks (the classic “matte” film look), so nothing in the photo goes all the way to pure black. The added grain is calibrated to look like medium-format film grain rather than digital noise.
This works beautifully for wildlife subjects that feel timeless: mountain gorillas, migratory birds, wolves in winter, anything where you want the image to feel like a historical document rather than a modern travel snap.


Light Panel: Exposure +5% | Contrast +10% | Highlights −10% | Shadows +10% | Whites +5% | Blacks −5%.
Color Panel: Vibrance −10% | Saturation −15% | Temperature +5 (warmer).
Effects Panel: Clarity +10% | Dehaze +5% | Vignette +10% | Grain +20%.
Detail Panel: Sharpening +10% | Noise Reduction +15%.
Purpose: nostalgia and charm.
Best For: Rustic settings or animals that feel like part of history.
Usage: Use this to give your shots a “back in the day” glow.
Style: Soft, faded, and nostalgic.
6. Dark/Night wildlife Preset
Low-light and nocturnal wildlife photography is technically one of the hardest editing challenges. High ISO creates luminance noise. Shadows block up. Colors become muddy and desaturated. The Dark/Night Wildlife preset tackles all three: it lifts shadow exposure without washing out midtones, applies aggressive noise reduction at a level that still preserves fur texture, and pulls color temperature cooler to give a natural moonlit or blue-hour feel.
I tested this specifically on ISO 6400–12800 shots from nighttime game drives, which is the typical scenario: camera traps, spotlit subjects, owls in torchlight. The sharpening at +35 with noise reduction at +25 is a deliberate balance. Any more sharpening, and you’re just sharpening noise. Any more NR, and you lose the texture that makes nocturnal animal portraits special.


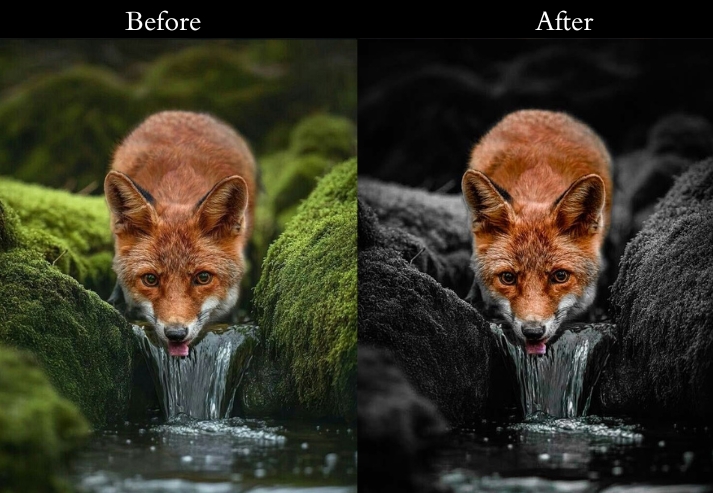
Light Panel: Exposure +20% | Contrast +25% | Highlights −20% | Shadows +30% | Whites −5% | Blacks −15%.
Color Panel: Vibrance −10% | Saturation −20% | Temperature −5 (cooler).
Effects Panel: Clarity +25% | Dehaze +5% | Vignette −15%.
Detail Panel: Sharpening +35% | Noise Reduction +25%.
Best for: Owls, leopards, hyenas, nocturnal primates, camera-trap imagery, astrophotography backgrounds with wildlife in the foreground.
Avoid for: Daytime shots, the shadow lift, and noise reduction will make bright, clean images look over-processed.
Last Moments
These presets cover the full range of conditions you’ll encounter in the field, from the harsh midday sun of an open savannah to a misty dawn in a rainforest. They’re designed to be starting points, not final answers: apply the preset that matches your lighting scenario, then use the quick adjustments above to dial it in for your specific shot.
If you use any of these presets, I’d genuinely love to see the results. Drop a link to your edit in the comments below. I follow a lot of wildlife photography accounts and am always looking for new ones. Happy shooting!
More Free Presets For You:
Dark Lightroom Presets Free Download
Night Lightroom Presets Free Download
Cinematic Lightroom Presets Free Download